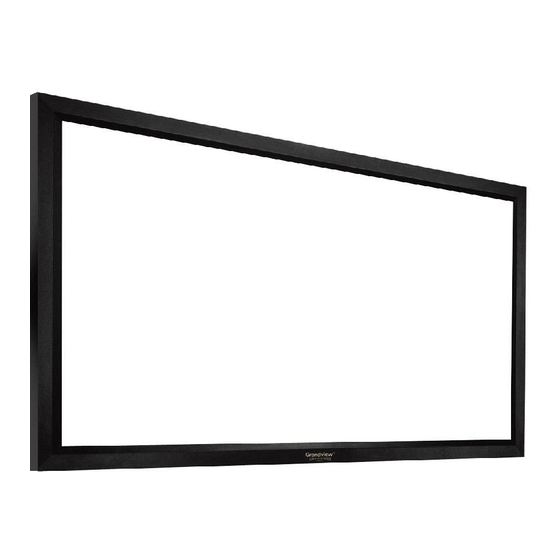
Advertisement
Quick Links
GRANDVIEW REPRODUCING GENUINE COLORS
Grandview Crystal Screen Canada Ltd.
#11- 3751 North Fraser Way,
Marine Way Business Centre,
Burnaby, BC, Canada V5J 5G4
Tel: 1-604-412-9777
Fax: 1-604-412-9796
Website: www.grandviewscreen.ca
Guangzhou Grandview Crystal Screen Co., Ltd.
P.O. 511400 Federal Ind. Zone No. 363, Yushan West Road,
Shiqiao, Panyu District, Guangzhou, Guangdong, China
Tel: +8620-8489-9499 Fax: +8620-8480-3343
Website: www.grandviewscreen.com
www.grandviewscreen.com.cn
GRANDVIEW REPRODUCING GENUINE COLORS
Model:LF-PUxx
Before use, please read instructions carefully. After installation, store instructions for future reference.
ISO9001:2000
International Certification
Installation Guide for
Large-flat Series Prestige Permanent Cinema Screen
Thank you for purchasing a Grandview projection screen.
Advertisement

Subscribe to Our Youtube Channel
Summary of Contents for Grandview Large-flat Series
- Page 1 Fax: 1-604-412-9796 Website: www.grandviewscreen.ca Guangzhou Grandview Crystal Screen Co., Ltd. Thank you for purchasing a Grandview projection screen. P.O. 511400 Federal Ind. Zone No. 363, Yushan West Road, Before use, please read instructions carefully. After installation, store instructions for future reference.
- Page 2 Description Warnings When installing, make sure it is facing forward. The back of the screen will be labeled with a sticker. Top bracket Please read the following as any damage to the screen surface will affect the quality of the picture: 1.The frame is made with lightweight aluminum.
- Page 3 8. Uplift the assembled screen to make sure Up groove meet with Top bracket, and Down groove meet with Installation Bottom bracket, the Secure button would lock into Groove B because of spring tension when frames are matched on brackets ideally. (Figure 21-22) Take out all the parts from the packaging and follow the accessories guideline to ensure you have all parts, then install the screen as below.
- Page 4 4. Unfold screen fabric and insert 4 Tensioning bars seperately into 4 different fabric grooves, be careful not 6. There is locking system on the Bottom bracket but no on the Top backet, brackets' length are at half of to poke the fabric. (Figure 8-10) Horizontal frames'.


Need help?
Do you have a question about the Large-flat Series and is the answer not in the manual?
Questions and answers