Table of Contents
Advertisement
Quick Links
L
W
B1
LF-MIRC84
84
1707x1280
2321
LF-MIRC100
100
2032x1524
2646
LF-MIRC120
120
2438x1829
3052
LF-MIRC150
150
3048x2286
3667
LF-MIRC77
77
1705x 959
2319
LF-MIRC80
80
1771x 996
2385
LF-MIRC92
92
2037x1146
2651
LF-MIRC100
100
2214x1245
2828
LF-MIRC106
106
2347x1320
2961
LF-MIRC120
120
2657x1494
3271
LF-MIRC150
150
3321x1868
3940
LF-MIRC100
100
2337x 995
2951
LF-MIRC110
110
2571x1094
3185
2.35:1
LF-MIRC120
120
2805x1193
3419
LF-MIRC130
130
3038x1293
3657
LF-MIRC140
140
3272x1392
3891
Note:
1. Due to product updates, sizes and specifications are subject to change at any time.
The tolerance for L is approximately ± 5mm (3/16 inches).
2. Actual dimension is measured by: total screen length L x end cap depth x end cap height.
Questions & Answers
Fabrics of Grandview motorized screen can be used for years, most problems are cost by simple incidents. If
problem occurs, please find the list below for some common solutions. If problems keep on, please contact
authorized agent of Grandview or call service number: (8620)34806166
Reason
Sc reen responds
Battery mis-installed or powerless
nothing to any
operation
Power line disconnection
One year warranty
Grandview provides one year warranty for motorized screen. Contents of warranty include replacement of spare
parts while problems occur with correct operation. Not include inappropriately operating the screen or uninstall the
screen by self. You should reserve in advance for the repair with Grandview or appointed service center.
Http://www.grandviewscreen.com
170
B1
B2
B3
2196
100
55
665
2431x260x226
26.8/30.0
2195
100
55
420
2756x260x226
29.4/33.4
2480
100
55
400
3162x260x226
33.0/37.4
2937
100
55
400
3777x260x226
42.2/47.4
2195
100
55
985
2429x260x226
26.4/29.8
2197
100
55
950
2495x260x226
27.0/30.4
55
2197
100
800
2761x260x226
29.0/33.0
2196
100
55
700
2938x260x226
30.5/34.5
2196
100
55
625
3071x260x226
31.6/35.8
2195
100
55
450
3381x260x226
34.2/38.8
2519
100
55
400
4050x260x226
44.0/49.4
2196
100
50
955
3061x260x226
31.2/35.4
2195
100
50
855
3295x260x226
33.0/37.5
2194
100
50
755
3529x260x226
35.0/39.8
50
2194
100
655
3767x260x226
40.5/45.6
2193
100
50
555
4001x260x226
42.8/48.0
Solution
Please check about the batteries as instruction manual.
Please connect the power line as instruction manual.
GRANDVIEW REPRODUCING GENUINE COLORS
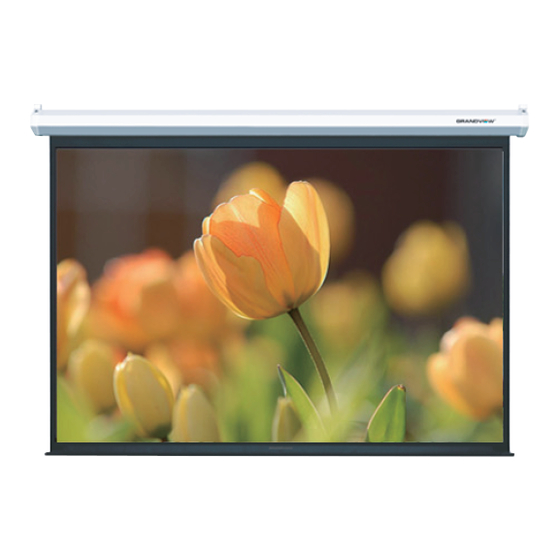
Cyber Series Recessed-Ceiling Screen
Model :CB-MIRC or LF-MIRC
Thank you for purchasing a Grandview projection screen.
Before use, please read instructions carefully. After installation, store instructions for future reference.
Instruction Manual for
Advertisement
Table of Contents

Summary of Contents for Grandview CB-MIRC
- Page 1 2. Actual dimension is measured by: total screen length L x end cap depth x end cap height. Questions & Answers Fabrics of Grandview motorized screen can be used for years, most problems are cost by simple incidents. If problem occurs, please find the list below for some common solutions. If problems keep on, please contact...
-
Page 2: Product Specifications
(1) For adjusting the viewing area, please insert the adjustment to regulate adjustment hole. A Caution clockwise adjustment will increase the viewing area for about 13mm. Note: After pressing the up button, you will need a few seconds to see the adjustment of screen; Warnings: Please prevent screen from wet place to avoid electric or fire dangerous. -
Page 3: Screen Adjustment
D. External Wall Switch (optional) Description The wall switch is available for a fixed location. Please connect RJ11 plug to EXTCTRL input on the screen. Wall Switch Note: please use a cord for a far location. Aluminum Casing (optional) Hook Side View E. -
Page 4: Installation Instruction
Installation Instruction Push down Batteries Installation Instruction: When the signal of the Controller is faint, please replace the batteries This screen needs to be recessed into the ceiling, and this instruction manual shows us the grille-ceiling and as follow steps: wood-ceiling as example. -
Page 5: Product Instruction
11. Installation Completed (figure 27). 3.Please measure the security distance between hanging brackets (figure 4), and fix the hanging brackets on the ceiling using expansion screws (figure 5). minus minus Fo ur Hangi ng Boar ds ar e in middl e. Figure27 Note: the upward instructions are only suitable for the distance H which between 200-600mm;... - Page 6 5.Please stay the screen in the opposite direction, and fix the left and right hanging board on the screen using Note: the upward instruction shows us installation of external control system, if the users want to add other control M6 screw and nut (figure 12). systems, please follow the steps as below: Casing Groove M6 Allen Screw...
- Page 7 Note: the upward instruction shows us installation of external control system, if the users want to 6. Fix the screen using M12 nut, then fasten the nut by wrench (accessories) (figure 13-14); until the ornament add other control systems, please follow the steps as below: board align the ceiling (figure 15) and connect the power.
- Page 8 11. Installation Completed (figure 25). 3.Please measure the security distance between hanging brackets (figure 4), and fix the hanging brackets on the ceiling using expansion screws (figure 5). minus minus Fo ur Hangi ng Boar ds ar e in middl e. )...


Need help?
Do you have a question about the CB-MIRC and is the answer not in the manual?
Questions and answers