Deye Spring Series User Manual
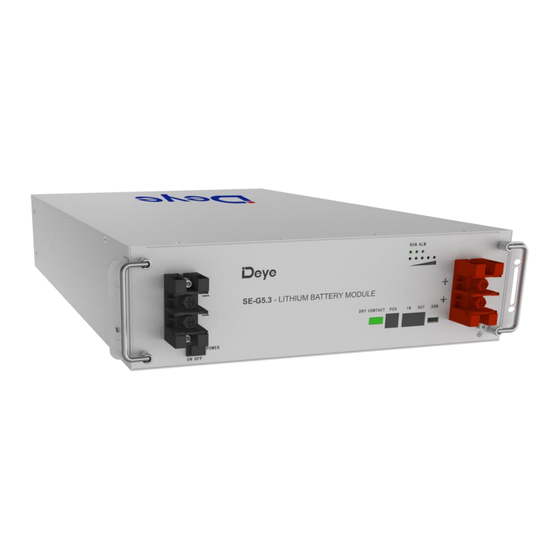
Lfp battery
Hide thumbs
Also See for Spring Series:
- User manual (49 pages) ,
- User manual (35 pages) ,
- User manual (27 pages)
Advertisement
Table of Contents
- 1 Safety Introductions
- 2 Product Introduction
- 3 Communication Port
- 4 Battery Installation
- 5 General Requirements for Installation
- 6 Installation Method
- 7 Cable Connection
- 8 Single Battery Connection
- 9 Activate the Product
- 10 Inspection, Cleaning and Maintenance
- 11 Maintenance
- 12 Troubleshooting
- 13 Transportation Requirements
- Download this manual
Advertisement
Table of Contents


Need help?
Do you have a question about the Spring Series and is the answer not in the manual?
Questions and answers
I need the number of protocol deye se-g5.3
The protocol numbers for the Deye SE-G5.3 are CAN2.0 and RS485.
This answer is automatically generated