Humminbird HELIX Series Installation Manual
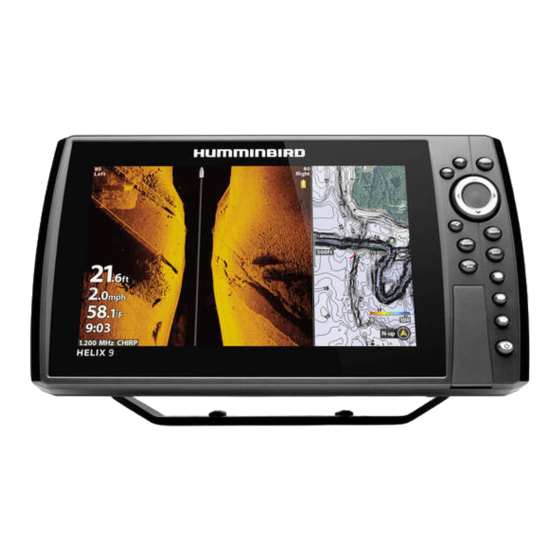
Control head
Hide thumbs
Also See for HELIX Series:
- Installation manual ,
- Operation manual (330 pages) ,
- Installation diagrams (10 pages)
Advertisement
Quick Links
HELIX® SERIES CONTROL HEAD Installation Guide
Follow the instructions in this installation guide to gimbal mount the control head.
Read the instructions in this transducer guide completely to understand the mounting guidelines before starting the installation.
Visit our Web site at humminbird.com for additional information and resources for transducer installations. Also, visit
youtube.com/humminbirdtv for informational videos.
Supplies: In addition to the hardware supplied with your control head, you will need a powered hand drill and various drill bits, Phillips
head screwdriver, flat head screwdriver, pencil, safety glasses and dust mask, marine-grade silicone sealant, dielectric grease
(optional), extension cables (optional), Ethernet cables (optional), and accessory cables (optional). Also, see Connect Power to
determine the type of connection, fuse size, and additional equipment you will need for the installation.
Accessories and Ethernet: Accessories and Ethernet equipment are available for purchaseThe installation guides are available
with the product, or they can be downloaded from our Web site.
Installation Overview
1
| Plan the Mounting Location
1. Place 1 rubber washer onto each gimbal knob.
2. Install the gimbal knobs (with washers) into each side of the control head. Tighten the knobs just enough so you can slide the control
head into the gimbal bracket arms.
NOTE: If you prefer to mount the control head overhead, flip the bracket to the top of the control head. The opening in the gimbal bracket arms
must face the rear of the control head.
3. Place the assembled control head in various locations to determine the best mounting location with the following requirements:
Δ a stable, protected surface to protect the control head from excessive wave shock, vibration, and water
Δ sufficient space for the control head tilt range
Δ visibility during operation, as well as easy installation and removal
Δ access above and below the mounting surface to pass the cables through to the control head
Δ space for the 1" (25 mm) cable hole located 2" to 4" (50 to 100 mm) behind the chosen mounting location
4. Test route all cables (transducer, power, Ethernet, accessories) to the control head mounting location. Leave enough cable length for
installing the cable tray and for the control head tilt range.
5. After you have selected the mounting location, loosen the gimbal knobs and remove the control head from the gimbal bracket.
Installation Preparation
Assembling the Control Head and Bracket
gimbal
knob
rubber
washer
bracket arm
1
532405-5_A
Advertisement

Related Manuals for Humminbird HELIX Series


Summary of Contents for Humminbird HELIX Series
- Page 1 Installation Preparation Read the instructions in this transducer guide completely to understand the mounting guidelines before starting the installation. Visit our Web site at humminbird.com for additional information and resources for transducer installations. Also, visit youtube.com/humminbirdtv for informational videos. Supplies: In addition to the hardware supplied with your control head, you will need a powered hand drill and various drill bits, Phillips head screwdriver, flat head screwdriver, pencil, safety glasses and dust mask, marine-grade silicone sealant, dielectric grease (optional), extension cables (optional), Ethernet cables (optional), and accessory cables (optional).
-
Page 2: Connect Power
HELIX® SERIES CONTROL HEAD Installation Guide 532405-5_A | Install the Gimbal Bracket 1. Place the gimbal bracket in the chosen position on the mounting surface. Mark the four outer mounting screw locations using a pencil or center punch. Installing the Gimbal Bracket NOTE: The outer set of mounting holes is recommended. - Page 3 WARNING! Make sure that the power cable is disconnected from the control head at the beginning of this procedure. WARNING! Humminbird® is not responsible for over-voltage or over-current failures. The control head must have adequate protection through the proper selection and installation of the fuse size shown in the Required Fuse Size table.
- Page 4 1. Use a Phillips head screwdriver to remove the screws from the bottom of the cable tray. 2. Hold the cable tray together and turn it over, so the Humminbird logo is facing up. Lift the cover and set it aside.
- Page 5 Humminbird logo facing up 8. Pull carefully on the cable tray to confirm the installation is secure. Make sure both clasps clicked into place in step 7. | Secure the Control Head Installation 1.
- Page 6 HELIX® SERIES CONTROL HEAD Installation Guide 532405-5_A ENVIRONMENTAL COMPLIANCE STATEMENT: It is the intention of Johnson Outdoors Marine Electronics, Inc. to be a responsible corporate citizen, operating in compliance with known and applicable environmental regulations, and a good neighbor in the communities where we make or sell our products.
-
Page 7: Installation Preparation
SI 180 T, XNT 9 DB 74 T, XNT 14 74 T, and XNT 9 MSI 150 T transducers, as damage may occur. If speed above 65 mph is critical, see the FAQ (Frequently Asked Questions) section of our Web site at humminbird.com. Supplies: In addition to the supplied hardware, you will need a powered hand drill and various... - Page 8 TRANSOM TRANSDUCER Installation Guide 532239-5_A Turbulence-Free Mounting Guidelines It is very important to locate the transducer in an area that is relatively free of turbulent water. Consider the following to find the best location with the least amount of turbulence: Avoid areas where there is turbulent water flow.
- Page 9 1b. If you have a different transom angle or do not know your transom angle, refer to the Transducer Installation Resource Guide on our Web site at humminbird.com for detailed instructions. 2. Place the two ratchets, one on either side of the transducer knuckle, so that the beads on each...
- Page 10 TRANSOM TRANSDUCER Installation Guide 532239-5_A Installing the Pivot Bolt rubber washer flat washer rubber washer flat washer pivot bolt 5. Align the mounting bracket transducer assembly with the drilled holes in the transom. With a 5/16" (8 mm) socket driver, mount the assembly to the transom using the two #10 - 1" (25.4 mm) long screws provided.
- Page 11 If the cable is too short, extension cables are available to extend the transducer cable up to a total of 50'. For assistance, contact Humminbird® Technical Support. CAUTION! Do NOT mount the cables where the connectors could be submerged in water or flooded.
-
Page 12: Test And Finish The Installation
TRANSOM TRANSDUCER Installation Guide 532239-5_A If the cable connector is round , hand-tighten the screw nut to secure the cable connection. Transducer Connectors Hand-tighten only! screw Refer to your control head installation guide for additional details. | Test and Finish the Installation Once you have installed the control head, the transducer, and have routed all the cables, you must Hexagon-Shaped Round... - Page 13 When you select the transducer type, the related views and menus will be added to the system. Δ For additional configuration information, download the control head operations manual from our Web site at humminbird.com. Discover other marine GPS navigation on our website.
Need help?
Do you have a question about the HELIX Series and is the answer not in the manual?
Questions and answers
Fuse size for helix 5
The fuse size for the Humminbird HELIX 5 is not provided in the given context.
This answer is automatically generated
Do they make a mounting bracket to mount a helix12 transom transducer to a trolling motor