Humminbird HELIX Series Installation Manual
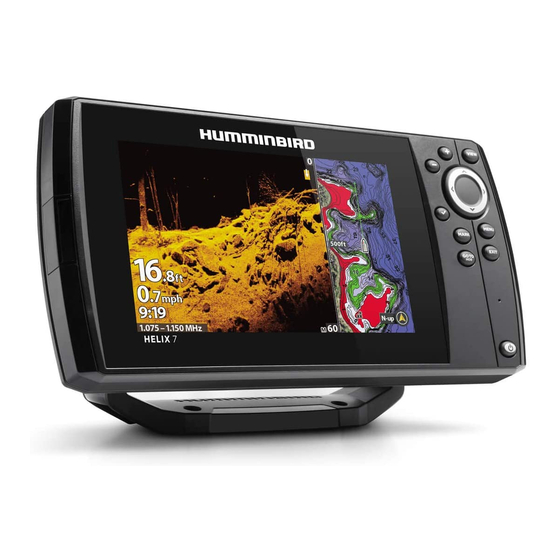
Control head
Hide thumbs
Also See for HELIX Series:
- Installation manual ,
- Operation manual (330 pages) ,
- Installation diagrams (10 pages)
Advertisement
Available languages
Available languages
HELIX® SERIES CONTROL HEAD Installation Guide
Follow the instructions in this installation guide to gimbal mount the control head.
Read the instructions in this transducer guide completely to understand the mounting guidelines before starting the installation.
Visit our Web site at humminbird.com for additional information and resources for transducer installations. Also, visit
youtube.com/humminbirdtv for informational videos.
Supplies: In addition to the hardware supplied with your control head, you will need a powered hand drill and various drill bits, Phillips
head screwdriver, flat head screwdriver, pencil, safety glasses and dust mask, marine-grade silicone sealant, dielectric grease
(optional), extension cables (optional), Ethernet cables (optional), and accessory cables (optional). Also, see Connect Power to
determine the type of connection, fuse size, and additional equipment you will need for the installation.
Accessories and Ethernet: Accessories and Ethernet equipment are available for purchase at humminbird.com. The installation
guides are available with the product, or they can be downloaded from our Web site.
Installation Overview
1
| Plan the Mounting Location
1. Place 1 rubber washer onto each gimbal knob.
2. Install the gimbal knobs (with washers) into each side of the control head. Tighten the knobs just enough so you can slide the control
head into the gimbal bracket arms.
NOTE: If you prefer to mount the control head overhead, flip the bracket to the top of the control head. The opening in the gimbal bracket arms
must face the rear of the control head.
3. Place the assembled control head in various locations to determine the best mounting location with the following requirements:
Δ a stable, protected surface to protect the control head from excessive wave shock, vibration, and water
Δ sufficient space for the control head tilt range
Δ visibility during operation, as well as easy installation and removal
Δ access above and below the mounting surface to pass the cables through to the control head
Δ space for the 1" (25 mm) cable hole located 2" to 4" (50 to 100 mm) behind the chosen mounting location
4. Test route all cables (transducer, power, Ethernet, accessories) to the control head mounting location. Leave enough cable length for
installing the cable tray and for the control head tilt range.
5. After you have selected the mounting location, loosen the gimbal knobs and remove the control head from the gimbal bracket.
Installation Preparation
Assembling the Control Head and Bracket
gimbal
knob
rubber
washer
bracket arm
1
532405-5_A
Advertisement
Table of Contents

Subscribe to Our Youtube Channel
Related Manuals for Humminbird HELIX Series


Summary of Contents for Humminbird HELIX Series
- Page 1 Installation Preparation Read the instructions in this transducer guide completely to understand the mounting guidelines before starting the installation. Visit our Web site at humminbird.com for additional information and resources for transducer installations. Also, visit youtube.com/humminbirdtv for informational videos. Supplies: In addition to the hardware supplied with your control head, you will need a powered hand drill and various drill bits, Phillips head screwdriver, flat head screwdriver, pencil, safety glasses and dust mask, marine-grade silicone sealant, dielectric grease (optional), extension cables (optional), Ethernet cables (optional), and accessory cables (optional).
-
Page 2: Connect Power
HELIX® SERIES CONTROL HEAD Installation Guide 532405-5_A | Install the Gimbal Bracket 1. Place the gimbal bracket in the chosen position on the mounting surface. Mark the four outer mounting screw locations using a pencil or center punch. Installing the Gimbal Bracket NOTE: The outer set of mounting holes is recommended. - Page 3 NOTE: The installation guides for Ethernet and optional-purchase accessories are available Behind the Bracket with your product, and they can be downloaded from our Web site at humminbird.com. 4. Route all cables to the control head. Your boat may have a pre-existing wiring channel or conduit that you can follow.
- Page 4 1. Use a Phillips head screwdriver to remove the screws from the bottom of the cable tray. 2. Hold the cable tray together and turn it over, so the Humminbird logo is facing up. Lift the cover and set it aside.
- Page 5 When you power on the control head, it will start Normal mode automatically if a functioning transducer is detected. NOTE: For operations information, see the Operations Summary Guide included with your control head and the control head operations manual (available for download at humminbird.com).
-
Page 6: Contact Humminbird
Direct Shipping: Humminbird Service Department WEEE DIRECTIVE: EU Directive 2002/96/EC “Waste of Electrical and 678 Humminbird Lane Electronic Equipment Directive (WEEE)” impacts most distributors, Eufaula, AL 36027 USA sellers, and manufacturers of consumer electronics in the European Union. The WEEE Directive requires the producer of consumer electronics... -
Page 7: Préparation De L'installation
Préparation de l'installation Lisez complètement les instructions de ce guide pour comprendre les directives avant de commencer l'installation. Visitez notre site Web à humminbird.com pour plus d'informations et de ressources sur les installations de transducteurs. Visitez également youtube.com/humminbirdtv pour des vidéos d'information. -
Page 8: Brancher L'alimentation
TÊTE DE COMMANDE DE LA SÉRIE HELIX Guide d'Installation 532405-5_A 4. Vérifiez si tous les câbles appropriés (transducteur, alimentation, Ethernet, et accessoires) couvrent bien la distance jusqu'à l'emplacement de montage choisi pour la tête de commande. Laissez suffisamment de longueur de câble pour l'installation du plateau de câblage et pour la gamme inclinaison de la tête de commande. - Page 9 AVERTISSEMENT ! Assurez-vous que le câble d’alimentation n’est pas branché à la tête de commande au début de cette procédure. AVERTISSEMENT ! Humminbird ne garantit pas le produit contre les surtensions et les surintensités. La tête de commande doit disposer d’une protection suffisante; installer de façon adéquate de la taille du fusible indiqué...
- Page 10 2. Tout en maintenant le plateau de câblage, retournez-le de sorte que le côté que le logo Humminbird est orientée vers le haut. Retirez le couvercle et mettez-le de côté. 3. Reportez-vous à l'illustration Description des logements du plateau de câblage. Insérez chaque connecteur de câble dans le logement approprié...
- Page 11 TÊTE DE COMMANDE DE LA SÉRIE HELIX Guide d'Installation 532405-5_A 6. Retournez le plateau de câblage de sorte que le logo Humminbird est orientée vers le haut. Vérifiez les câbles pendent droite, et les détordre si nécessaire. Assemblage du plateau de câblage...
- Page 12 Normal automatiquement si elle détecte un transducteur fonctionnel. REMARQUE : Pour des informations relatives au fonctionnement, consultez le guide d'utilisation résumé qui accompagne votre tête de commande et le guide d'utilisation de la tête de commande (disponible au téléchargement sur humminbird.com).
- Page 13 TÊTE DE COMMANDE DE LA SÉRIE HELIX Guide d'Installation 532405-5_A Pour communiquer avec Humminbird DÉCLARATION DE CONFORMITÉ AVEC L’ENVIRONNEMENT : Johnson site Web : humminbird.com Outdoors Marine Electronics, Inc. entend agir en de façon responsable, et Courrier électronique : service@humminbird.com respecter la réglementation environnementales connues et applicables et...
Need help?
Do you have a question about the HELIX Series and is the answer not in the manual?
Questions and answers