Advertisement
Quick Links
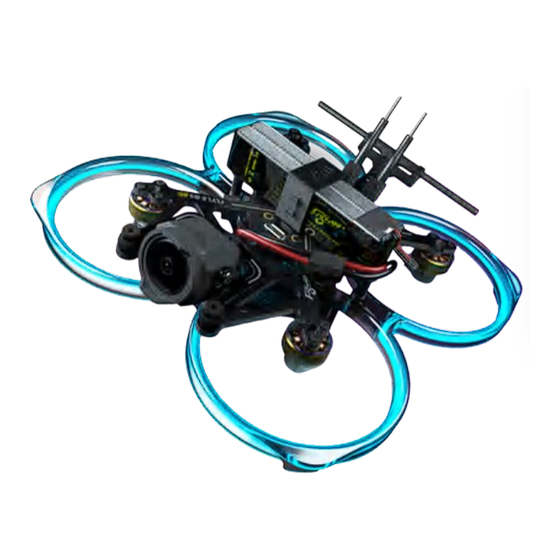
FLYLENS 5
Quick Start Guide V1.0
The document provides important information on pre-flight
frequency operation,channel setup, and proper use of the drone.
website:www.flywoo.net
It is recommended that users watch the instructional video first. If you have any questions or issues during the
installation, use, or maintenance of the drone, please contact Flywoo's after-sales and technical support.
Advertisement

Related Manuals for Flywoo FLYLENS 85


Summary of Contents for Flywoo FLYLENS 85
- Page 1 It is recommended that users watch the instructional video first. If you have any questions or issues during the installation, use, or maintenance of the drone, please contact Flywoo's after-sales and technical support.
- Page 2 / k ff...
- Page 4 After receiving the drone, turn on the remote controller and power on the drone. The green LED on the receiver will start flashing. Click the "bind" button on the remote controller to com lete the bind. After u dating, the binding process will be automatic. Once the binding is successful, the screen will dis lay "Binding Successful"...
- Page 5 1.Press and hold the bind button "Bind" on the receiver, then connect the drone to the battery or connect the flight controller to the USB to make the receiver work. The red and green LED indicators on the receiver will light u , indicating that it has entered binding mode.
- Page 6 Binding DJI C2 Re ote Controller Press the bind button on the drone, and the bind indicator light on the drone will flash red. Hold down the power button on the remote controller. The remote controller will start beeping and flashing continuously, and the battery level LED will flash in sequence. Make sure that the distance between the drone and the remote controller is within 0.5 meters.
- Page 13 Prope er Direction Propeller installation diagram...
- Page 15 Expansion Modu e - GPS Insta ation Remove the original receiver antenna printing seat, unplug the antenna, and unscrew the screws. Antenna mount Remove the original receiver antenna printing seat, unplug the antenna, and unscrew the screws.
- Page 16 Expansion Modu e - GPS Insta ation Use the GPS cable provided to solder it onto the AIO according to the color sequence shown in the picture. 4.5V Fasten the ribbon cable into the cable slot and plug the port into the GPS. cable slot plug...
- Page 18 Compass calibra ion The GPS of the upgraded kit comes with a compass. Although the rescue mode of BF flight controller does not require the compass, having a compass can make it easier for pilots to identify the flight direction on the OSD screen. Players who need it can turn on the compass in the BF configuration menu.
- Page 19 Compass calibra ion This sentence can be translated as: "After setting the compass direction to CW 180°FLIP and saving, you will need to calibrate it. Perform the following steps in an open area away from strong magnetic interference. On the settings page, click 'Calibrate Magnetometer' and follow the prompts.
- Page 20 Compass calibra ion After calibration, restart the flight controller and align the drone's nose with the true north direction. At this point, observe if the Heading value is around 0°. If the deviation is within 10°, it is generally acceptable considering the presence of various errors and interferences.
- Page 21 LED strip replace ent The LED strip on the frame of the whole machine can be replaced by removing the bottom plate and locating the LED power plug. Pull out the LED power plug and remove the LED strip. Then insert the LED strip of another color in the same way and plug it into the power plug.
Need help?
Do you have a question about the FLYLENS 85 and is the answer not in the manual?
Questions and answers