
Subscribe to Our Youtube Channel
Related Manuals for Feit Electric 74202/CA


Summary of Contents for Feit Electric 74202/CA
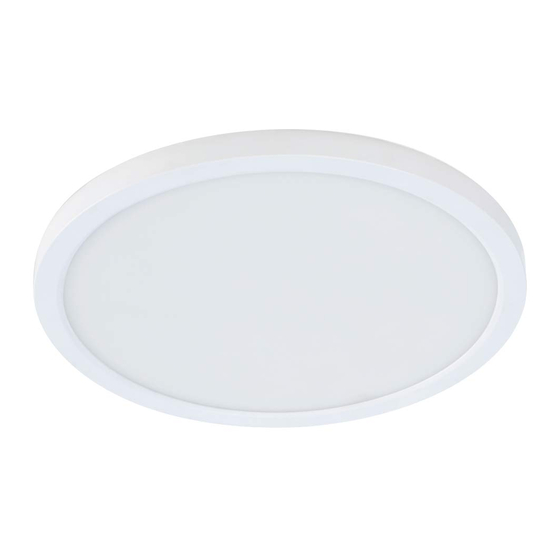
- Page 1 74202/CA USE AND CARE GUIDE 4 IN. WHITE ROUND FLAT PANEL WITH SELECTABLE COLOR TEMPERATURES FEIT ELECTRIC COMPANY | PICO RIVERA, CA | (800) 543-3348 | FAX (562) 908-6360 | www.feit.com...
-
Page 2: Table Of Contents
This product is warranted to be free from defects in workmanship and materials for up to 5 years from date of purchase. If it fails to do so, please contact Feit Electric at info@feit.com or call 1-866 326-BULB (2852) for instructions on replacement. Do not return the product to the store. -
Page 3: Pre-Installation
Pre-Installation TOOLS REQUIRED Phillips screwdriver HARDWARE INCLUDED NOTE: Hardware not shown to actual size. Part Description Quantity 5 in. fixture Mounting bracket 4 in. mounting clip spring E26 adapter with male connector Stripped wires with male connector Ground wire 4 in. mounting clip spring screws Ground wire screw J-Box mounting screws Wire nuts... -
Page 4: Installation
4” Recessed Can Installation Turning Off the Power Connecting the terminals □ Turn the power OFF at the switch and □ Connect the two terminals together. (See Fig. 3) fusebox or the circuit breaker. □ Remove the existing trim installed in the Fig. - Page 5 J-Box Installation Identifying the wires Turning Off the Power □ Identify the wiring: (black - line voltage, white - neutral □ Turn the power OFF at the switch and fusebox or the and green - ground) circuit breaker. □ Use the wire nuts (JJ) to connect the stripped wires with □...
- Page 6 J-Box Installation (continued) Installing the mounting Installing the fixture bracket to the junction box □ Secure the fixture (AA) to the mounting bracket (BB) by pressing the fixture into the □ Install the mounting bracket (BB) to the J-box by mounting bracket until the clips on the fixture inserting the two mounting screws (II) through the slots engage together.
-
Page 7: Changing The Color Settings
Changing the Color Settings NOTICE: The toggle switch is located on the back of the fixture. 4-way color changing: To change color temperatures using your existing light switch: 1. You can lock in one color temperature, change among multiple color temperatures, dim from 1%- A.
Need help?
Do you have a question about the 74202/CA and is the answer not in the manual?
Questions and answers