
Related Manuals for NANO GEN2 i4.0 -1110


Summary of Contents for NANO GEN2 i4.0 -1110
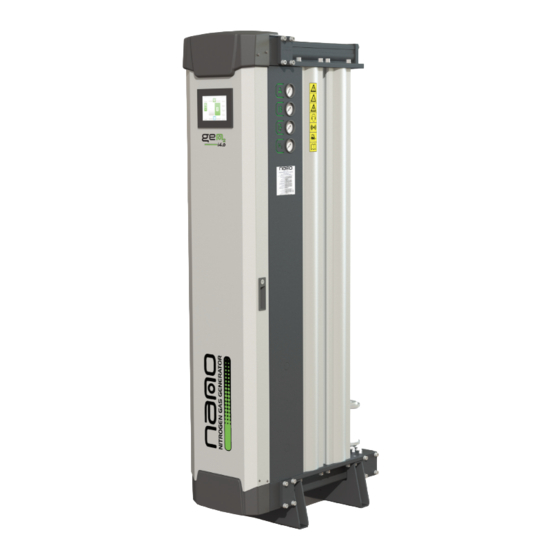
- Page 1 Maintenance & Service Manual GEN2 i4.0 nitrogen gas generator revision: REV;2022-045 document: 17-100-0660 © 2021 Air & Gas Solutions LLC. www.n-psi.co.uk...
- Page 2 They are the contractors who install them, the manufacturers who use them in their processes and the service people who maintain them. At nano we have developed our products, packaging and support materials to ensure they exceed all of our Customers’...
-
Page 3: Table Of Contents
i4.0 nitrogen gas generator table of contents section description page general information document information support and manufacture details general safety recommended tools maintenance guidelines shut down procedure before maintenance start up procedure after maintenance service intervals procedure assemblies - 130 procedure assemblies - 110 panel configuration - 130 panel configuration - 110... -
Page 4: Support And Manufacture Details
This manual is copyrighted, all rights reserved. It may not, in whole or in part, be copied, photocopied, reproduced, translated, or reduced to any electronic medium or machine readable form without prior consent in writing from nano purification solutions. It may not be distributed through the internet or computer bulletin board system without prior consent from nano purification. -
Page 5: Recommended Tools
• All connections must be undone with care, paying particular attention to the areas that become pressurised. • Do not modify or adjust the control settings. • Only certified nano-purification solutions approved replacement parts to be used. Service Valve Top • Always check all connections for leakage and secure seating before operation. -
Page 6: Start Up Procedure After Maintenance
i4.0 nitrogen gas generator start up procedure after maintenance Test and ensure no leaks with in the unit and system after every step after step 5 1. Ensure all serviced parts and assemblies are secured 6. Slowly open the buffer tank inlet and outlet valves (excluding the electronic panel on 110 units) 7. -
Page 7: Service Intervals
i4.0 nitrogen gas generator service intervals The following table details the recommended service intervals for this product and the service kits to be used. Recommended Service Intervals Service 1 Year (or 8,000 2 Year (or 16,000 3 Year (or 24,000 4 Year (or 32,000 5 Year (or 40,000 running hours) -
Page 8: Procedure Assemblies - 130
i4.0 nitrogen gas generator product assemblies - 130 Service B Service D 130 Range Service C - 2130 - 3130 - 4130 - 6130 - 8130 - 10130 - 12130 Service A Service B Service C Service B... -
Page 9: Procedure Assemblies - 110
i4.0 nitrogen gas generator 7.1 product assemblies - 110 Service B 110 Range Service C - 1110 Service D - 2110 - 3110 Service A Service C Service B Service B... -
Page 10: Panel Configuration - 130
i4.0 nitrogen gas generator 7.2 panel configuration - 130 Analyser Electronic Panel Control Valve assembly Nitrogen Outlet Manifold Control tubing and wiring is not shown BASE ENCLOSURE BASE ENCLOSURE BASE ENCLOSURE BASE ENCLOSURE BASE ENCLOSURE BASE ENCLOSURE BASE ENCLOSURE BASE ENCLOSURE BASE ENCLOSURE BASE ENCLOSURE BASE ENCLOSURE... -
Page 11: Panel Configuration - 110
i4.0 nitrogen gas generator 7.3 panel configuration - 110 Electronic Panel Analyser Control Valve Assembly Nitrogen Outlet Manifold Control tubing and wiring is not shown... -
Page 12: Process Diagram
i4.0 nitrogen gas generator 7.4 process diagram PDES (IF FITTED) Note: Letters surrounded by a red ring are reference to the required service kit for that component. Service A: Replace exhaust silencer(s)/ muffler(s) Service B: Replace piston valve seals Service C: Replace all pilot valves, diaphragm valves and solenoid coils and oxygen anaylser control valve(s) Service D: Replace oxygen analyser(s) -
Page 13: Service 'A' Instructions - External Exhaust Silencer/Muffler(S)
i4.0 nitrogen gas generator service ‘A’ instructions - external exhaust silencer/muffler(s) (A-XXX-1X0) (A-XXX-1X0HP) Recommended tools; • 35mm Spanner (1inch silencer) • 70mm Spanner (2inch silencer) • Strap wrench if available • Thread sealing material 1. Carry out step 1-7 of the ‘Shut Down Procedure Before Maintenance’ (page 5) 2. -
Page 14: Service "B" Instructions; Piston Valve Seals - Inlet / Outlet Block
i4.0 nitrogen gas generator service ‘B’ instructions; piston valve seals - inlet / outlet block (B-PVSK-130) Recommended tools; • 5mm, 8mm, Allen Key Attachments • Torque Wrench (7-40Nm) • Piston Removal Tool 1. Carry out all steps of the ‘Shut Down Procedure Before 6. -
Page 15: Service "B" Instructions; Exhaust Block
i4.0 nitrogen gas generator 9.1 service ‘B’ instructions - exhaust block Piston Servicing Recommended tools; • 5mm, 8mm, Allen Key Attachments • Torque Wrench (7-40Nm) • Piston Removal Tool 1. Carry out all steps of the ‘Shut Down Procedure Before 6. -
Page 16: Service "C" Instructions
i4.0 nitrogen gas generator 10. service ‘C’ instructions - O sensor solenoid valve(s) (C-SSVK-130) Recommended tools; • Various spanners • Thread sealing material • Terminal Screw Driver It is recommended that the analyser is not left open to atmospheric oxygen for prolonged time periods, it is advised to complete the service in a timely manner. -
Page 17: Service "C" Instructions; Control Valve
i4.0 nitrogen gas generator 11. service ‘C’ instructions - control valves (C-CVK-130) Recommended tools; • 3mm Flat screw driver • Thread sealing material • 11mm spanner • Terminal Screw driver • Food safe lubrication grease Part 1 - Control valves 1. - Page 18 i4.0 nitrogen gas generator 11.1 service ‘C’ instructions - control valves C-CVK-130 Part 2 - Nitrogen outlet manifold control valves 1. Disconnect the electrical connectors 6. Take note of the positioning of the valve bonnet direction 2. Remove the solenoid coils and diaphragm 3.
-
Page 19: Service 'D' Instructions - Percentage/Ppm Oxygen Zirconia Sensor
i4.0 nitrogen gas generator 12. service ‘D’ instructions - percentage/ppm oxygen zirconia sensor (D-GCR-%) SEN ZTX % (D-GCR-PPM) SEN-ZTX ppm Recommended tools; • 3mm Allen Key It is recommended that the analyser is not left open to atmospheric oxygen for prolonged time periods, It is advised to complete the service in a timely manner. -
Page 20: Gen
13. GEN i4.0 service reset Home Screen Enter the password then press the Enter button. Enter Password 09:30 NANO 01/01/2021 Min. 0 Max. 999999 0.48 NANO Restore Enter 7.0 barg 101 psig Select your required access level Press the unlock key. -
Page 21: Service Reset
7 Press and hold “Service Reset” for 3 seconds 9 Saving will update the restore to installation data. 09:30 NANO 01/01/2021 09:30 NANO 01/01/2021 Do You want to Save changes Installation Details as installation settings? Service Provider 0.48... -
Page 22: Troubleshooting
i4.0 nitrogen gas generator 13.1 troubleshooting Problem Problem Caused Solution Insufficient inlet Pressure Adjust inlet pressure settings. Ensure the power is on and the generator display panel is illuminated; Electrical Fault check the generator is cycling correctly Moist or contaminated CMS Eliminate the cause of contamination, check the external inlet filtration (water separator etc.) for failed auto-drains or condensate build up. -
Page 23: Notes
i4.0 nitrogen gas generator 14. notes .............................................................................................................................................................................................................................................................................................................................................................................................................................................................................................................................................................................................................................................................................................................................................................................................................................................................................................................................................................................................................................................................................................................................................................................................................................................................................................................................................................................................................. - Page 24 Experience. Customer. Service. nano-purification solutions gateshead, united kingdom tel: +44 (0) 191 497 7700 sales@n-psi.co.uk www.n-psi.co.uk nano-purification solutions nano-purification solutions krefeld, germany st. catharines, ontario, canada tel: +49 (0) 2151 482 8218 tel: +1 905 684 6266 sales@n-psi.de support@n-psi.com www.n-psi.de www.n-psi.com...
Need help?
Do you have a question about the GEN2 i4.0 -1110 and is the answer not in the manual?
Questions and answers