
Related Manuals for HOMCOM Children ATV


Summary of Contents for HOMCOM Children ATV
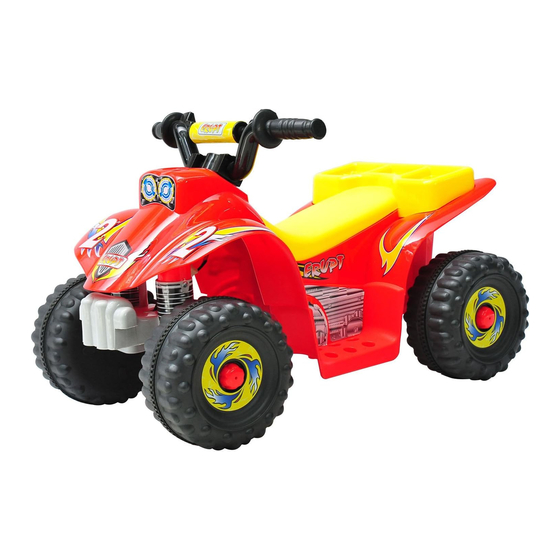
- Page 1 INfac010V01_UK 370-051 Children ATV BATTERY POWERED RIDE-ON BATTERY P OWERED RIDE- ON IMPORTANT, RETAIN FOR FUTURE REFERENCE: READ CAREFULLY ASSEMBLY INSTRUCTION...
- Page 2 About Your New Ride-On │ 1 On the purchase of your new Ride-On. This ride-on will provide your child with many miles of riding of enjoyment. To help assure you and your rider a safe ride we ask you to please read this manual carefully, and keep it for future reference.
-
Page 3: User Notice
User Notice │ 2 WARNING! • CHOKING HAZARD - Small parts. Not suitable for children under 36 months. The product contains small parts, keep children away when assembling. • ADULT ASSEMBLY REQUIRED. • Always remove protective material and poly bags and dispose before assembly. -
Page 4: Parts Diagram
Parts Diagram │ 3... -
Page 5: Parts List
Parts List │ 4 Q’ty (pcs) PART REMARKS PART NAME Vehicle body Handle bar Wheel Seat Out bushing Hubcap Ø10 washer Lock nut Inner bushing Spanner Charger Assembly tools required: Spanner Screwdriver (Not included) -
Page 6: Attach The Handle Bar
Attach the Handle Bar │ 5 Front Bottom View Remove all the parts from the rear axle. 1. Insert the steering column on the hande bar into the hole on the vehicle body. 2. Insert the bent end of steering column in the hole on the steering linkage. Press the handle bar down until you hear it “click”... -
Page 7: Attach The Front Wheels
Attach the Front Wheels │ 6 Assembly tools required: Spanner Remove all the parts from the front axle. 1. Slide a Ø10 washer onto the front axle. 2. Slide a inner busing, ring end first onto the front axle. 3. Slide a wheel onto the front alxe. Ensure the inner bushing match up with wheel. 4. - Page 8 Connect the Power Supply │ 7 1. Turn the lock located at the back of the seat, and remove the seat 2. Plug the red wire connector into the terminal on the battery. 3. Replace the seat.
- Page 9 Use Your Ride-on │ 8 Forward button Forward button ● Press the forward button down, the ride-on moves forword. ● Release from the button to brake or slow down. Use the vehicle on generally level ground ONLY! DO NOT Use the vehicle on Lawn space!
-
Page 10: Battery Disposal
Charging │ 9 WARNING! • ONLY an adult is allowed charge and recharge the battery! • This product with Charging Protection : when charging, all functions will be cut off. • The POWER SWITCH must be turned in OFF position when charging. •... -
Page 11: Troubleshooting Guide
Troubleshooting Guide │ 10 Possible Cause Solution Problem Vehicle does not run Battery low on power Recharge battery. Thermal fuse has tripped Reset fuse, see <Fuse> Check that the battery connectors are firmly plugged Battery connector or wires into each other. If wires are loose around the motor are loose contact your distributor please. - Page 12 Maintaining │ 11 • It is parents' responsibility to check main parts of the toy before using, Must regularly examine for potential hazard, such as the battery, charge, cable or cord, plug, screws are fastening enclosure of other parts and that in the event of such damage, the toy must not be used until that damage had been properly removed.
Need help?
Do you have a question about the Children ATV and is the answer not in the manual?
Questions and answers
How do you know when the battery is fully charged.
The provided information does not specify how to tell when the HOMCOM Children ATV battery is fully charged.
This answer is automatically generated