Advertisement
Quick Links
Advertisement

Subscribe to Our Youtube Channel
Related Manuals for SilverStone MS12


Summary of Contents for SilverStone MS12
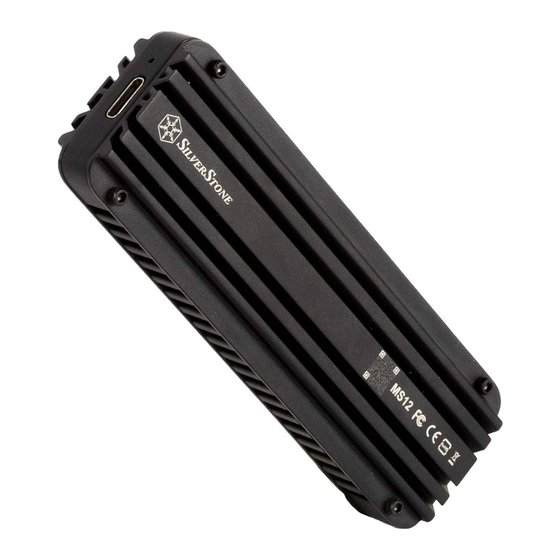
- Page 1 20Gbps SuperSpeed+ USB 3.2 Type-C to NVMe M.2 SSD enclosure MS12 www.silverstonetek.com...
-
Page 2: Warranty Terms And Conditions
Installation Guide / Installationsanleitung / Guide d'installation Warranty terms & conditions / G a r a n t i e b e d i n g u n g e n Términos y condiciones de la garantía /Termes et conditions de la garantie /... - Page 3 Obere Abdeckung (bedruckt mit SilverStone-Logo) vom MS12 entfernen Retirez le capot supérieur (avec le logo SilverStone inscrit) du MS12 Retire la cubierta superior (con el logo de SilverStone impreso) de la MS12 Rimuovere la copertura superiore (con il logo SilverStone stampato) da MS12...
- Page 4 Preparation Take out the PCB Leiterplatte herausnehmen Retirez le circuit imprimé Saque el PCB Estrarre la PCB...
- Page 5 Preparation Stick the thermal pad on the PCB. For single sided M.2 SSD (flat back without component), please use 2mm thick grey pad. For double sided M.2 SSD (both sides with components), please use 1mm thick blue pad Die Wärmefalle auf die Leiterplatte kleben. Bei einseitigen M.2-SSD (flache Rückseite ohne Komponente) verwenden Sie die 2mm dicke graue Wärmefalle.
- Page 6 Preparation Install M.2 NVMe SSD and secure screws to suitable 2 NVMe S S SD and secure screws to suitable mounting hole depending on the length of M.2 NVMe hole depending on the length of M.2 NVMe SSD used Die M.2-NVMe-SSD installieren und mit Schrauben je nach Länge der verwendeten M.2-NVMe-SSD in einem geeigneten Montageloch sichern Installez le SSD NVMe M.2 et fixez les vis dans les...
- Page 7 Preparation Remove the release film which is installed on the up & down side cover Die Kunststofffolie an den Wärmefallen bei oberer und unterer Abdeckung entfernen Retirez le film plastique sur les plaquettes thermiques pour les capots supérieur et inférieur Retire la tira adhesiva que está...
- Page 8 Preparation Place the assembled MS12 PCB back into the enclosure Montierte MS12-Leiterplatte wieder im Gehäuse platzieren Remettez le circuit imprimé MS12 assemblé dans le boîtier Coloque el PCB MS12 ensamblado de nuevo en la carcasa Riporre la PCB MS12 montata nel box...
- Page 9 Preparation Secure top cover to the enclosure with screws to finish o the enclosure with screws to finish installation Zum Abschließen der Installation obere Abdeckung mit Schrauben am Gehäuse sichern Fixez le capot supérieur sur le boîtier avec les vis pour terminer l'installation Fije la cubierta superior a la carcasa con tornillos para finalizar la instalación...
-
Page 10: Warranty Information
Replacement product will be warranted for remainder of the warranty period or thirty days, whichever is longer. All products should be sent back to the place of purchase if it is within 30 days of purchase, after 30 days, customers need to initiate RMA procedure with SilverStone Technology in USA by first downloading the “USA RMA form for end-users”...
Need help?
Do you have a question about the MS12 and is the answer not in the manual?
Questions and answers