Advertisement
Quick Links
A L I E N
A L I E N
B U I L D
STAGE 21: THE RIGHT LEG (III)
STAGE 22: THE RIGHT RIBS & THE LEG (II)
STAGE 23: THE RIGHT RIBS & THE LEG (III)
STAGE 24: THE RIGHT RIBS & THE LEG (IV)
STAGE 25: THE RIGHT RIBS &
THE RIGHT FEMUR (I)
1
© 2023 20
Century Studios
th
Pack 04
I N S T R U C T I O N S
STAGE 26: THE RIGHT RIBS &
THE RIGHT FEMUR (II)
STAGE 27: THE RIGHT RIBS &
THE RIGHT FEMUR (III)
STAGE 28: THE RIGHT RIBS &
THE RIGHT FEMUR (IV)
Advertisement

Related Manuals for Agora Models ALIEN Pack 04


Summary of Contents for Agora Models ALIEN Pack 04
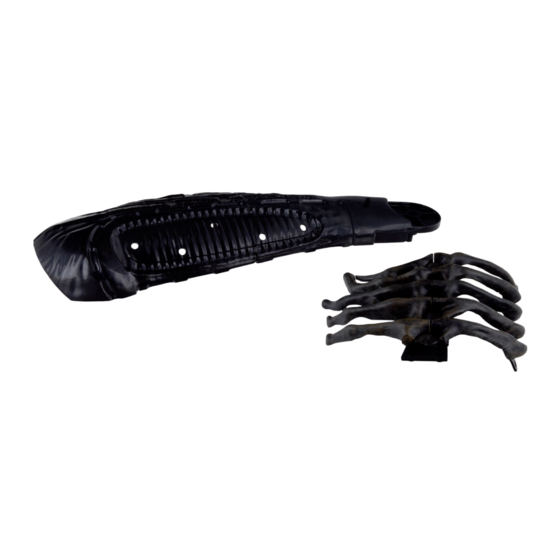
- Page 1 A L I E N A L I E N Pack 04 B U I L D I N S T R U C T I O N S STAGE 21: THE RIGHT LEG (III) STAGE 26: THE RIGHT RIBS & THE RIGHT FEMUR (II) STAGE 22: THE RIGHT RIBS &...
- Page 2 Before you start... To help you get the best out of building the Xenomorph, we’ve prepared a modellers checklist with hints, tips and advice from our expert. The information below is aimed at making your build as enjoyable and professional as possible right from the start. Make sure you have good ventilation when using adhesives and to replace caps firmly.
- Page 3 A S S E M B L Y G U I D E S TA G E 2 1 : T H E R I G H T L E G ( I I I ) In this stage you will continue to assemble parts of the Xenomorph’s right leg. 21-1 21-2 21-3...
- Page 4 S T A G E 2 1 : T H E R I G H T L E G ( I I I ) 21-4 20-3 Take the Right Tibia assembly 20-4 20-3 which was worked on in the last stage. Tibia part 21-1 joined to this using the previously fitted Connector 20-4, as shown.
- Page 5 S T A G E 2 1 : T H E R I G H T L E G ( I I I ) 21-2 Fit the four Connectors 21-2 which will hold the 21-2 assemblies 15-1/16-1 20-3/21-1 together. 16-1 21-1 15-1 20-3...
- Page 6 S T A G E 2 1 : T H E R I G H T L E G ( I I I ) 21-3 21-3 21-3 Take the Outer Calf Skin 14-1 glue four Magnets 21-3 firmly into the circular recesses as shown on the left.
- Page 7 S T A G E 2 1 : T H E R I G H T L E G ( I I I ) 21-3 21-3 21-3 Four magnets are now fitted into the circular recesses in parts 20-3/21-1, as shown above. When fitted correctly, they should 20-3 be attracted to the magnets...
- Page 8 A S S E M B L Y G U I D E S TA G E 2 2 : T H E R I G H T R I B S & T H E L E G ( I I ) In this stage you will continue to work on the right ribs and leg of the Xenomorph.
- Page 9 S T A G E 2 2 : T H E R I G H T R I B S & T H E L E G ( I I ) 22-4 22-2 22-2 19-2 19-3 20-2 Take the rib support assembly 19-3 which was worked on in pack Turn the assembly over and...
- Page 10 S T A G E 2 2 : T H E R I G H T R I B S & T H E L E G ( I I ) 22-4 22-4 22-1 Take the Calf Protector 4-6, which was assembled in pack 1 - stage 4, along with Calf Protector 22-1.
- Page 11 A S S E M B L Y G U I D E S TA G E 2 3 : T H E R I G H T R I B S & T H E L E G ( I I I ) In this stage you will continue to work on the right ribs and leg of the Xenomorph.
- Page 12 S T A G E 2 3 : T H E R I G H T R I B S & L E G ( I I I ) 23-6 23-6 23-2 19-3 20-2 23-1 23-2 Place the two Ribs 23-1 23-2 on the work...
- Page 13 S T A G E 2 3 : T H E R I G H T R I B S & T H E L E G ( I I I ) 20-3 15-1 Next take the second tibia assembly 4-1/4-2/17-1/18-1 which was worked 21-1...
- Page 14 S T A G E 2 3 : T H E R I G H T R I B S & T H E L E G ( I I I ) 14-1 Fit the outer skin 14-1 21-1 on top of the tibia assembly, as shown.
- Page 15 S T A G E 2 3 : T H E R I G H T R I B S & T H E L E G ( I I I ) 23-3 (A2) Turn the tibia assembly over again as shown on the right.
- Page 16 A S S E M B L Y G U I D E S TA G E 2 4 : T H E R I G H T R I B S & T H E L E G ( I V ) In this stage you will continue to work on the right ribs and leg of the Xenomorph.
- Page 17 S T A G E 2 4 : T H E R I G H T R I B S & T H E L E G ( I V ) 24-5 Take the rib support assembly 19-3 from the last stage. Fit the raised screw socket at one end of 24-1 into its corresponding...
- Page 18 S T A G E 2 4 : T H E R I G H T R I B S & T H E L E G ( I V ) 24-3 (A4) Repeat the previous step to attach Pipe A4 24-3 in the position shown on the Calf Skin 4-4.
- Page 19 A S S E M B L Y G U I D E S TA G E 2 5 : T H E R I G H T R I B S & T H E R I G H T F E M U R ( I ) In this stage you will continue to work on the Xenomorph’s right ribs and start the assembly of the right femur.
- Page 20 S T A G E 2 5 : T H E R I G H T R I B S & T H E R I G H T F E M U R ( I ) 25-6 25-2 Rib parts 25-1 25-2 are joined together with a...
- Page 21 S T A G E 2 5 : T H E R I G H T R I B S & T H E R I G H T F E M U R ( I ) 25-4 25-5 25-3 25-4 25-3 Fix the Connector...
- Page 22 A S S E M B L Y G U I D E S TA G E 2 6 : T H E R I G H T R I B S & T H E R I G H T F E M U R ( I I ) In this stage you will continue to build the Xenomorph’s right ribs and right femur.
- Page 23 S T A G E 2 6 : T H E R I G H T R I B S & T H E R I G H T F E M U R ( I I ) EXPERT ADVICE EXPERT ADVICE 26-5 Throughout the build, there are...
- Page 24 S T A G E 2 6 : T H E R I G H T R I B S & T H E R I G H T F E M U R ( I I ) 26-3 26-4 26-4 25-3 26-3...
- Page 25 A S S E M B L Y G U I D E S TA G E 2 7 : T H E R I G H T R I B S & T H E R I G H T F E M U R ( I I I ) In this stage you will continue to build the Xenomorph’s right ribs and right femur.
- Page 26 S T A G E 2 7 : T H E R I G H T R I B S & T H E R I G H T F E M U R ( I I I ) 27-6 The next rib is formed using parts 27-1...
- Page 27 S T A G E 2 7 : T H E R I G H T R I B S & T H E R I G H T F E M U R ( I I I ) 27-5 27-5 27-4 27-4...
- Page 28 A S S E M B L Y G U I D E S TA G E 2 8 : T H E R I G H T R I B S & T H E R I G H T F E M U R ( I V ) In this stage you will continue to build the Xenomorph’s right ribs and right femur.
- Page 29 S T A G E 2 8 : T H E R I G H T R I B S & T H E R I G H T F E M U R ( I V ) 28-5 27-2 19-3 28-1 Take the rib support...
- Page 30 S T A G E 2 8 : T H E R I G H T R I B S & T H E R I G H T F E M U R ( I V ) 28-4 28-4 27-3 Next, the Right Femur 28-2...
- Page 31 S T A G E 2 8 : T H E R I G H T R I B S & T H E R I G H T F E M U R ( I V ) 28-4 28-4 28-3 28-3 Fit the Connectors...
Need help?
Do you have a question about the ALIEN Pack 04 and is the answer not in the manual?
Questions and answers