Table of Contents
Advertisement
Quick Links
Advertisement
Table of Contents

Related Manuals for Teac T-R680RS


Summary of Contents for Teac T-R680RS
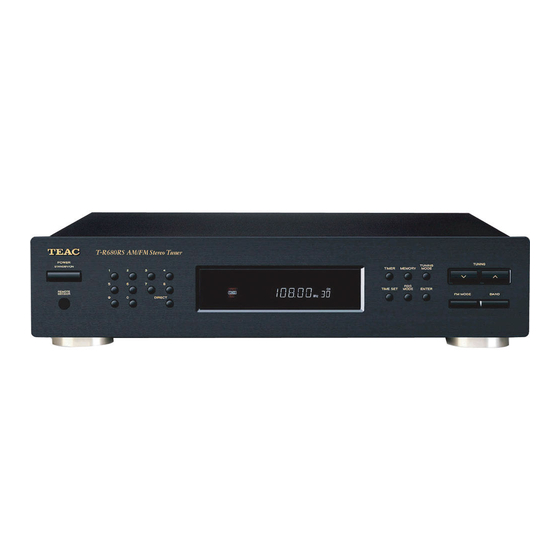
- Page 1 9A10358500 T-R680RS AM / FM Stereo Tuner OWNER’S MANUAL...
-
Page 2: Important Safety Instructions
EXPOSE THE ELECTRONICS. NO USER SERVICEABLE PARTS ARE WITHIN! < IF YOU ARE EXPERIENCING PROBLEMS WITH THIS PRODUCT, CONTACT TEAC FOR A SERVICE REFERRAL. DO NOT USE THE PRODUCT UNTIL IT HAS BEEN REPAIRED. For U.S.A. This equipment has been tested and found to comply with the limits for a Class B digital device, pursuant to Part 15 of the FCC Rules. -
Page 3: Table Of Contents
< Do not place the unit on the amplifier/receiver. < Do not open the cabinet as this might result in damage to the circuitry or electrical shock. If a foreign object should get into the unit, contact your dealer or service company. -
Page 4: Connecting Antennas
CAUTION: < Switch off the power to all equipment before making connections. < Read the instructions of each component you intend to use with this unit. < Be sure to insert each plug securely. To prevent hum and noise, avoid bundling the signal interconnection cables together with the AC power cord or speaker cables. -
Page 5: Connections
CAUTION: < Switch off the power to all equipment before making connections. < Read the instructions of each component you intend to use with this unit. < Be sure to insert each plug securely. To prevent hum and noise, avoid bundling the signal interconnection cables together with the AC power cord or speaker cables. -
Page 6: Unit Functions
Note: To simplify explanations, instructions in this manual refer to the names of the buttons and controls on the front panel only. Associated controls on the remote control will also operate similarly. Unit Functions... -
Page 7: Remote Control Unit
POWER (STANDBY/ON) Press this switch to turn the unit on or standby (clock mode). When using the remote control unit, press the ON button to turn the unit on, and press the STANDBY button to turn it standby. The equipment draws a nominal amount of power from the AC outlet even with its POWER switch in the OFF position. -
Page 8: Radio Reception
Press the POWER switch (or ON button of the remote control unit) to turn the unit on. Select AM or FM by pressing the corresponding button. If the PRESET indicator is lit, press the TUNING MODE button to select the manual tuning mode. The PRESET indicator disappears from the display. -
Page 9: Direct Tuning
Direct Tuning Using this method, the required frequency can be input directly. Press the DIRECT TUNING button. The frequency numbers that were displayed should go out. They will come up again if you don't go on to the next step within 5 seconds. -
Page 10: Preset Tuning
You can store FM and AM stations from Channel 1 to 30 respectively. Automatic Memory Presetting Select AM or FM by pressing the corresponding button. Hold down the MEMORY button and release it when “AUTOSAVE” briefly appears on the display. Up to 30 of the best received stations in your area will be stored automatically. -
Page 11: Setting The Clock
How to select preset stations TUNING MODE Numeric buttons Select AM or FM by pressing the corresponding button. If “PRESET” indicator is not lit, press the TUNING MODE button to select the preset tuning mode. Select a preset channel using the numeric buttons or the TUNING/PRESET buttons. -
Page 12: Timer
< The unit can be programmed to turn on and off (standby) at a specified time every day. < Adjust the clock before setting the timer (see page 11). Setting the start time Press the TIME SET button twice. “ON-TIME” blinks on the display. <... -
Page 13: Troubleshooting
Troubleshooting If you experience any problems with the unit, please take a moment to look through this chart and see if you can solve the problem yourself before you call your dealer or a TEAC service center. No power e Check the connection to the AC power supply. Check and make sure the AC source is not a switched outlet and that, if it is, the switch is turned on. -
Page 14: Rs-232C Protocol
Tx Format T-R680RS to PC Protocol Flow Control: No Data transferring through T-R680RS to PC are always with the following “Package” structure. Protocol: Head + Tx Type + Icon Bit Map + Main Display Data + Channel Display Data + Checksum... -
Page 15: Specifications
“Power On” command (start working command), then the T- R680RS is Under-control. 2. When T-R680RS press on the Power Key to Power Off, T- R680RS will send out the Code: 0x81 + 0x73 + 0x4c + 0x40 3. When T-R680RS press on the Power Key to Power On, T- R680RS will send out the Code: 0x81 + 0x73 + 0x4b + 0x3f 4. - Page 16 7733 Telegraph Road, Montebello, California 90640 Phone: (323) 726-0303 TEAC CANADA LTD. 5939 Wallace Street, Mississauga, Ontario L4Z 1Z8, Canada Phone: (905) 890-8008 TEAC MEXICO, S.A. De C.V Campesinos N°184, Colonia Granjas Esmeralda, Delegacion Iztapalapa, CP 09810, México DF Phone: (525) 581-5500 TEAC UK LIMITED Unit 19 &...
Need help?
Do you have a question about the T-R680RS and is the answer not in the manual?
Questions and answers