Dymo LetraTag 200B - Bluetooth Label Maker Printer Manual
- Quick start manual (69 pages)
Advertisement
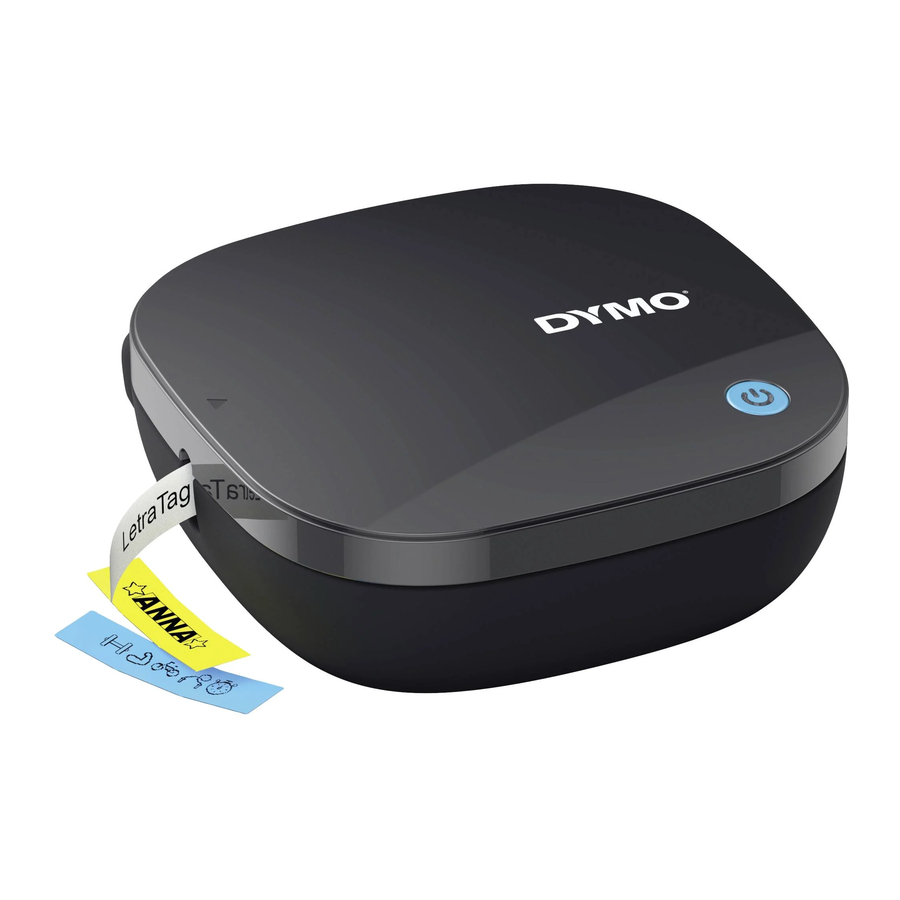
About Your New Label Maker
With the DYMO® LetraTag® 200B electronic label maker, you can create a wide variety of high-quality, self-adhesive labels. You can choose to print your labels in several different font sizes and styles. The label maker uses DYMO LT label cassettes. Labels are available in a wide range of colors and materials.
Visit www.dymo.com for information on obtaining labels for your label maker.
Registering Your Label Maker
Visit www.dymo.com/register to register your label maker online. During the registration process, you will need the serial number, which is located on the bottom of the label maker.
Register your label maker to receive these benefits:
- Email notification of free software upgrades
- Special offers and new product announcements
Getting to Know the Label Maker
Become familiar with the features shown in the following figure.

- Power
- Lift to open cover
- Label exit slot
- Cutter button

- Battery compartments
- Power button
- Label compartment
- Label exit slot
- Cutter blade
Getting Started
Follow the instructions in this section to get started with your label maker.
Inserting the Batteries
The label maker uses 4 high-capacity AA alkaline batteries to provide optimal print quality.
To insert the batteries
- Lift to open the cover.
- Insert the batteries following the polarity markings (+ and –).
![]()
- Close the cover.

Safety Precautions
- Do not mix old and new batteries.
- Do not mix alkaline, standard (carbon-zinc), or rechargeable (ni-cad, ni-mh, etc.) batteries.
- Remove the batteries if the printer will not be used for a long period of time.
Inserting the Label Cassette
Your label maker uses DYMO LT label cassettes. Visit www.dymo.com for information about purchasing additional label cassettes.
To insert the label cassette
- Lift to open the cover.
- Insert the cassette with the label positioned as shown.
![]()
- Press firmly until cassette clicks into place.
- Close the cover and press
![]() to turn on the power.
to turn on the power.

Power
The  light will alternate from light to dark when the power is on. The power will automatically turn off after a few minutes of inactivity.
Remove the batteries if the printer will not be used for a long period of time.
Using Your Label Maker
You print labels from a mobile device using the DYMO LetraTag Connect app available on the Apple® App store or the Google Play™ store.


To print labels
- From your mobile device's app store, search for DYMO LetraTag Connect or use the QR code below to install the LetraTag Connect app.

Download LetraTag Connect
- On your mobile device, turn on the Bluetooth and Location Services settings and make sure you are within range (approximately 10 meters).
NOTE: Location services is required for Bluetooth to operate properly. DYMO does not track or store your location. - Press
![]() to turn on the label maker.
to turn on the label maker. - Open the LetraTag Connect app and select a template or tap + to design your label.
- Tap
![]() to print the label.
to print the label. - Press the cutter button
![]() on the label maker to cut the label.
on the label maker to cut the label. - Remove the paper backing from the label and apply!
Refer to the Troubleshooting section if you have problems printing.
Caring for the Label Maker
Your label maker is designed to give you long and trouble-free service, while requiring very little maintenance. Clean your label maker from time to time to keep it working properly. Clean the cutter blade each time you replace the label cassette.
 The cutter blade is extremely sharp. Use caution when cleaning.
To clean the cutter blade
- Lift to open the label maker cover.
- Remove the label cassette.
- Dampen a cotton ball with alcohol.
- Place the tip of a ball-point pen or pencil on the black post as shown, and press the post down.
- While holding down the post, press and hold the cutter button to expose the cutter blade.
![]()
- Release the post and clean both sides of the blade with the cotton ball.
- Release the cutter button.
- After cleaning the blade, press and release the cutter button to return the cutter blade to the home position.

 You can also follow this procedure if the cutter blade becomes lodged in the forward position and will not move.
Troubleshooting
Review the following sections if you encounter a problem with your label maker.
| Problem/Error Message | Solution |
| Label maker does not turn on |
|
| Label doesn't print |
|
| Label maker error |
|
| Poor print quality |
|
| Tape jam | Motor is stalled due to tape jam.
|
| Poor cutter performance | Clean the cutter blade. See Caring for the Label Maker. |
If you need further assistance, visit the DYMO Web site at www.dymo.com.
General Safety Precautions
Follow the guidelines in this section to use this product safely.
Label Maker
- Do not insert objects into or block the label exit slot.
- Do not touch the cutter blade. Personal injury could result.
- Do not allow any liquids to come into contact with the label maker.
- Do not disassemble the label maker. For inspection, adjustment, or repair, contact DYMO Customer Support (http://support.dymo.com).
DYMO Label Cassettes
- Use only DYMO-branded LT label cassettes in this label maker.
- Do not use any unauthorized accessories or supplies.
- Clean the surface before applying the adhesive label or the label may not adhere correctly and could peel off easily.
- Do not expose the labels to extreme heat or sunlight.
Electrical Ratings
| Power | 6V DC The product is powered by 4 alkaline batteries, AA 1.5 V DC each (not included). |
| Frequency range | 2400 - 2483.5 MHz |
| RF output power | <10 dBm |

Documents / Resources
References
Download manual
Here you can download full pdf version of manual, it may contain additional safety instructions, warranty information, FCC rules, etc.
Download Dymo LetraTag 200B - Bluetooth Label Maker Printer Manual
Advertisement


Need help?
Do you have a question about the LetraTag 200B and is the answer not in the manual?
Questions and answers