Advertisement
Unpacking your LabelMANAGER PCII Printer
Follow these steps to install the LabelMANAGER PCII printer and print your first label.
NOTE For Windows, do not plug the printer into your computer until asked to do so during the software installation.
- Unpack your printer and save the packing materials.
- Make sure you have all the items shown in Figure 1.
![]()

Installing the Software
To install the software on a Windows system
NOTE Do not connect the printer until instructed to do so during the software installation.
- Insert the DYMO Label Software CD into your CD-ROM drive. After a few seconds, the installation screen appears.
If the installation screen does not appear:- Click Start, and then Run on the Windows taskbar. The Run dialog box appears.
- Enter D:\install.exe (where D is the letter assigned to the CD-ROM drive) and click OK.
- Select the language version to install and then follow the on-screen instructions.
To install the software on a Macintosh system
- Insert the DYMO Label Software CD into the CD-ROM drive.
After a few seconds, the DYMO Label Software Installer icon appears.
See Figure 2.
![]()
- Double-click the Installer icon and then follow the on-screen instructions.

Connecting your LabelMANAGER PCII Printer
During the software installation, you will be asked to connect the printer to the USB port.
NOTE If you are connecting the printer to a Windows system, do not connect the printer to your computer until asked to do so during the software installation.
To connect the power
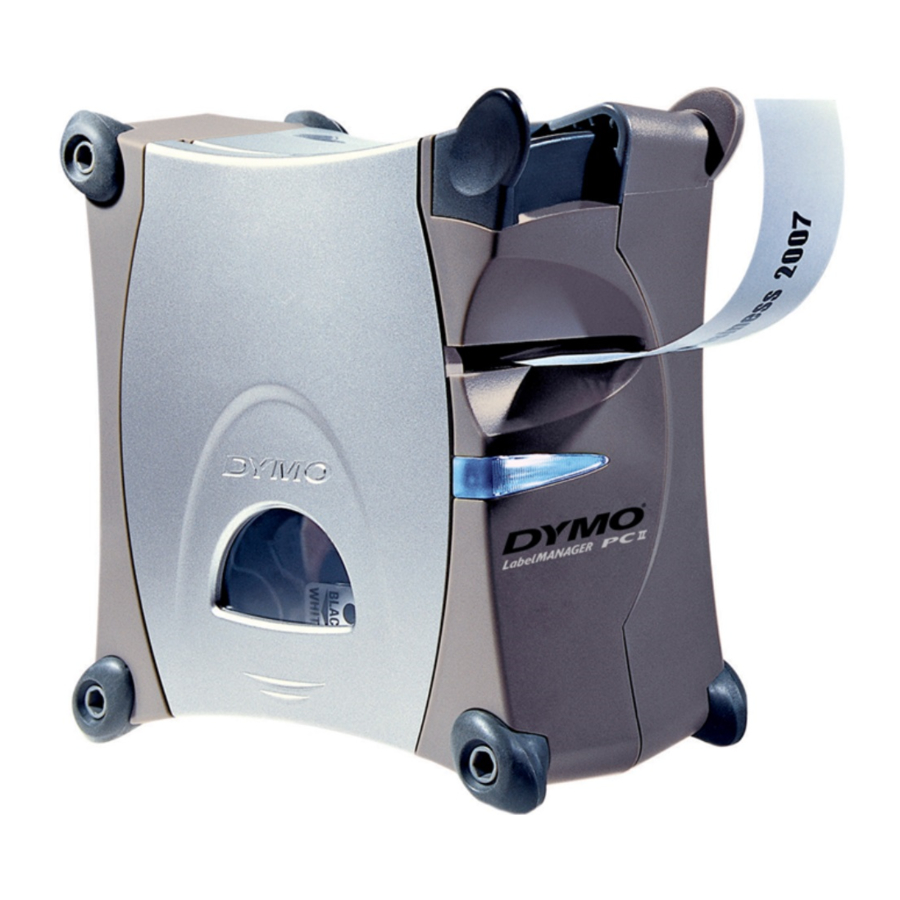
- Plug the power adapter into the power connector on the back of the printer. See Figure 3.
![]()
- Plug the other end of the power cord into a power outlet.

To connect the USB cable
- Plug the USB cable into the USB port on the back of the printer. See Figure 3.
- When asked during the software installation, plug the USB cable into an available USB port on your computer.
Loading Labels
To load the D1 tape cassette
- Press and release the label cassette cover to open the label compartment. See Figure 4.
NOTE The first time you open the printer, remove the protective cardboard insert from the tape exit slot.
![]()
- Make sure the tape and ribbon are taut across the mouth of the cassette and that the tape passes between the guideposts. If necessary, turn the spool clockwise with a pencil to tighten the ribbon.
- Insert the cassette and press firmly until the cassette clicks into place. Make sure tape and ribbon are positioned correctly.
![]()
- Close the label cassette cover.


You are now ready to print your first label.
Printing Labels with DYMO Label Software
The following figure shows some of the many features available in DYMO Label Software.

- Store favorite addresses in the Address Book; automatically insert them on your label.
- If you also have a LabelWriter printer, two buttons allow you to easily switch between the label and tape editors.
- Insert a picture, date, barcode, or symbol.
- Insert text you've copied to the Clipboard.
- Verify and correct addresses as you add them to the Address Book. (US Only)
To print your first label
- Start DYMO Label software as follows:
- For Windows, click Start, then Programs>DYMO Label>DYMO Label.
- For Mac OS, double-click the DYMO Label icon in the DYMO Label folder.
The first time you open the application, you are asked to register. Follow the on-screen instructions.
- If you already have a LabelWriter printer installed, click
![]() to display the Tape Editor. Otherwise, go to step 3.
to display the Tape Editor. Otherwise, go to step 3. - Type some text on the label.
- Choose a font and a style setting from the Formatting toolbar.
- Click
![]() to print the label.
to print the label. - Squeeze the cutter lever to cut the label. See Figure 6.
![]()
 to display the Tape Editor. Otherwise, go to step 3.
Printing Labels from Other Applications
With DYMO Label Software, you can quickly print multiple labels
from text created in Microsoft Word, Excel, and other applications using Smart Paste. You can use Smart Paste to print from the clipboard or a text file.
To print multiple labels quickly from Microsoft Excel
- From Excel, copy a list of items to the clipboard.
- From DYMO Label Software, click Edit>Smart Paste>From Clipboard.
Each item is automatically printed with cut-marks between each label.

- Squeeze the cutter lever to cut the tape; use scissors to cut each label at the cut marks.

Congratulations! You are now ready to design and print labels.
For complete details on how to use the software, refer to the DYMO Label Software User Guide, located on the DYMO Label Software CD-ROM, and to the online Help.
Ordering Labels
The LabelMANAGER PCII uses DYMO D1 label cassettes in widths of 1/4" (6 mm), 3/8" (9 mm), 1/2" (12 mm), 3/4" (19 mm), or 1" (24 mm). Label cassettes are available in a variety of colors and materials. You can purchase label cassettes from your local office supply retailer or directly from DYMO. Visit www.dymo.com.
Obtaining Support
For support, visit www.dymo.com. You can also find local support numbers for each country listed in the DYMO Label Software User Guide located on the CD-ROM and in the Online Help.
www.sanfordbrands.com
Produced by: DYMO Corp., Stamford, CT 06902 ©2006
A Division of Newell Rubbermaid
Sanford Australia, 1 - 11 Keysborough Avenue, Keysborough, VIC 3173 - Australia
Sanford New Zealand, 1 Verisimo Drive, Mangere, Auckland 1730 - New Zealand

Documents / Resources
References
Download manual
Here you can download full pdf version of manual, it may contain additional safety instructions, warranty information, FCC rules, etc.
Download Dymo LabelManager PCII - Barcode Label Printer Quick Start Guide
Advertisement


Need help?
Do you have a question about the LabelManager PCII and is the answer not in the manual?
Questions and answers