Advertisement
Quick Links
Advertisement

Related Manuals for TRENDnet TV-IP422


Summary of Contents for TRENDnet TV-IP422
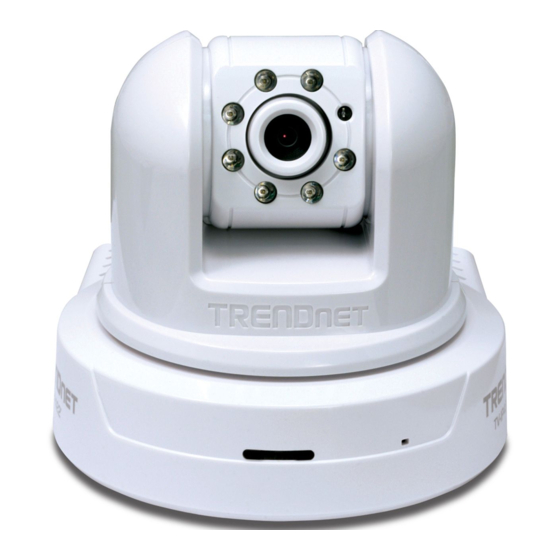
- Page 1 Quick Installation Guide TV-IP422 TV-IP422W H/W: A1.0R...
-
Page 2: Table Of Contents
Table of Contents Table of Contents English ... 1 1. Before You Start 2. Hardware Installation ... 3. Configure the Internet Camera ... Troubleshooting ... Version 02.17.2009... -
Page 3: English
Memory: 256MB RAM or above / 512MB RAM or above (Windows Vista) Windows 2000/XP/Vista VGA Resolution: 800 x 600 or above Web Brower: Internet Explorer (6.0 or higher) Package Contents TV-IP422 / TV-IP422W Utility CD-ROM Quick Installation Guide 1 x 2dBi Detachable Antenna TV-IP422W) - Page 4 Application Home Monitoring Family Monitoring (TV-IP422) (TV-IP422) Wireless N Gigabit Router (TEW-633GR) Internet Cable/DSL Property Monitoring Business Monitoring Modem (TV-IP422W) (TV-IP422W) Home Monitoring Family Monitoring (TV-IP422W) (TV-IP422W) Wireless N Gigabit Router (TEW-633GR) Internet Cable/DSL Property Monitoring Business Monitoring Modem (TV-IP422)
-
Page 5: Hardware Installation
2. Hardware Installation 1. Attach the Antenna. (TV-IP422W) 2. Connect a RJ-45 network cable from a Switch/Router to the Ethernet port of the Internet Camera Server. 3. Connect the AC Power Adapter to the Internet Camera Server and then to a power outlet. 4. -
Page 6: Configure The Internet Camera
1. Insert the Utility CD-ROM into your CD-ROM drive and then click IP Setup. 2. Follow the IPSetup Setup Wizard instructions and then click Next. 3. Click Close. 4. Go to Start -> Programs -> TRENDnet -> IPSetup and click IPSetup. English... - Page 7 Note: By default, the IP setting on the TV-IP422/TV-IP422W is set to DHCP. Please skip to step 9. If you want to give the TV-IP422/TV-IP422W static IP address, continue on to step 5. 5. Select the camera server and click Change IP.
- Page 8 Password, and then click OK. By default: User Name: admin Password: admin 11. Right click and select Install ActiveX Control. 12. Click Install. Note: If you have the TV-IP422W, continue on to step 13. If you have the TV-IP422, skip to step 16. English...
- Page 9 13. Click Setup, Network and then click Wireless. (TV-IP422W only). 14. Click Site Survey. Select your wireless network. If encryption is enabled, select the proper Authentication type, enter the Pre-Shared Key and then click apply. (Example shows WPA2-PSK. If your wireless network does not support WPA, select open or shared instead.
- Page 10 422W configuration and advanced settings, please refer to the Troubleshooting section, User's Guide on the Utility CD-ROM, or TRENDnet's website at http://www.trendnet.com. Register Your Product To ensure the highest level of customer service and support, please take a moment to www.trendnet.com/register...
-
Page 11: Troubleshooting
This will return settings back to factory defaults. The default IP address is 192.168.10.30. The default administrator ID and password is admin. If you still encounter problems or have any questions regarding the TV-IP422/TV-IP422W, please contact TRENDnet's Technical Support Department. - Page 12 Certifications This equipment has been tested and found to comply with FCC and CE Rules. Operation is subject to the following two conditions: (1) This device may not cause harmful interference. (2) This device must accept any interference received. Including interference that may cause undesired operation.
- Page 13 Product Warranty Registration Please take a moment to register your product online. Go to TRENDnet’s website at http://www.trendnet.com/register 20675 Manhattan Place Torrance, CA 90501 Copyright ©2009. All Rights Reserved. TRENDnet.
Need help?
Do you have a question about the TV-IP422 and is the answer not in the manual?
Questions and answers