Advertisement
Quick Links
Advertisement

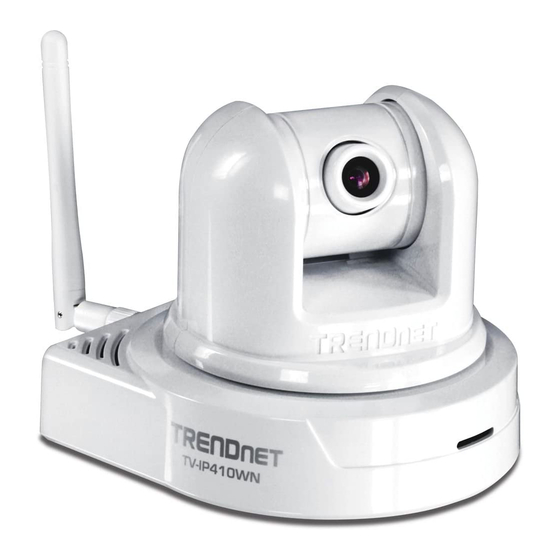
Summary of Contents for TRENDnet TV-IP410
- Page 1 Quick Installation Guide TV-IP410 TV-IP410W H/W: A1.0R...
-
Page 2: Table Of Contents
Table of Contents Table of Contents English ... 1 1. Before You Start 2. Hardware Installation ... 3. Configure the Internet Camera ... Troubleshooting ... Version 05.28.2008... -
Page 3: English
Memory: 256MB RAM or above / 512MB RAM or above (Windows Vista) Windows 2000/XP/Vista VGA Resolution: 800 x 600 or above Web Brower: Internet Explorer (6.0 or higher) Package Contents TV-IP410 / TV-IP410W Utility CD-ROM Multi-Language Quick Installation Guide 1 x 2dBi Detachable Antenna... - Page 4 Application Home Monitoring Family Monitoring (TV-IP410) (TV-IP410) Wireless N Gigabit Router (TEW-633GR) Internet Cable/DSL Property Monitoring Business Monitoring Modem (TV-IP410W) (TV-IP410W) Wireless 54Mbps 100Mbps Home Monitoring Family Monitoring (TV-IP410W) (TV-IP410W) Wireless N Gigabit Router (TEW-633GR) Internet Cable/DSL Property Monitoring Business Monitoring...
-
Page 5: Hardware Installation
2. Hardware Installation 1. Attach the Antenna. (TV-IP410W) 2. Connect a RJ-45 network cable from a Switch/Router to the Ethernet port of the Internet Camera Server. 3. Connect the AC Power Adapter to the Internet Camera Server and then to a power outlet. 4. -
Page 6: Configure The Internet Camera
1. Insert the Utility CD-ROM into your CD-ROM drive and then click IP Setup. 2. Follow the IPSetup Setup Wizard instructions and then click Next. 3. Click Close. 4. Go to Start -> Programs -> TRENDnet -> IPSetup and click IPSetup. English... - Page 7 Note: By default, the IP setting on the TV-IP410/TV-IP410W is set to DHCP. Please skip to step 9. If you want to give the TV-IP410/TV-IP410W static IP address, continue on to step 5. 5. Select the camera server and click Change IP.
- Page 8 Password, and then click OK. By default: User Name: admin Password: admin 11. Right click and select Install ActiveX Control. 12. Click Install. Note: If you have the TV-IP410W, continue on to step 13. If you have the TV-IP410, skip to step 16. English...
- Page 9 13. Click Setup, Network and then click Wireless. (TV-IP410W only). 14. Click Site Survey. Select your wireless network. If encryption is enabled, select the proper Authentication type, enter the Pre-Shared Key and then click apply. (Example shows WPA2-PSK. If your wireless network does not support WPA, select open or shared instead.
- Page 10 Note: For detailed information regarding the TV-IP410/ and advanced settings, please refer to the Troubleshooting section, User's Guide on the Utility CD-ROM, or TRENDnet's website at http://www.trendnet.com. To ensure the highest level of customer service and support, please take a moment to...
-
Page 11: Troubleshooting
IP address of the camera (see step 5 in Section 3: Configure the Internet camera). The default administrator ID and password is admin. If you still encounter problems or have any questions regarding the TV-IP410/TV-IP410W, please contact TRENDnet's Technical Support Department. - Page 12 Certifications This equipment has been tested and found to comply with FCC and CE Rules. Operation is subject to the following two conditions: (1) This device may not cause harmful interference. (2) This device must accept any interference received. Including interference that may cause undesired operation.
- Page 13 Product Warranty Registration Please take a moment to register your product online. Go to TRENDnet’s website at http://www.trendnet.com/register 20675 Manhattan Place Torrance, CA 90501 Copyright ©2008. All Rights Reserved. TRENDnet.


Need help?
Do you have a question about the TV-IP410 and is the answer not in the manual?
Questions and answers