Table of Contents
Advertisement
Quick Links
Advertisement
Table of Contents

Subscribe to Our Youtube Channel
Related Manuals for Trotec PAGS 10-125

Summary of Contents for Trotec PAGS 10-125
- Page 1 PAGS 10-125 ORIGINAL INSTRUCTIONS ANGLE GRINDER...
-
Page 2: Table Of Contents
Info Information marked with this symbol helps you to carry out your tasks quickly and safely. Follow the manual Information marked with this symbol indicates that the instructions must be observed. angle grinder PAGS 10-125... -
Page 3: Safety
Use of dust collection can earthed or grounded. reduce dust-related hazards. • Do not expose power tools to rain or wet conditions. Water entering a power tool will increase the risk of electric shock. angle grinder PAGS 10-125... - Page 4 Failure to follow all protective equipment. Fragments of workpiece or of a instructions listed below may result in electric shock, fire broken accessory may fly away and cause injury beyond and / or serious injury. immediate area of operation. angle grinder PAGS 10-125...
- Page 5 • Never place your hand near the rotating accessory. Accessory may kickback over your hand. angle grinder PAGS 10-125...
- Page 6 The wire bristles can easily penetrate light clothing and/or skin. We recommend using the power tool with original Trotec accessories. • If the use of a guard is recommended for wire...
- Page 7 Do not touch the mains plug with wet or damp hands. of the tool holder uncontrollably upon switch-on. Hold onto the mains plug while pulling the power cable out of the mains socket. angle grinder PAGS 10-125...
-
Page 8: Information About The Device
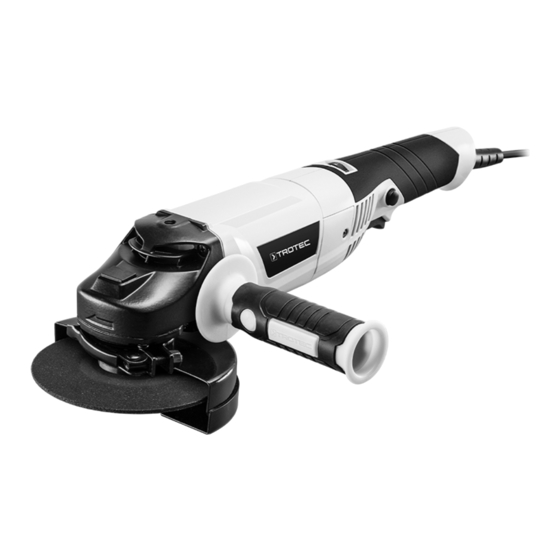
Additional handle comfortable working. Adjusting screw The device is equipped with a start lock preventing unintentional Coded projection switch-on of the device. Locking lever Mounting flange Cutting disc Clamping nut Pin-type face wrench angle grinder PAGS 10-125... - Page 9 Uncertainty K main handle / 1.5 m/s² additional handle Sound values according to EN 60745 Sound pressure level L 91 dB (A) Sound power L 102 dB(A) Uncertainty K 3 dB Wear hearing protection. Excessive noise can lead to hearing loss. angle grinder PAGS 10-125...
-
Page 10: Transport And Storage
• Dry and protected from frost and heat • Ambient temperature below 45 °C • Protected from dust and direct sunlight inside the transport case 2. Check the additional handle (10) for tight fit. 3. For disassembly unscrew the additional handle (10) counter-clockwise. angle grinder PAGS 10-125... - Page 11 The guard must be adjusted in a way that flying sparks and detached parts cannot hit the user. To adjust the guard (9), please proceed as follows: 1. Open the locking lever (13). angle grinder PAGS 10-125...
- Page 12 2. Slowly turn the clamping nut (16) to the locking point until the lock is fixed. Press and hold the spindle lock (1). 3. Use the pin-type face wrench (17) to unscrew the clamping nut (16) counter-clockwise. Then let go of the spindle lock (1). angle grinder PAGS 10-125...
- Page 13 Then let go of the spindle lock (1). The labelling must point to the device. Make sure that the Pay attention not to damage the cutting disc. cutting disc hole fits the mounting flange without clearance. Do not use any reducers or adapters. angle grinder PAGS 10-125...
-
Page 14: Operation
Inserting the wire brush: • Guide the tool over the workpiece only applying light grinding pressure. • For polishing, buffing or cleaning with a wire brush, select the lowest speed level to prevent the brush and material from damage. angle grinder PAGS 10-125... -
Page 15: Available Accessories
Cutting disc metal Ø 125 mm 6.225.001.111 the cutting disc for correct fit. Cutting disc stone Ø 125 mm 6.225.001.101 6. After switch-on, wait until the device has reached its maximum speed. Only then start working. angle grinder PAGS 10-125... -
Page 16: Errors And Faults
• Make sure that the clamping nut (16) is firmly tightened, see chapter Tool change. • Make sure that there is no workpiece debris blocking the drive. Remove the blockages, if any. • Make sure that the cutting disc is not jammed in the workpiece. angle grinder PAGS 10-125... -
Page 17: Maintenance
Maintenance tasks which require the housing to be Always replace the carbon brushes in pairs. opened must only be carried out by authorised specialist companies or by Trotec. ü Make sure to have a pair of unused carbon brushes ready. Notes on maintenance ü... - Page 18 4. Hold the pressure spring (19) down and insert a new carbon brush (21) into the guide. 5. Connect the contact connector (18) with the pin. 3. Press the pressure spring (19) down and take the worn carbon brush (20) out of the guide. angle grinder PAGS 10-125...
-
Page 19: Disposal
Declaration of conformity Declaration of conformity in accordance with the EC Machinery Directive 2006/42/EC, Annex II, Part 1, Section A We – Trotec GmbH – declare in sole responsibility that the product designated below was developed, constructed and produced in compliance with the requirements of the EC Machinery Directive in the version 2006/42/EC. - Page 20 Trotec GmbH Grebbener Str. 7 D-52525 Heinsberg +49 2452 962-400 +49 2452 962-200 info@trotec.com www.trotec.com...
Need help?
Do you have a question about the PAGS 10-125 and is the answer not in the manual?
Questions and answers