
Related Manuals for VERITAS 717636


Summary of Contents for VERITAS 717636
- Page 1 Wooden Plane Hardware Kit W22356p@AEBHe 05P40.45 Veritas Tools Inc. Ottawa ON K2H 1C2 Canada Ogdensburg NY 13669-2205 United States Blade packaged separately. www.veritastools.com...
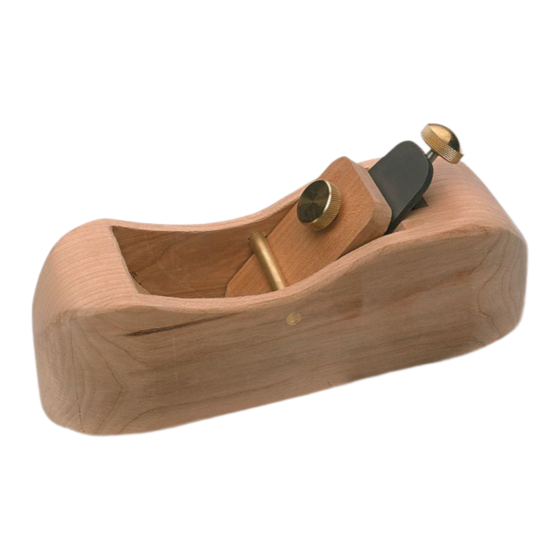
- Page 2 Introduction The following instructions describe how to make a basic bevel-down wood-bodied smooth plane, complete with a Norris-style adjuster. Instead of a hard-to-adjust wedge, the blade is secured by a user-made wooden lever cap with a brass knob to provide the clamping force. The lever cap is retained with the brass cross pin.
- Page 3 Caution: Be aware that the blade is sharp; careless handling can result in serious injury. Table 1: Hardware Components Item Qty. Adjustment Cup Wood Screw, #10 × " Adjustment Mechanism -20 Brass Insert Blade, 1 " Lever Cap Knob Brass Cross Pin Required Tools Layout •...
- Page 4 Required Material The body of the plane, as well as the lever cap, can be made from any dense, close-grained hardwood. Beech and hard maple are excellent choices. Other hardwoods such as cherry and walnut may also be used. The required size for the body is noted in step 1 and the required size for the lever cap is noted in step 13.
- Page 5 Drilling the Holes for the Adjuster 4. Draw a line along the center of the blade bed surface. Measuring up from the bed lip, make marks at 2 " and 3 ". Use a center punch or scratch awl to ⁄...
- Page 6 Assembling the Body 8. Arrange the inner body cut-outs and side pieces as shown in Figure 9. Place the blade (bevel down) on the blade bed and position the front piece of the body so it is just touching the leading edge of the blade. This will ensure a tight mouth opening.
- Page 7 Shaping the Body 11. Sketch the desired shape or profile on the side of the body and cut with a bandsaw. Top View Similarly, draw the desired curve at the front and cut with a bandsaw. ⁄ " min. Tip: Avoid shaping the body too close to the Side View cross-pin hole.
- Page 8 05P22.52 25° O1 Tool Steel Blade, 0.125" × 1 " ® 05P22.72 25° PM-V11 Tool Steel Blade, 0.125" × 1 " 814 Proctor Avenue 1090 Morrison Drive Ogdensburg NY 13669-2205 Ottawa ON K2H 1C2 United States Canada customerservice@veritastools.com © Veritas Tools Inc. 2013 www.veritastools.com 965 IWE-572 Rev. B...
Need help?
Do you have a question about the 717636 and is the answer not in the manual?
Questions and answers