Sign In
Upload
Download
Table of Contents
Contents
Add to my manuals
Delete from my manuals
Share
URL of this page:
HTML Link:
Bookmark this page
Add
Manual will be automatically added to "My Manuals"
Print this page
×
Bookmark added
×
Added to my manuals
Manuals
Brands
Sennheiser Manuals
Receiver
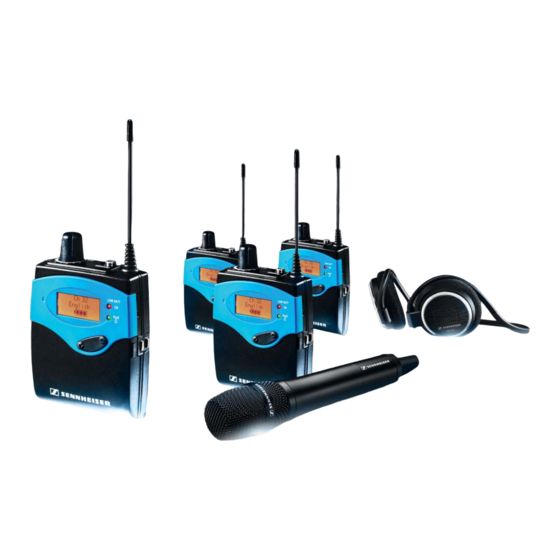
EK 1039-DW
Manual
Sennheiser EK 1039-DW Manual
Hide thumbs
1
Table Of Contents
2
3
4
5
6
7
8
9
10
11
12
13
14
15
16
17
18
19
20
21
22
23
24
25
26
27
28
page
of
28
Go
/
28
Contents
Table of Contents
Bookmarks
Table of Contents
Table of Contents
Important Safety Instructions
The Tourguide 1039 System
Frequency Ranges
Features of the EK 1039 Receiver
Suitable Transmitters for Your Tourguide Application
Charger for Your Tourguide Application
Product Overview of the EK 1039 Receiver
Putting the Receiver into Operation
Inserting the Batteries or the Accupack
Charging the Accupack
Connecting Headphones
Using the Receiver
Switching the Diversity Receiver On/Off and Adjusting the Volume
Deactivating the Lock Mode Temporarily
Setting the Receiving Channel
Attaching the Receiver to Clothing
Configuring the Receiver
Calling Up/Ending the Menu
Overview of the Menu
The Buttons
Working with the Menu
The "Setup" Menu
The "Channels" Menu
The "Setup Ch 1" ... "Setup Ch 32" Menu
Cleaning and Maintaining the Receiver
Configuring the Transmitters for Your Tourguide Application
Matching the Transmitter to the Receiver
Configuring the Mobile SK, SKM and SKP Transmitters
Configuring the Stationary SR Monitoring Transmitter
If a Problem Occurs
Recommendations and Tips
Specifications
Appendix
Advertisement
Quick Links
Download this manual
Tourguide
1039
Instruction manual
Table of
Contents
Previous
Page
Next
Page
1
2
3
4
5
Advertisement
Table of Contents
Need help?
Do you have a question about the EK 1039-DW and is the answer not in the manual?
Ask a question
Questions and answers
Related Manuals for Sennheiser EK 1039-DW
Receiver SENNHEISER EK 1039 Instruction Manual
(30 pages)
Receiver SENNHEISER EK 1039 Specifications
Tourguide receiver (3 pages)
Sennheiser EK 1039 - Tourguide Receiver Manual
(article)
Receiver Sennheiser 503125 Instruction Manual
Sennheiser wireless camera receiver instructions manual (28 pages)
Receiver SENNHEISER 100-P G3 Instruction Manual
(37 pages)
Receiver SENNHEISER BERE 823-865MHZ - 02-09 Manual
Additional information for sennheiser evolution wireless g3 systems (8 pages)
Receiver Sennheiser EK 100 G3 Specifications
Portable receiver (3 pages)
Receiver Sennheiser EK 100 G3 Manual
Diversity receiver (13 pages)
Receiver SENNHEISER EK 1038 Instructions For Use Manual
(60 pages)
Receiver SENNHEISER EK 1008 Manual
Microport receiver (3 pages)
Receiver SENNHEISER EK 1013-6-1 Manual
(5 pages)
Receiver SENNHEISER EK 1013-6 Manual
Rf receiver (12 pages)
Receiver Sennheiser EK 100 G2 Operating Instructions Manual
Bodypack receiver (11 pages)
Receiver Sennheiser Tourguide UHF EK 1035 UHF Instructions For Use Manual
(68 pages)
Receiver Sennheiser evolution wireless G4 100 P Series Instruction Manual
(128 pages)
Receiver Sennheiser EK 1039-BW Manual
(28 pages)
This manual is also suitable for:
Ek 1039
Ek 1039-cw
Ek 1039-bw
Table of Contents
Print
Rename the bookmark
Delete bookmark?
Delete from my manuals?
Login
Sign In
OR
Sign in with Facebook
Sign in with Google
Upload manual
Upload from disk
Upload from URL


Need help?
Do you have a question about the EK 1039-DW and is the answer not in the manual?
Questions and answers