Advertisement
Available languages
Available languages
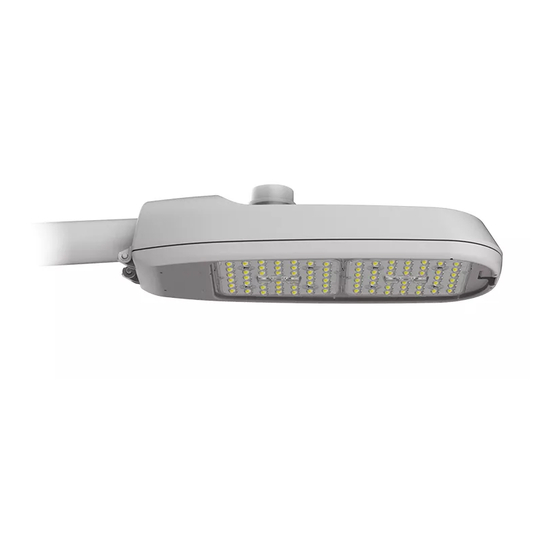
RoadFocus PLUS Security
RPRS
IP-54
RPRS
A shorting cap, photo control
or another compatible device
must be installed or luminaire
will not operate
Access
Door
3/8-16 Bolts
IMPORTANT:
2
Install the bird guard for ø1.9" or ø1.66" OD
unfold the bird guard as shown and break away the smaller diameter
lid at the folding line. FAILURE TO DO SO VOIDS THE WARRANTY
Bird guard
installed location
Angle ajustement
+/- 5°
3
page
www.lumec.com
READ THESE INSTRUCTIONS CAREFULLY BEFORE INSTALLING THIS FIXTURE
WARNING: THE ELECTRICAL POWER MUST BE DISCONNECTED DURING ALL INSTALLATION OR SERVICE WORK.
FAILURE TO FOLLOW THE INSTALLATION DOCUMENTATION OR OPERATING THIS PRODUCT OTHERWISE THAN
FOR ITS INTENDED USE VOIDS THE WARRANTY.
1.
2.
3.
4.
If required, place the
5.
supplied ANSI sticker as
shown
6.
7.
8.
9.
10.
Latch
Tenon
Bracket
Bird guard
tenons.
For ø1.9" tenon,
Remove this section
for Ø1.9" tenon
Installation Instructions
Pull the latch to release the access door.
Install the bird guard for ø1.9'' or ø1.66'' OD tenons before sliding the fixture onto the
tenon. See the important note below.
Disconnect power and slide the fixture onto the tenon. See table for approximate
penetration. Horizontal angle can be adjusted in 2.5° steps.
Evenly tighten all 3/8-16 bolts of the bracket. WARNING: Tighten the bolts at 72-96 lbs-in
(6-8 lbs-ft).
Drill a hole through the wooden pole with a 11/16'' in diameter. Place the upper slot
concentrically with the drilled hole and slide the 10 '' bolt.
Drill 2 pilot holes in correspondence with the two hole of the lower bracket and secure
the lower bracket with 2 lag screws. Tighten to 25 lbs-ft.
Tighten the 10'' bolt with nut and square washer.
Make sure to disconnect power before connecting the service leads to the terminal
block. Tighten the set-screws between 20 and 25 lbs-in.
If the optional refractor is used, open the fixture door , place the rubber rivet in the
appropriate position (see image 9) and from the inside face of door pull the small
extremity of the rivet until it secures the refractor in place. Note: the cut-out on refractor
must face the back of the
luminaire.
For grounding, install the carriage bolt through the square hole on the upper bracket and
attach the ground wire around the bolt. Secure it with a washer and a nut and tighten it.
1
FCC Part 15 Class A Products FCC Markings
NOTE: This equipment has been tested and found to comply with the limits for a Class A digital device, pursuant to part 15 of
the FCC Rules. These limits are designed to provide reasonable protection against harmful interference when the equipment is
operated in a commercial environment. This equipment generates, uses, and can radiate radio frequency energy and, if not
installed and used in accordance with the instruction manual, may cause harmful interference to radio communications.
Operation of this equipment in a residential area is likely to cause harmful interference in which case the user will be required
to correct the interference at his own expense.
CAN ICES-005 (A) / NMB-005 (A)
442295986001
442295429871
10 '' Thru Bolt,
7
Nut and Square
Washer
6
Lag screws
To change the
orientation of the
8
socket, just pull
up the receptacle
and rotate it
directly
10
Grounding slot
9
Advertisement
Table of Contents

Related Manuals for SIGNIFY RoadFocus PLUS Security


Summary of Contents for SIGNIFY RoadFocus PLUS Security
- Page 1 RoadFocus PLUS Security Installation Instructions RPRS 442295986001 442295429871 READ THESE INSTRUCTIONS CAREFULLY BEFORE INSTALLING THIS FIXTURE WARNING: THE ELECTRICAL POWER MUST BE DISCONNECTED DURING ALL INSTALLATION OR SERVICE WORK. IP-54 FAILURE TO FOLLOW THE INSTALLATION DOCUMENTATION OR OPERATING THIS PRODUCT OTHERWISE THAN FOR ITS INTENDED USE VOIDS THE WARRANTY.
- Page 2 RoadFocus PLUS Sécurité Instructions d’installation RPRS 442295986001 442295429871 LIRE CE DOCUMENT ATTENTIVEMENT AVANT D'INSTALLER LE LUMINAIRE ATTENTION: COUPER L'ALIMENTATION ÉLECTRIQUE PENDANT TOUS LES TRAVAUX D'INSTALLATION OU IP-54 D'ENTRETIEN FAUTE DE SUIVRE LA DOCUMENTATION D'INSTALLATION OU L'UTILISATION DE CE PRODUIT AUTRE QUE POUR SON USAGE PRÉVU ENTRAÎNERA L'ANNULATION DE LA GARANTIE.
Need help?
Do you have a question about the RoadFocus PLUS Security and is the answer not in the manual?
Questions and answers