Table of Contents
Advertisement
Quick Links
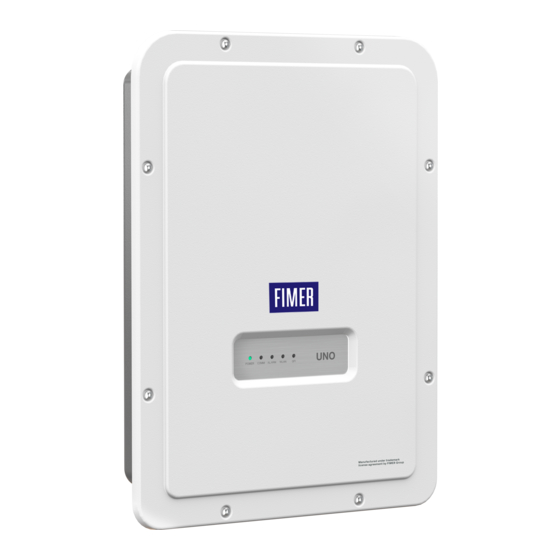
Solar Inverter
UNO-DM-1.2/2.0/3.0/3.3/3.6/4.0/
4.6/5.0-TL-PLUS-Q
Quick Installation Guide
In addition to what is explained in this quick installation guide, the safety
and installation information provided in the product manual must be read
and followed. The technical documentation for the product is available at
APPLY HERE
the website.
The device must be used in the manner described in the manual. If this
THE WIRELESS
is not the case the safety devices guaranteed by the inverter might be
ineffective.
IDENTIFICATION LABEL
Advertisement
Table of Contents

Summary of Contents for Fimer UNO-DM-4.0-TL-PLUS-Q
- Page 1 Solar Inverter UNO-DM-1.2/2.0/3.0/3.3/3.6/4.0/ 4.6/5.0-TL-PLUS-Q Quick Installation Guide In addition to what is explained in this quick installation guide, the safety and installation information provided in the product manual must be read and followed. The technical documentation for the product is available at APPLY HERE the website.
- Page 2 SO: SXXXXXXXX SN:YYWWSSSSSS Service cable gland SN Inverter: SSSSSSSSSS MAC: XX:XX:XX:XX:XX:XX PK: KKKK-KKKK-KKKK-KKKK Fimer S.p.A. Via Tortona, 25 – I 20144 Milano (MI) Regulatory Label Wireless Identification Label In case of a service password The label is divided in two separate request, it is necessary to have parts by a dashed line;...
- Page 3 FIMER Service to determine the proper derating considering a total load of more than 4 times the weight of the inverter of the input parameters.
- Page 4 ATTENTION – If multiple strings are connected to the same input, Magnetic protection feature they must have the same type and number of panels in series. FIMER Number of poles also recommend they have the same orientation and inclination. Type of differential protection A/AC Only for the 5kW model.
- Page 5 10. Output connection (AC) • Close the connector and tighten the cable gland respecting the tightening torque (4+1 Nm) to ensure the IP65 degree of protection ATTENTION – Caution! Before performing operations described below, make sure that you have properly disconnected the AC line downstream of the inverter For the grid connection of the inverter, 3 connections are needed: ground, neutral and phase.
- Page 6 Supply the inverter with DC input voltage from the photovoltaic generator the user network. and via AC GRID voltage. With Static, the user can assign a fixed IP address to the system. The data which has to be entered in order for IP static address assigning to take place will appear.
- Page 7 • Confirm the settings by clicking “DONE”; the inverter will reboot at the updates in the download area of the website www.fimer.com or at finish of the meter test phase (if installed).
- Page 8 10. For UNO-DM-5.0 model: Linear power reduction from Max to zero [480V≤VMPPT≤580V] 11. Hereby, Fimer S.p.A. declares that the radio equipments (radio module combined with the inverter), to which this user manual refers, are in compliance with the Directive 2014/53/ EU.


Need help?
Do you have a question about the UNO-DM-4.0-TL-PLUS-Q and is the answer not in the manual?
Questions and answers