Advertisement
Do you have a question about the V-220 Series and is the answer not in the manual?
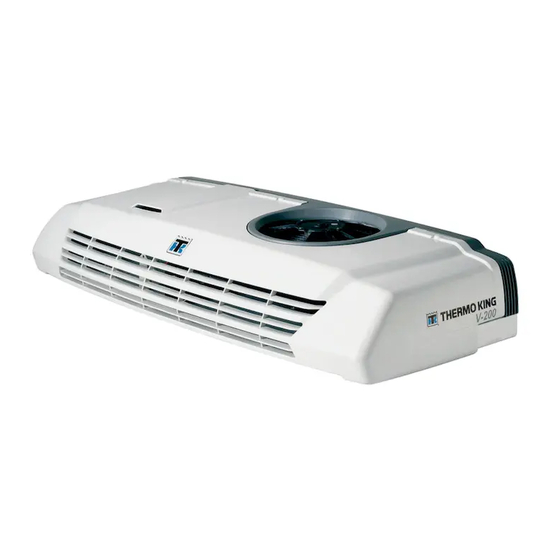
Display on dash controls only read bal instead of the temperature.


Need help?
Do you have a question about the V-220 Series and is the answer not in the manual?
Questions and answers
Display on dash controls only read bal instead of the temperature.