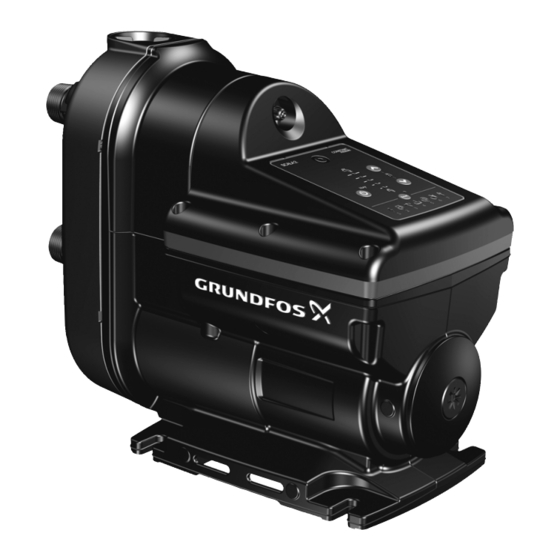
Summary of Contents for Grundfos SCALA 2
- Page 1 GRUNDFOS INSTRUCTIONS CLICK ANYWHERE on THIS PAGE to RETURN TO GRUNDFOS SCALA 2 PUMP GUIDE at InspectApedia.com SCALA Service instructions...
-
Page 2: Table Of Contents
0.01 6.2 Fitting the pressure tank Max. 6.3 Fitting the control box cover Example of nameplate Fault finding the product Fig. 1 7.1 Grundfos Eye operating indications 7.2 Fault resetting Pos. Description 7.3 Fault finding chart Type designation Exploded view Product number 1. -
Page 3: Type Key 3
2.2 Type key SCALA2 Type range SCALA1 Economy SCALA2 Comfort Rated flow rate Maximum head Material code A: Standard Supply voltage K: 1 x 200-240 V, 50/60 Hz M: 1 x 208-230 V, 60 Hz V: 1 x 115 V, 60 Hz W: 1 x 100-115 V, 50/60 Hz Motor C: High-efficiency motor with frequency converter... -
Page 4: Service Tools
3. Service tools 3.1 Standard tools Standard tools Pos. Range Designation Description Part number Torx screwdriver Torque screwdriver 1-6 Nm SV0438 Bits kit 5 mm hexagon SV2010 Needle-nose pliers Ring/open-end spanner M89 - 13 mm SV0055 Flat-blade screwdriver 4. Lubricants If nothing else is specified, all O-rings are to be lubricated with Rocol Sapphire Aqua-Sil. -
Page 5: Dismantling And Assembly
5. Dismantling and assembly 5.3 Removing the pressure tank 1. Slowly unscrew the non-return valve (65a) to release any 5.1 General information pressure in the pump. 2. Remove the drain plug (7). DANGER 3. Remove the union nut (100) by turning it counterclockwise by Electric shock hand. -
Page 6: Will Result In Death Or Serious Personal Injury
10. Remove the screws (26) that hold the connection part. Note that one of the screws holds the earth connection bracket (173c) and washer. 11. Remove the connection part and the pressure tank. 12. Remove the seal ring (44a). Removing the nipples and the cover Fig. -
Page 7: Removing The Chamber Stack
14. Unscrew the pressure tank (42) counterclockwise and remove 5.5 Removing the shaft seal the gasket for the tank (42a). 1. Remove the rotating shaft seal face (104). 2. Remove the stationary seat (103) using a needle-noise pliers. Removing the pressure tank Fig. -
Page 8: Fitting The Chamber Stack
3. Check that the self-priming valve is fitted correctly. 6.1 Fitting the chamber stack 1. Fit the impellers (49), the seal (45) and the chambers (4). Fit the seal ring (44a) last. 2. Fit the washer (66) and the locking nut (67) and tighten it to 5 Nm. -
Page 9: Fitting The Control Box Cover
6. Fit the sensor (174a) and fasten it by means of the retaining 6.3 Fitting the control box cover clip (175). 1. Connect the HMI plug and place the control box cover on the pump. Check that the rubber sensor pocket is are seated correctly. -
Page 10: Fault Finding The Product 10 Fig
7. Fault finding the product 7.1 Grundfos Eye operating indications Grundfos Eye Indication Description The power is off. No lights are on. The pump is not running. Two opposite green indicator lights running in the The power is on. direction of rotation of the pump. -
Page 11: Fault Finding Chart
Remove the end cover plug and The shaft seal has seized up. deblock the shaft seal by turning the shaft by means of a screwdriver. Contact Grundfos Service if the The pump is blocked by impurities. problem persists. Check the water source, and prime Dry running. -
Page 12: Caution
Fault Cause Remedy 4. System The setpoint has been set too high. overpressure. The difference between the outlet pressure and the inlet pressure must not exceed 4 bar (58 psi). Reduce the setpoint to 4 bar (58 psi) Example: If the required outlet plus positive inlet pressure. -
Page 13: Exploded View
8. Exploded view Fig. 24 Exploded view... -
Page 14: Could Result In Minor Or Moderate Personal Injury
Position number list Pos. Description Connection part Chamber Drain plug Self-priming valve O-ring Screw Lock washer O-ring Tank complete Flat gasket Inlet part Seal ring Seal Impeller Non-return valve, inlet Non-return valve, outlet Washer Locking nut Union nut 100a Nipple 100b O-ring O-ring... - Page 15 Unit 1, Ground floor Telefax: +64-9-415 3250 Turkey «Порт» Siu Wai Industrial Centre GRUNDFOS POMPA San. ve Tic. Ltd. Sti. Тел.: +7 (375 17) 286 39 72/73 29-33 Wing Hong Street & Norway Gebze Organize Sanayi Bölgesi Факс: +7 (375 17) 286 39 71...
- Page 16 98979478 1116 ECM: 1197159 www.grundfos.com...


Need help?
Do you have a question about the SCALA 2 and is the answer not in the manual?
Questions and answers