Advertisement
Quick Links
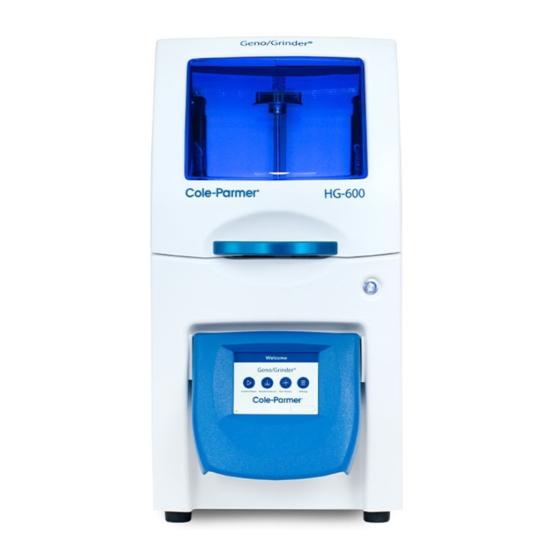
HG-600 Geno/Grinder® 2010
Tissue and Cell Lyser for Biological Applications
Quick Start Guide
For 115V (04500-17) and 230V (04576-84)
Lid
2012
Clamp
Touchscreen
Display
Step 1. Connect the powercord to the AC Inlet located in the back of the unit. Do not plug mill into
GFCI outlet. Power On the 2010 GG.
software loads followed by the Home Screen.
Step 2. Load samples into the clamp (titer plates or vials). When using 4 or 6 titer plates, place a nesting
tray between them. If using vials (2ml or 5ml), vial holders can be stacked to maximize throughput.
Step 3. Position the clamp lid above the threaded rod with the guide on the upright at the rear of the clamp,
press and hold button on the locking knob while sliding down the threaded rod.
Step 4. Turn knob to tighten (finger tight) and check that the button has popped out.
A) Slide the clamp lid on top
of the vials. Screw down
the locking knob on the
threaded rod.
Locking
Knob
On/Off
button
Do not plug into GFCI outlet
(Ground Fault Circuit Interrupter)
"
B) Turn knob clockwise to
tighten (finger tight).
C) Make sure that vial
holders are secure
and cannot be
moved from side
to side.
1300-87055QSG-1G, REV 4
How To Operate HG-600 Geno/Grinder®
Set up the Geno/Grinder® in a well ventilated,
unconfined space. The unit should be operated on a
flat, hard, stable benchtop due to the vigorous motion
and vibration generated during operation.
To install the clamp, use the 3/16 in Allen wrench
(supplied with power cord and manual). Raise lid and
attach clamp using the lock washers and bolts to the
top of the shaft.
Secure clamp base to shaft
using bolts and lock washers
supplied with clamp.
AC Inlet
"
Please Wait
appears on the screen during start-up as the
Double-sided
nesting tray
Single-sided
nesting tray
(bottom only)
Upright must be
at rear of unit.
Stacking Titer Plates
Advertisement

Related Manuals for Cole Parmer Geno/Grinder HG-600


Summary of Contents for Cole Parmer Geno/Grinder HG-600
- Page 1 HG-600 Geno/Grinder® 2010 Tissue and Cell Lyser for Biological Applications Quick Start Guide For 115V (04500-17) and 230V (04576-84) How To Operate HG-600 Geno/Grinder® Set up the Geno/Grinder® in a well ventilated, unconfined space. The unit should be operated on a flat, hard, stable benchtop due to the vigorous motion and vibration generated during operation.
- Page 2 THE TOUCHSCREEN DISPLAY From the Home Screen the Control Panel, Saved Protocols, and Run History, and Settings can be accessed by the user. Programmable operating commands through a series of touchscreen displays. USB to Administrative lockout (passcode) imports/export saved protocols, which allows Lab Manager to run history, diagnostic data, or restrict user access to specific...
Need help?
Do you have a question about the Geno/Grinder HG-600 and is the answer not in the manual?
Questions and answers