Mocka Zara Assembly Instructions Manual
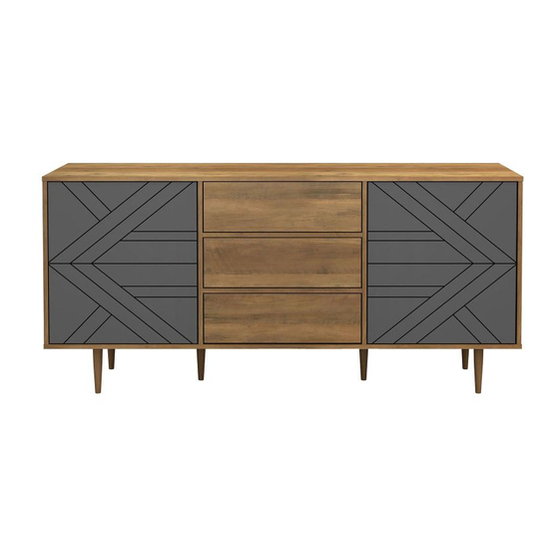
Buffet
Hide thumbs
Also See for Zara:
- Assembly instructions manual (16 pages) ,
- Manual (11 pages) ,
- Assembly instructions manual (11 pages)
Advertisement
Quick Links
Zara
Buffet
Thank you for your purchase. Please follow the instructions for correct
assembly. While we took great effort to ensure these assembly instructions
were correct at the time of printing, sometimes updates are required post
production. For the most up to date versions please refer to the product
page on our website. mocka.com.au/mocka.co.nz
mocka.co.nz I mocka.com.au
Advertisement

Related Manuals for Mocka Zara


Summary of Contents for Mocka Zara
- Page 1 For the most up to date versions please refer to the product page on our website. mocka.com.au/mocka.co.nz mocka.co.nz I mocka.com.au...
-
Page 2: Panel Layout
Partlist Top Panel Support Leg Bottom Panel Door Left Side Panel Door Right Side Panel Shelf Panel Divider Drawer Front Divider Left Drawer Side Rail Right Drawer Side Back Panel Rail Back Panel Drawer Base Drawer Back mocka.co.nz I mocka.com.au... -
Page 3: Hardware Supplied
The fixing device provided should fit most wall types, but please note that different wall materials may require different fixing devices from those supplied. Phillips & Flathead screwdrivers required For quicker assembly, we recommend the use of a power drill on a low-speed setting. mocka.co.nz I mocka.com.au... - Page 4 Zara Buffet Hardware Needed Hardware Needed mocka.co.nz I mocka.com.au...
- Page 5 Zara Buffet Hardware Needed The round head Hole in the front is aligned with the direction of the arrow. Hardware Needed mocka.co.nz I mocka.com.au...
- Page 6 Zara Buffet Hardware Needed mocka.co.nz I mocka.com.au...
- Page 7 Zara Buffet Hardware Needed The round head is aligned with the direction of the arrow. Hardware Needed mocka.co.nz I mocka.com.au...
- Page 8 Zara Buffet Hardware Needed Hardware Needed mocka.co.nz I mocka.com.au...
- Page 9 flush. Hardware Needed Insert 8x shelf plugs (H) into the unit at the desired height for the shelves and rest the shelf panel [14] onto them. Ensure the shelves are balanced and stable. mocka.co.nz I mocka.com.au...
- Page 10 Zara Buffet Hardware Needed Drawer x3 Hardware Needed Drawer x3 mocka.co.nz I mocka.com.au...
- Page 11 Zara Buffet Drawer x3 Hardware Needed Drawer x3 mocka.co.nz I mocka.com.au...
- Page 12 If the door is not catching or sitting flush, twist the end of the cover (N) until it catches on the seal (O). Carefully insert the drawers into the unit by gently guiding the runners into the tracks. mocka.co.nz I mocka.com.au...
- Page 13 Hardware Needed Hardware Needed wall anchor screw Note: Seek advice from a qualified trades person on how to attach this safety strap to your specific wall. Once assembled lift furniture into place, do not drag. You’re done, enjoy! mocka.co.nz I mocka.com.au...
- Page 14 MOVE DOOR OUTWARD by turning this screw clockwise by turning this screw counter-clockwise STEP 4 Adjust the Gap beteen door panel and side panel MOVE DOOR BACK OR Loosen this screw a bit. Re-tighten this screw. FORTH mocka.co.nz I mocka.com.au...
Need help?
Do you have a question about the Zara and is the answer not in the manual?
Questions and answers