Advertisement
Quick Links
Advertisement

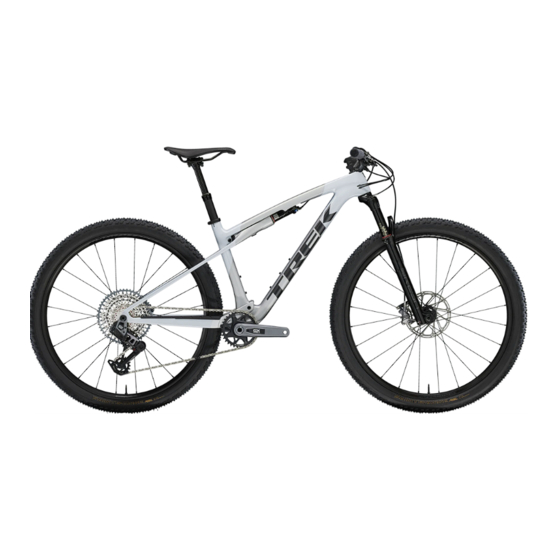
Summary of Contents for Trek SUPERCALIBER SL
- Page 1 2024 SUPERCALIBER SL AND SLR SERVICE MANUAL...
-
Page 2: Table Of Contents
Improper tire size could damage the bicycle frame. Trek recommends 6mm clearance above and on the sides of the tire. Bottom bracket... - Page 3 It does not contain instructions for all components (such as brake calipers). Refer to the original manufactur- er for more information. Additional resources • Trek’s YouTube channel: youtube.com/trekbikes • Trek Owner’s Manual: trekbikes.com/manuals • RockShox SIDLUXE IsoSrut Service Manual found on...
-
Page 4: Rear Axle With Udh
2024 Supercaliber Rear axle with UDH 25Nm Switch lever — W573860 Thru axle, 12x180 — W5290786 Dropout brake mount — W5307257 Derailleur hanger, UDH Notice: Do not apply grease. Washer, 25mm Notice: The washer is frame-specific. Install only the washer size specified. —... - Page 5 2024 Supercaliber Rear axle with SRAM Transmission Derailleur Switch lever — W573860 Thru axle, 12x180 — W5290786 Dropout brake mount — W5307257 SRAM Transmission Derailleur Bushing — Refer to information on sram.com. Mounting bolt For additional information about the Transmission derailleur, refer to the SRAM user manual at sram.com.
- Page 6 2024 Supercaliber Main pivot Install driveside bearing first. Bearings, 28x15x7 — W5290782 Main pivot sleeve — W5290783...
- Page 7 2024 Supercaliber Swingarm page 13. Important: Do not apply grease to the threads. Install between the main frame and driveside of the swingarm. Swingarm SM — 45582 M-XL — 45583 IsoStrut axle bolt, M6x10mm — W5290780 Endcap fastener, M6x1mm — W582252 —...
- Page 8 2024 Supercaliber SLR routing with AXS shifting Note: The fork must be removed to route the brake hose and IsoStrut lockout cable housing. Important: Route the cables as shown below. Install the grommet prior to routing the brake hose. Cable tunnel molded into the frame Rear brake hose...
-
Page 9: Slr Routing With Mechanical Shifting
2024 Supercaliber SLR routing with mechanical shifting Note: The fork must be removed to route the brake hose and IsoStrut lockout cable housing through the head tube. Important: Route the cables as shown below. Install the grommets prior to routing the brake hose and derailleur cable housing. - Page 10 2024 Supercaliber SL routing with AXS shifting Important: Route the cables as shown below. Cable tunnels molded into the frame Rear brake hose IsoStrut lockout cable housing Dropper seatpost cable housing Cable housing plugs — W600649 Chainstay plug — W5259425 Chainstay plug —...
- Page 11 2024 Supercaliber SL routing with mechanical shifting Important: Route the cables as shown below. Cable tunnels molded into the frame Rear brake hose Rear derailleur cable housing IsoStrut lockout cable housing Dropper seatpost cable housing...
-
Page 12: Frame Guards
2024 Supercaliber Frame guards Rotor strike guard, bonded — W5307943 Chainstay guard, adhesive — W5307370 Chainring strike guard, bonded — W5307942 Downtube protector, clear adhesive — W5312789 Adhesive guards Bonded strike guards Use isopropyl alcohol to clean the frame surface where the 1. - Page 13 2024 Supercaliber IsoStrut Apply a light coat of Maxima Suspension Plush Fluid 10WT oil to inner edge of the wiper seals before installing the IsoStrut. See Bushings, carriage wiper seals, and foam blocks on page 14. Important: Add oil to IsoStrut before installing 7 and 8 .
- Page 14 2024 Supercaliber IsoStrut maintenance For detailed service instructions, refer to the RockShox SIDLuxe IsoStrut service manual found on SRAM’s dealer portal. Remove the IsoStrut Air volume spacers (bottomless tokens) 1. Remove the IsoStrut mounting fasteners. See page 6. — 5316700 1.
- Page 15 2024 Supercaliber Bushings, carriage wiper seals, and foam blocks Soak in Maxima Suspension Plush Fluid 10wt prior to installation. Do not soak in oil prior to installing. Apply a light coat of Maxima Suspension Plush Fluid 10WT oil to inner edge of wiper seals before installing the IsoStrut. Carriage wiper seals Foam blocks —...
- Page 16 2024 Supercaliber Replace bushings and carriage wiper seals 2. Pull out the foam ring. Tools for replacing the seals • IsoStrut seal and bushing press tool set — 5317338 • Delrin rod, 1 inch (25.4mm) • Headset press • Maxima Suspension Plush Fluid 10wt oil — 600297 Tools for replacing the bushings •...
- Page 17 2024 Supercaliber Replace the bushings Notice: Do not apply grease to the bushings. 6. Load a new bushing onto each bushing installation tool. 1. Put the slide hammer with the collet attached inside Bushing the front end of the carriage. Use this side of the tool for pressing in Notice: Take care to engage only the bushing, and bushings.
- Page 18 2024 Supercaliber 10. Spin the headset press until it is snug against the bushing tool. Check for correct alignment of the press, tools, and bushings. Rotate the press to push the bushings into place. It’s normal to have different gaps at the front and rear of the carriage.
- Page 19 2024 Supercaliber Replace the wiper seals Notice: Take care to not scuff or scratch the bushings. 6. Spin the headset press until it is snug against the seal Scuffed or scratched bushing will need to be replaced. tool. Check for correct alignment of the press, tools, and seals.
-
Page 20: Specifications
Improper tire size could damage the bicycle frame. Trek recommends 6mm clearance above and on the sides of the tire. Bottom bracket...


Need help?
Do you have a question about the SUPERCALIBER SL and is the answer not in the manual?
Questions and answers