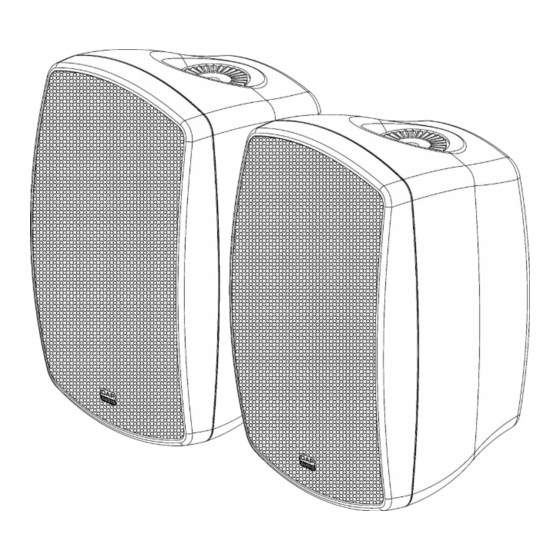
Summary of Contents for DAPAudio EVO 8 A
- Page 1 MANUAL ENGLISH EVO 8A Ordercode: D3693 Highlite International B.V. – Vestastraat 2 – 6468 EX – Kerkrade – the Netherlands...
-
Page 2: Table Of Contents
EVO 8A Table of contents Warning ....................................2 Safety Instructions ................................. 2 Operating Determinations ............................3 Return Procedure ................................4 Claims ....................................4 Description of the device ..............................5 Overview ..................................5 Back ....................................6 Installation ................................... 7 Set Up and Operation ............................... 7 Names and Functions ............................... -
Page 3: Warning
EVO 8A Warning Unpacking Instructions Immediately upon receiving this product, carefully unpack the carton and check the contents to ensure that all parts are present, and have been received in good condition. Notify the dealer immediately and retain packing material for inspection if any parts appear damaged from shipping or the carton itself shows signs of mishandling. -
Page 4: Operating Determinations
EVO 8A ● Avoid ground loops! Always be sure to connect the power amps and the mixing console to the same electrical circuit to ensure the same phase! ● Avoid installing your equipment very near radio or TV sets, mobile phones, etc., as these can cause RF (radio frequency) interference. -
Page 5: Return Procedure
EVO 8A The EVO 8A can be mounted to a wall or placed on a flat stage floor. Return Procedure Returned merchandise must be sent prepaid and in the original packing, call tags will not be issued. Package must be clearly labeled with a Return Authorization Number (RMA number). Products returned without an RMA number will be refused. -
Page 6: Description Of The Device
EVO 8A Description of the device Features ● Input voltage: 230 V AC, 50 Hz ● Speaker system: Active 2-way full range ● Power consumption: 2 x 80 W ● Sensitivity W/m: 92 dB ● LF driver: 8” Woofer ● HF driver: 1”... -
Page 7: Back
EVO 8A Back Fig. 02 01) LED indicators (OK/CLIP/TEMP/ERROR) 02) Bass control 03) Treble control 04) Speaker connector OUT 05) Power LED indicator 06) Volume control 07) Power switch ON/OFF 08) Fuse 5S1,5A/250V 09) 230V AC C8 power connector IN 10) Line connector, balanced IN 11) RCA line connector, unbalanced IN Order code: D3693... -
Page 8: Installation
EVO 8A Installation Remove all packing materials from the EVO 8A. Check that all foam and plastic padding is removed. Connect all cables. Always disconnect from electric mains power supply before cleaning or servicing. Damages caused by non-observance are not subject to warranty. Set Up and Operation Before plugging the unit in, always make sure that the power supply matches the product specification voltage. -
Page 9: Names And Functions
EVO 8A Names and Functions 01) LED indicators (OK/CLIP/TEMP/ERROR) ● OK: The EVO is operating within its safety limits. ● CLIP: It indicates distortion. In this case, decrease your source signal level until the LED turns off. Please keep in mind that the EVO cannot correct any distortion. ●... -
Page 10: Troubleshooting
EVO 8A Troubleshooting No Sound Always check if all the cables and cords are connected. Always turn off power to the area before checking the wires, to prevent electric shock. If everything works properly and there is still no sound, revisit the manufacturer’s instructions to make sure they were followed during installation. -
Page 11: Dimensions
EVO 8A Dimensions Order code: D3693... - Page 12 ©2019 DAP Audio...


Need help?
Do you have a question about the EVO 8 A and is the answer not in the manual?
Questions and answers