Advertisement
Quick Links
Advertisement

Subscribe to Our Youtube Channel
Related Manuals for NATHAN JAMES Garcia Headboard 98101


Summary of Contents for NATHAN JAMES Garcia Headboard 98101
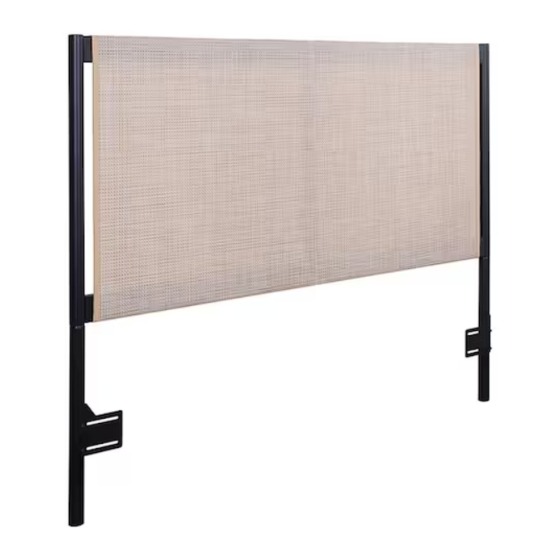
- Page 1 Let’s build the Garcia Headboard SKU 98101 Scan me! Free Lifetime Warranty 23-0321...
- Page 2 Ok, let’s What’s included get rolling Description Right Side Frame This should be easy, just follow Center Frame our instructions and you will be back to Netflix in no time. Left Side Frame Estimated time for assembly D Leg 45:00 Horizontal Stretcher What you need Horizontal Stretcher...
- Page 3 The goods IMPORTANT 1. Do not tighten bolts / screws completely until all bolts / screws are lined up and inserted into holes. 2. Do not over tighten screws and bolts to avoid stripping. 3. Please use hand tools to assemble this product. Do not use power tools.
- Page 4 What’s included (cont.) Description M6*20mm Bolt M6*55mm Bolt Spring Washer Flat Washer Allen Key Wrench M4.2*32mm Screw M4*30mm Drywall Anchor M4*30mm Non-Drywall Anchor M4.2*50mm Screw 38mm Plastic End Cap...
- Page 5 The goods (cont.)
- Page 6 Step 1: To attach to bed frame Let’s get this thing fired up! First, slide two of the Horizontal Stretchers (E) into the Center Frame (B). Then slide the Right Side Frame (A) onto the ends of the Horizontal Stretchers (E). Once in place, secure using ten of the M6*20mm Bolts (1) and tighten using the...
- Page 7 Step 2 Next, slide the Legs (D) into the bottom of the frame you built in Step 1. Secure by placing a Flat Washer (4) first, then a Spring Washer (3) on top of that, and finally a M6*20mm Bolt (1). Tighten using the provided Allen Key (6).
- Page 8 Step 3 Now it’s time to attach the Bed Frame Adapter Plates (G) to the Legs (D). To secure these together, run the M6*55mm Bolts (2) through the back of the Legs (D) and in through the Bed Frame Adapter Plates (G).
- Page 9 Step 4 Now it’s time to attach the headboard to your bed frame (not included). To secure the headboard, align the holes in your bed frame with the slotted holes in the Bed Frame Adapter Plates (G). Once aligned, slide the M6*20mm Bolts (1) into place.
- Page 10 Step 5 Lay the Upholstered Panel (H) over the top of the metal frame you’ve assembled. With the strap buckles at the top, tighten the middle strap.
- Page 11 Step 6 Now, using the M6*20mm Bolts (1), secure the Upholstered Panel (H) to the Horizontal Stretcher (F). This will help keep everything in place before you tighten the rest of the straps.
- Page 12 Step 7 Finally, go ahead and begin to tighten all of the straps. Helpful tip: Slowly tighten the straps in equal increments to one another for the best results; to have everything tightened equally and in alignment. You did it! Now all that’s left to do is sit back, relax, and enjoy your new headboard!
- Page 13 Step 1: To mount on wall Let’s get this thing fired up! First, slide two of the Horizontal Stretchers (E) into the Center Frame (B). Then slide the Right Side Frame (A) onto the ends of the Horizontal Stretchers (E). Once in place, secure using ten of the M6*20mm Bolts (1) and tighten using the...
- Page 14 Step 2 Insert the Plastic End Caps (12) into the bottom of the Left Side Frame (C) and Right Side Frame (A).
- Page 15 Step 3 Lay the assembled metal frame over the Upholstered Panel (H). Be sure that the hardware is facing out. With the strap buckles at the top, tighten the middle strap.
- Page 16 Step 4 Next, using the M6*20mm Bolts (1), secure the Upholstered Panel (H) to the Horizontal Stretcher (F). This will help keep everything in place before you tighten the rest of the straps.
- Page 17 Step 5 Finally, go ahead and begin to tighten all of the straps. Helpful tip: Slowly tighten the straps in equal increments to one another for the best results; to have everything tightened equally and in alignment.
- Page 18 Step 6: Non-drywall application First, determine the height at which you want your headboard to hang. Important Note: Take note of where the top of the Next, using a drill and a 1/4” drill bit, drill keyholes on the Left Side two holes 1562mm apart from each Frame (C) and Right Side other, making sure that they are level.
- Page 19 Step 6: Drywall application First, determine the height at which you want your headboard to hang. Important Note: Take note of where the top of the Next, using a drill and a 5/16” drill bit, drill keyholes on the Left Side two holes 1562mm apart from each Frame (C) and Right Side other, making sure that they are level.
- Page 20 How to use drywall anchors...
- Page 21 Step 7 Finally, using the keyholes on the back of the Left Side Frame (C) and Right Side Frame (A), mount your headboard to the wall. Do this by fitting the head of the screws into the larger, bottom portion of the keyhole, then allow the headboard to slide down to rest on the protruding screws.
- Page 22 No heartburn, when we handle the return Give us a call 1-866-619-1004 or shoot us a message at help@nathanjames.com we will issue you a free replacement with zero hassle. Our way Their way Give us a call Re-package item Replacement Schedule pick up Track package Replacement...
- Page 23 Any modifications will present the risk of creating significant safety Nathan James and its parent companies cannot issues which NJ will not be responsible for. be held legally responsible for any injuries or death resulted from failure to follow instructions or improper use of this product.
- Page 24 If you are happy with your product, tell your friends and family about us or even better leave us a review online. Spreading the word gives us the opportunity to make more people happy and keep our prices low for your next purchase. Brooklyn Burdon Founder, Nathan James...
Need help?
Do you have a question about the Garcia Headboard 98101 and is the answer not in the manual?
Questions and answers