Sign In
Upload
Download
Table of Contents
Contents
Add to my manuals
Delete from my manuals
Share
URL of this page:
HTML Link:
Bookmark this page
Add
Manual will be automatically added to "My Manuals"
Print this page
×
Bookmark added
×
Added to my manuals
Manuals
Brands
ADDER Manuals
Switch
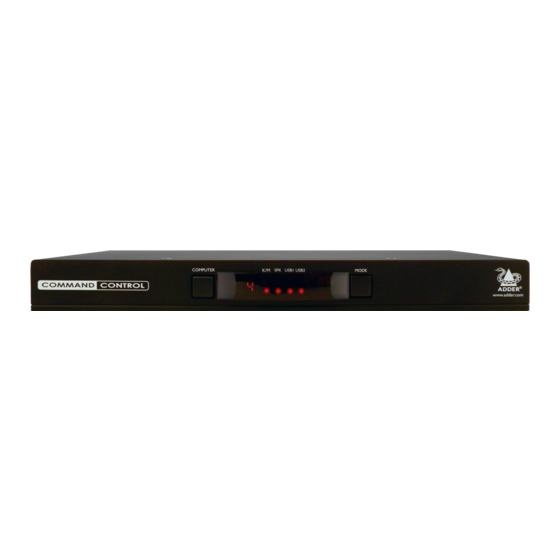
CCS-PRO8
User manual
ADDER CCS-PRO8 User Manual
Hide thumbs
1
Table Of Contents
2
3
4
5
6
7
8
9
10
11
12
13
14
15
16
17
18
19
20
21
22
23
24
25
26
27
28
29
30
31
32
33
34
35
36
37
38
39
40
41
42
43
44
45
46
page
of
46
Go
/
46
Contents
Table of Contents
Troubleshooting
Bookmarks
Table of Contents
Table of Contents
Introduction
What Is Free-Flow
CCS-PRO4 Features
CCS-PRO8 Features
Supplied Items
Optional Extras
Installation
Locations
Mounting
Connections
User Console
Computer Systems
Power Connections
Optional Remote Control
Optional LED Monitor Indicator Connections
Switching Control Via the Network Port
Switching Control Via the Options Port
Configuration
Initial Configuration
Accessing the CCS Manager
Status Page
General Configuration
Network Settings
User Accounts
Clipboard
Factory Reset
Upgrade
Free-Flow Configuration
Installing the Standard Configuration Application
Configuring a Standard Free-Flow System
Multi-Monitor Free-Flow Configuration
Configuring LED Monitor Indicators
Additional Free-Flow Operations and Settings
Installing and Configuring the USB Clipboard Utility
Operation
Selecting a Computer
Using Copy and Paste
Further Information
Getting Assistance
Troubleshooting
Appendix 1 - Cable Pin-Outs
Appendix 2 - What Is True Emulation
Appendix 3 - Open Source Licences
Index
Advertisement
Quick Links
Download this manual
CCS-PRO
User Guide
Experts in
KVM Switch
Connectivity
Solutions
Solutions
Table of
Contents
Previous
Page
Next
Page
1
2
3
4
5
Advertisement
Table of Contents
Need help?
Do you have a question about the CCS-PRO8 and is the answer not in the manual?
Ask a question
Questions and answers
Related Manuals for ADDER CCS-PRO8
Switch ADDER CCS-PRO User Manual
(38 pages)
Switch ADDER CCS-PRO User Manual
Command and control switch pro. 4 port (19 pages)
Switch ADDER CCS4-USB Manual
Four-port keyboard and mouse switch now with free-flow switching technology (32 pages)
Switch ADDER CCS4-USB Manual
Four-port keyboard and mouse switch, now with free-flow switching technology (26 pages)
Switch ADDER ADDERView CCS-MV4224 User Manual
(30 pages)
Switch ADDER ADDERView AVS-1124 User Manual
Multi-viewer switch api (6 pages)
Switch ADDER ADDERView CCS-MV4228 Quick Start
8-port multi-viewer switch (2 pages)
Switch ADDER ADDERView CCS-MV4228 User Manual
(31 pages)
Switch ADDER CCS-PRO4 User Manual
(46 pages)
Switch ADDER CATx User Manual
Adderview catx (111 pages)
Switch ADDER AdderView CATx 1000 User Manual
Adder technology adderview catx user guide (54 pages)
Switch ADDER ADDER View 4 Installation And Use Manual
High performance keyboard, monitor and mouse sharing device which supports a wide range of pc hardware and software platforms (27 pages)
Switch ADDER Adder TS4 User Manual
Four-port keyboard and mouse switch (22 pages)
Switch ADDER View DVI AV4DVI Installation & Use Manual
4 port adder view dvi av4dvi/ i rc1 2 port adder view dvi/ remote control pad/display (48 pages)
Switch ADDER SmartView User Manual
Adder smartview pro user manual (44 pages)
Switch ADDER Switch User Manual
Adder technology switch user manual (70 pages)
This manual is also suitable for:
Ccs-pro
Ccs-pro4
Table of Contents
Print
Rename the bookmark
Delete bookmark?
Delete from my manuals?
Login
Sign In
OR
Sign in with Facebook
Sign in with Google
Upload manual
Upload from disk
Upload from URL


Need help?
Do you have a question about the CCS-PRO8 and is the answer not in the manual?
Questions and answers