
Related Manuals for Thermoscreens CS 1000


Summary of Contents for Thermoscreens CS 1000
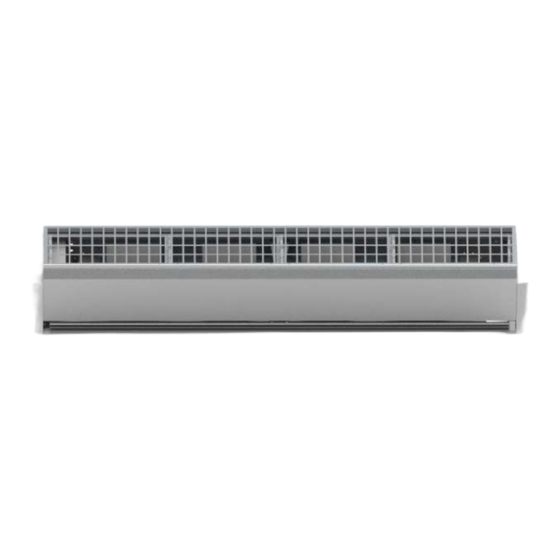
- Page 1 CS AIR CURTAIN INSTALLATION, OPERATION AND MAINTENANCE INSTRUCTIONS English (IMAGES ARE FOR ILLUSTATION PURPOSES ONLY) T9901150-1-1 UK Page | 1...
-
Page 2: Table Of Contents
CONTENTS Page CONTENTS ..........................2 ELECTRICAL SAFETY ......................... 3 SPECIFICATIONS ........................3 INTRODUCTION .......................... 4 DELIVERY CONTENTS ....................... 5 TOOLS REQUIRED ........................6 INSTALLATION (HORIZONTAL UNITS) ..................6 INSTALLATION (VERTICAL UNITS) ................... 8 ACCESS FOR ELECTRICAL CONNECTIONS ................. 10 COMMISSIONING THE SYSTEM ....................12 SIGN OFF ........................... -
Page 3: Electrical Safety
Height of Supply Current Weight Model No Power Input Flow rate min. - max. Airstream (V/ph/Hz) (kg) (W/l/s) CS 1000 V 230/1/50 2250 0.20 - 0.70 1.10 CS 1500 V 230/1/50 3400 0.23 - 0.69 1.63 CS 2000 V 230/1/50 4500 0.25 - 0.68... -
Page 4: Introduction
INTRODUCTION Established in the 1960s, Thermoscreens is a leading air curtain manufacturer that exports to over 60 countries worldwide. As with all our products, the CS range air curtains are designed with energy efficiency in mind which is why they have fans with advanced EC motor technology to produce a very high air flow with low electrical energy consumption. -
Page 5: Delivery Contents
DELIVERY CONTENTS The following items are supplied in the box at delivery. NOTE: If any parts are missing or damaged contact your place of purchase. CS Cold Store Air Curtain Ceiling Hanging Brackets (Horizontal Units Only) Note: End caps are supplied loose to be fitted during installation M12 x 30mm bolts &... -
Page 6: Tools Required
TOOLS REQUIRED The following tools are required for installation: Flat blade screwdrivers Electric drill Pozi head screwdrivers Equipment for working at height 10mm and 19mm spanners Appropriate lifting equipment Adjustable spanner Hacksaw INSTALLATION (HORIZONTAL UNITS) The air curtain is designed to be surface mounted inside a building and located horizontally over the doorway. - Page 7 Ceiling Suspension M10 Threaded rods (not supplied) are used to suspend the unit from the ceiling. Suspend the unit from the ceiling as follows: Step 1 Locate Ceiling Hanging Brackets to each side of the air curtain as shown in Fig 3. Fig 3 Step 2 Fit two M12 bolts from inside the air curtain to secure each...
-
Page 8: Installation (Vertical Units)
INSTALLATION (VERTICAL UNITS) The CS air curtain is designed to be surface mounted inside a building and located vertically to the left or right hand side nearest the doorway. It must not be installed outside of the building. Location Mount the air curtain to the side of the doorway, with: ... - Page 9 Using a hacksaw carefully cut the projecting bolt flush with the nut, ensuring the base plate is not damaged or marked in any way. Fig 3 Remove only one M10 nut and refit and resecure bolt with a stainless steel M10 dome nut supplied. Repeat for each of the other three projecting bolts one at a time.
-
Page 10: Access For Electrical Connections
ACCESS FOR ELECTRICAL CONNECTIONS How to access terminals To gain access to the air curtain for connection and commissioning, remove air inlet grilles and access panel as explained below. First remove the plastic end caps at each end of the unit, if fitted, by pulling off to the side. NOTE: All air curtain panels are protected in a plastic film. - Page 11 Door Switch Connection For an optional door switch to be fitted, remove yellow link fitted to terminals 1 & 2 (see Fig 8) and connect switch to these terminals (see Appendix 1). Fig 8 Fan Speed Selection Set a suitable fan speed by adjusting the EC speed potentiometer (see Fig 9) to suit outdoor environmental conditions and indoor noise levels.
-
Page 12: Commissioning The System
10. COMMISSIONING THE SYSTEM 10.1 Verify system operation To commission the system, verify the following conditions are met: All fans are working. The door switch (if fitted) correctly starts the fans when the doors open. The timer off-delay relay keeps the fans running for the specified time (factory default is 24 seconds). -
Page 13: Sign Off
10.2 Instruct customer and hand over Before leaving site, hand over the installation to the customer/end user or their representative. Explain that any person operating the air curtain must be given supervision and instruction by the person responsible for their safety, concerning the safe use of the unit and to understand any hazards involved. -
Page 14: Fault Conditions
Before servicing, isolate and disconnect the air curtain from the electrical power. WARNING: The following servicing and maintenance must be carried out by a competent electrician or a Thermoscreens appointed technician. Clean and inspect the inside of the air curtain as follows: Step 1 Remove plastic end caps at each end of the unit by pulling off to the side. -
Page 15: Warranty
If any problems are encountered, please contact your installer/supplier. Failing this please contact the Thermoscreens warranty department. Care has been taken in compiling these instructions to ensure they are correct. Thermoscreens Ltd. disclaims all liability for damage resulting from any inaccuracies and/or deficiencies in this documentation. -
Page 16: Appendix 1 - Dimensions Of Cs Horizontal Air Curtain
T9901150-1-1 UK Page | 16... -
Page 17: Appendix 2 - Dimensions Of Cs Vertical Air Curtain
WALL BRACKET ELECTRICAL INLET FOR UNIT CONTROL CONNECTION DISCHARGE ENTERING Note. Left hand unit shown BOLT HOLES FOR M10 BOLTS – 4 OFF T9901150-1-1 UK Page | 17... -
Page 18: Appendix 3 - Wiring Diagram Cs Air Curtain
T9901150-1-1 UK Page | 18... -
Page 19: Appendix 4 - Wiring Diagram Cs Master/Slave
WARNING: Ensure all live phases are the same on Master and Slave units COLD STORE AIR CURTAIN - MASTER FAN MOTORS 3 core cable CS 1000 - x2 motors CS 1500 - x3 motors Electrical Supply Brown Brown Brown CS 2000 - x4 motors... -
Page 20: Declaration Of Conformity
This declaration of conformity is issued under the sole responsibility of the manufacturer. Designation of Equipment: AIR CURTAINS Series Type: CS 1000; CS 1500; CS 2000; Motor Type: EC Relevant EC Council the Machinery Directive (2006/42/EC) Directives:...
Need help?
Do you have a question about the CS 1000 and is the answer not in the manual?
Questions and answers