Table of Contents
Advertisement
Quick Links
53764-001
Rev 01
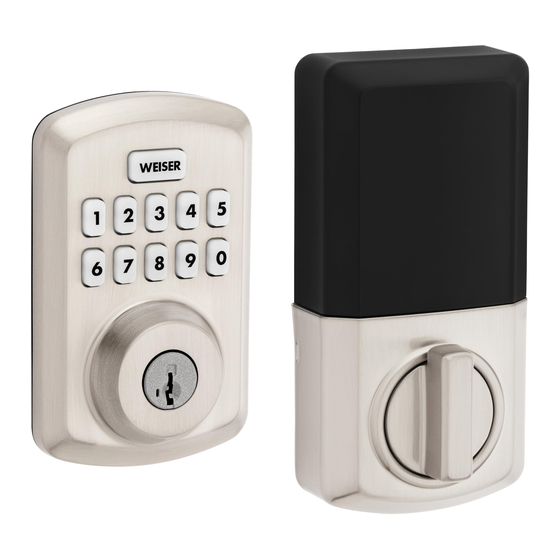
GED250
Installation and User Guide
Weiser Technical Support | 1-800-501-9471 | www.weiserlock.com
Required tools
Batteries
Ruler
Phillips head screwdriver
Additional Tools (depending on application)
Hammer
Wood block
1
Prepare the door and check dimensions
If drilling a new door, use the supplied template and the complete
door drilling instructions available at www.kwikset.com/doorprep.
A
the door is either 54 mm (2-1/8 in) or
38 mm (1-1/2 in).
54 mm
2-1/8 in
or
38 mm
1-1/2 in
Note: Additional door preparation may be
required for doors with 38 mm (1-1/2 in ) holes.
2
Install the latch and strike
A
Hold the latch in front of the door hole, with the latch
Is the rectangular shaped hole centered in the
door hole?
YES
or
Rectangular shaped hole
No adjustment is required.
Proceed to next step.
B
either 60 or 70 mm (2-3/8 or 2-3/4 in).
60 or 70 mm
2-3/8 or 2-3/4 in
B
Is the door edge chiselled?
Install latch in door with
supplied screws.
NO
Make sure
Rectangular shaped hole
slotted hole is at
bottom of latch.
Rotate latch face as
shown to extend latch.
180°
Parts in the box
Latch
Adapter
Mounting
Ring
Plate
Collar
Keys
C
the door edge is 25 mm (1 in).
b a
c k s
e t
YES
NO
or
chiseled
not
chiseled
Use a athead screwdriver to remove
latch face. Once removed, grip the
latch with one hand and with the
other hand twist collar o . Install
drive-in collar.
Align tabs with
holes in collar.
Ensure collar
snaps into place.
Pull collar to test
for tight t.
Install latch in
door with wood
block and
hammer.
53648
(2x)
(For Latch/
Strike Bag)
Make sure
slotted hole is at
bottom of latch.
1 / 4
Interior Assembly
Exterior Assembly
For Latch / Strike
For Lock
Strike
SmartKey
Tool
53648
52367
D
Measure to con rm that the door is
between 35 mm and 44 mm
(1-3/8 and 1-3/4 in) thick.
25 mm
1 in
Note: Please contact customer service if door
thickness exceeds 44 mm (1-3/4 in) for a thick
door kit.
For Latch /
Strike Bag
C
Install strike on the door frame.
Make sure the hole in the door frame is drilled a
minimum of 25 mm (1 in) deep.
53648
(2x)
(For Latch/
Strike Bag)
D
IMPORTANT: Make sure the latch bolt is fully
retracted (in the unlocked position).
Transitional
52502
35 – 44 mm
1-3/8 – 1-3/4 in
(4x)
53648
actual size
C
door frame
unlocked
Advertisement
Table of Contents

Related Manuals for Weiser PowerboIt 3


Summary of Contents for Weiser PowerboIt 3
- Page 1 Interior Assembly Exterior Assembly Transitional Installation and User Guide For Latch / Strike For Lock Strike SmartKey 52502 Adapter Mounting Weiser Technical Support | 1-800-501-9471 | www.weiserlock.com Tool Ring Plate Required tools Batteries Ruler Phillips head screwdriver Collar Keys 53648...
- Page 2 Install the exterior keypad For Lock (2x) 52367 actual size What is the diameter of the hole in the door? Install exterior keypad and mounting plate. Diameter is 54 mm Diameter is 38 mm Rotate the at blade to a (2-1/8 in) (1-1/2 in) Support exterior...
- Page 3 Con rm that the code(s) added in previous step can unlock the door. To lock your door, press the Weiser logo button. The lock will beep twice and the To unlock your door, enter the user code. The lock will beep twice and the Weiser Weiser logo button will ash amber as the deadbolt extends.
- Page 4 Note: When all User Codes are disabled, all electronic functions will be disabled as well. 1. Remove interior cover. 2. Press number 9. 3. Press the Weiser logo The door must be locked or unlocked manually with the key. Repeat the programming Press programming button.
Need help?
Do you have a question about the PowerboIt 3 and is the answer not in the manual?
Questions and answers
newly installed Powerbolt 3 has logo flashng red when programming. Batteries are good.
The Weiser Powerbolt 3 flashes red during programming if the programming is unsuccessful. This is indicated by 3 red flashes and 3 beeps. You should review the programming steps to correct the issue.
This answer is automatically generated
User guide in Portuguese