Sign In
Upload
Download
Table of Contents
Contents
Add to my manuals
Delete from my manuals
Share
URL of this page:
HTML Link:
Bookmark this page
Add
Manual will be automatically added to "My Manuals"
Print this page
×
Bookmark added
×
Added to my manuals
Manuals
Brands
Origin Acoustics Manuals
Speakers
OUTDOOR OS80B
Installation manual
Origin Acoustics OUTDOOR OS80B Installation Manual
Surface mount speakers
Hide thumbs
1
Table Of Contents
2
3
4
5
6
7
8
9
10
11
12
13
14
15
16
17
18
19
20
21
22
page
of
22
Go
/
22
Contents
Table of Contents
Troubleshooting
Bookmarks
Table of Contents
Table of Contents
Introduction
Certifications
Specifications
What's Included
Product Features
Speaker Wire
Wire Routing
Wiring Diagram
Speaker Placement
Installation
Pivoting the Speaker
Certification Compliance
Troubleshooting
Technical Assistance
Limited 5-Year Warranty
Return Process
Advertisement
Quick Links
1
Specifications
2
What's Included
3
Speaker Wire
4
Wire Routing
5
Wiring Diagram
6
Installation
Download this manual
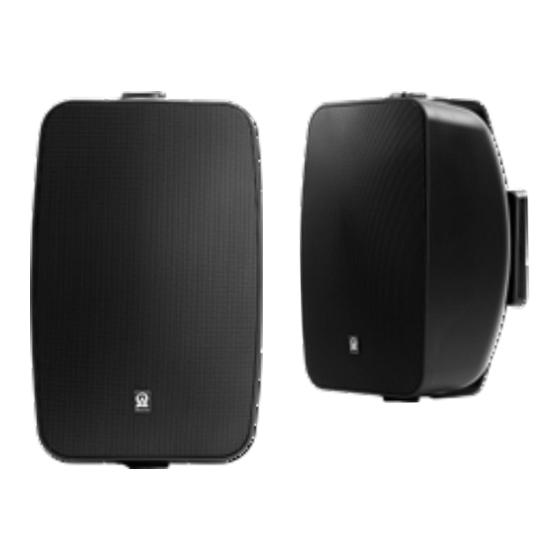
OUTDOOR COLLECTION
SURFACE MOUNT SPEAKERS
OS80B | OS80W
OS60DTB | OS60DTW
OS60B | OS60W
OS50B | OS50W
INSTALLATION MANUAL
Table of
Contents
Previous
Page
Next
Page
1
2
3
4
5
Advertisement
Table of Contents
Need help?
Do you have a question about the OUTDOOR OS80B and is the answer not in the manual?
Ask a question
Questions and answers
Related Manuals for Origin Acoustics OUTDOOR OS80B
Speakers Origin Acoustics Season Outdoor OS 60 Series Installation Manual
(16 pages)
Speakers Origin Acoustics Seasons Outdoor OS 60 Series Installation Manual
(18 pages)
Speakers Origin Acoustics OS67 Installation Manual
(32 pages)
Speakers Origin Acoustics OS65 Installation Manual
(32 pages)
Speakers Origin Acoustics OS55 Installation Manual
(32 pages)
Speakers Origin Acoustics Seasons Outdoor Collection OSR85 Installation Manual
Rock speakers (14 pages)
Speakers Origin Acoustics SEASONS LANDSCAPE LS64 Installation Manual
(18 pages)
Speakers Origin Acoustics OUTDOOR OS60B Installation Manual
Surface mount speakers (22 pages)
Speakers Origin Acoustics OUTDOOR OS50W Installation Manual
Surface mount speakers (22 pages)
Speakers Origin Acoustics Seasons Landscape OSUB Series Installation Manual
(14 pages)
Speakers Origin Acoustics Origin Pro Producer PPC-T Series Quick Start Manual
(2 pages)
Speakers Origin Acoustics Acoustic Landscape Seasons Outdoor AS41SYS Installation Manual
(14 pages)
Speakers Origin Acoustics thinfit tf34 Installation Manual
(16 pages)
Speakers Origin Acoustics E60 Installation Manual
(16 pages)
Speakers Origin Acoustics D60 Installation Manual
Director 6 collection (11 pages)
Speakers Origin Acoustics D39 Installation Manual
Director collection (18 pages)
This manual is also suitable for:
Outdoor os80w
Outdoor os60dtb
Outdoor os60dtw
Outdoor os60b
Outdoor os60w
Outdoor os50b
...
Show all
Outdoor os50w
Table of Contents
Print
Rename the bookmark
Delete bookmark?
Delete from my manuals?
Login
Sign In
OR
Sign in with Facebook
Sign in with Google
Upload manual
Upload from disk
Upload from URL


Need help?
Do you have a question about the OUTDOOR OS80B and is the answer not in the manual?
Questions and answers