
Related Manuals for Origin Acoustics D60


Summary of Contents for Origin Acoustics D60
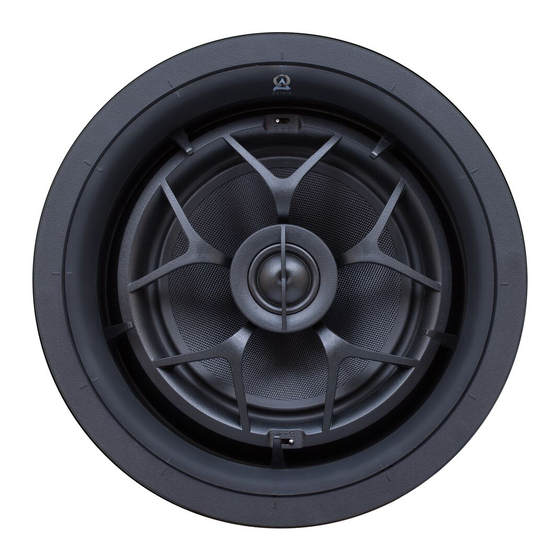
- Page 1 Installation Manual Director 6 Collection Models: D60DT D62 DT/SUR V 2.1...
-
Page 2: Table Of Contents
Thank you for purchasing the Director 6 In-Ceiling Speaker. At Or- igin Acoustics, we take pride in providing you with a high quality product. All of Origin Acoustics’ speakers are designed to have ex- Table of Contents cellent sound quality, longevity, and a simple installation process. -
Page 3: Optional Tools/Items
DIRECTOR 6 INSTALLATION MANUAL Speaker Wire Recommendations While the D60DT is designed to use only two channels, the D62DT/ SUR can be used for either one channel (surround) or two channels (stereo). A switch is located on the back of the speaker to select For this setup, use a multi-strand- the shorter the run the smaller the ed wiring designed for amplifier... -
Page 4: Speaker Placement
DIRECTOR 6 INSTALLATION MANUAL Speaker Placement Installation Auxiliary Room (2 Speakers) 1) Installing the Wire Left Speaker Right Speaker Position the two speakers in the Strip ¼ to ½ inches (6 to 12 middle of the room, no less than 6’... -
Page 5: Painting The Grille
DIRECTOR 6 INSTALLATION MANUAL 2) Painting the Grille Plan how you’ll route the wire For New Construction to the desired speaker location. If these speakers are being In some situations the speakers There are several methods for installed in a new home during may look better if the color routing the wire, and you may construction, the installation... -
Page 6: Installing The Instamount
DIRECTOR 6 INSTALLATION MANUAL 4) Installing the InstaMount 5) Connecting the Wires Adjust the ZipClips so that Insert the wires into the con- they’re positioned at the top of nectors, making sure that the the rail. If they’re not already positive wire is being attached there you can do this by push- to the red connection and the... -
Page 7: Listening Test And Adjustments
DIRECTOR 6 INSTALLATION MANUAL 7) Listening Test and Adjustments The woofer on the D64, D66, and D68 and tweeter on all but the D62 DT/SUR can be pivoted to direct the sound towards the listening area. Or for a more diffused surround sound expe- rience, the rear speakers can be aimed towards the wall. -
Page 8: Troubleshooting
If you are considering returning the product, it’s required that you contact Origin Acoustics prior to any return attempts. Make sure the proper source is selected on the am- This way we can determine if the issue can be resolved without plifier or receiver. -
Page 9: Specifications
DIRECTOR 6 INSTALLATION MANUAL Specifications Specifications Model Number D60DT D62 DT/SUR Part Number SCD20000 SCD2T60000 SCD60200 SCD2T60200 SCD60400 SCD60600 SCD60800 Tweeter Dome Silk Silk Aluminum Aluminum Aluminum Silk DPSD* Silk DPSD* Tweeter Diameter 1” (25mm) 1” (25mm) 1” (25mm) 1” (25mm) 1”... -
Page 10: Warranty
Origin Acoustics warrants to the original retail purchaser only that applied to other purchases. The purchaser must be prepared to this Origin Acoustics product will be free from defects in materials provide proof of purchase (receipt). This warranty will not be val-... - Page 11 ©2014 Origin Acoustics. All copyrighted, trademarked and patented elements mentioned herein are the sole property of Origin Acoustics.
Need help?
Do you have a question about the D60 and is the answer not in the manual?
Questions and answers