Table of Contents
Advertisement
Quick Links
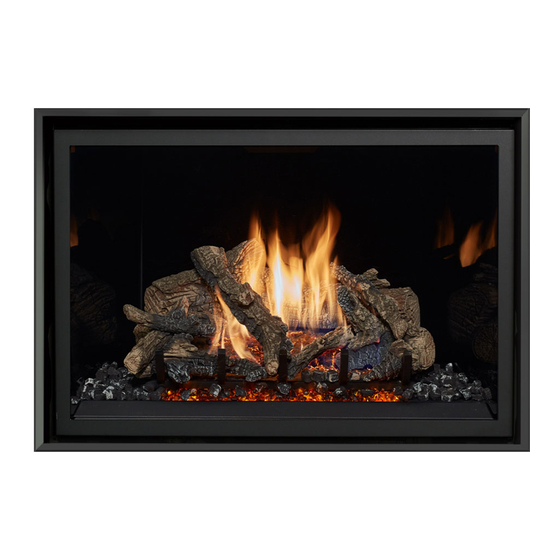
864 GSR2 Fireplace
40K CF, 31K CF
Owner's Manual
WARNING: If the information in these instructions is not followed exactly, a fire or
explosion may result causing property damage, personal injury or loss of life.
DO NOT PLACE ARTICLES ON OR AGAINST THIS APPLIANCE.
DO NOT USE OR STORE FLAMMABLE MATERIALS NEAR THIS APPLIANCE.
DO NOT SPRAY AEROSOLS IN THE VICINITY OF THIS APPLIANCE WHILE IT IS IN
OPERATION.
DO NOT MODIFY THIS APPLIANCE.
-
Do not store or use gasoline or other flammable vapors and liquids in the vicinity of this
or any other appliance.
WHAT TO DO IF YOU SMELL GAS:
•
Do not try to light any appliance.
•
Do not touch any electrical switch; do not use any phone in your building.
•
Immediately call gas supplier from a neighbor's phone. Follow the gas supplier's
instructions.
•
If you cannot reach your gas supplier, call the fire department.
-
Installation and service must be performed by a qualified installer, service agency or the gas
supplier.
This appliance may be installed in an aftermarket permanently located, manufactured home (USA
only) or mobile home, where not prohibited by local codes.
This appliance is only for use with the type(s) of gas indicated on the rating plate. A
conversion kit is supplied with the appliance.
Owner's Manual
Copyright 2019, T.I.
$10.00
100-01501
AS/NZS 5263.1.3 GMK10026
IAPMO-R&T OCEANA
Operation – Maintenance
Dragon Wholesaling Pty. Ltd.
Unit 4, 16 Lexington Drive
Bella Vista NSW 2153
8/9/2022
Listed by
Australia
Advertisement
Table of Contents


Need help?
Do you have a question about the 864 GSR2 and is the answer not in the manual?
Questions and answers