Table of Contents
Advertisement
Advertisement
Table of Contents

Subscribe to Our Youtube Channel
Related Manuals for SATO RWG500


Summary of Contents for SATO RWG500
- Page 1 Quick Guide RWG500 Label Rewinder PN 9001128A...
-
Page 2: Table Of Contents
Introduction Thank you for your purchase of the SATO RWG500 new generation rewinder for SATO barcode printers. This quick reference guide will lead you on a familiariza- tion tour to help you start using the machine as soon as possible. -
Page 3: Safety Symbols
Safety Symbols About warning symbols As a preventive measure to ensure safe usage of this machine so as to safeguard against damage to yourself, other people or property, several symbols and icons are used in this guide. The following pages describe the significance of each symbol. -
Page 4: Safety Precautions
Safety Precautions Do not place on an unstable place Do not place the rewinder on an unstable place such as an unsteady table, an inclined place or a place with vibration. The rewinder may drop or topple over and cause injuries. Liquids Caution Do not place any containers with water or... - Page 5 Abnormal Conditions Do not use the rewinder if it is emitting smoke or strange odors. Continued use creates the danger of fire and electrical shock. * Immediately turn off the power and contact your nearest dealer or service center for repairs.
-
Page 6: Fcc Notice
FCC Notice This equipment has been tested and found to comply with the limits for a Class B digital device, pursuant to Part 15 of the FCC Rules. These limits are designed to provide reasonable protection against harmful interference in a residential installation. This equipment generates use and can radiate radio frequency energy and, if not installed and used in accordance with instructions, may cause harmful interference to radio communications. -
Page 7: What's In The Box
What’s In the Box RWG500 main unit Joint plate Label Clip 3-inch core x 2 Label Guide EXT cable Quick Guide... -
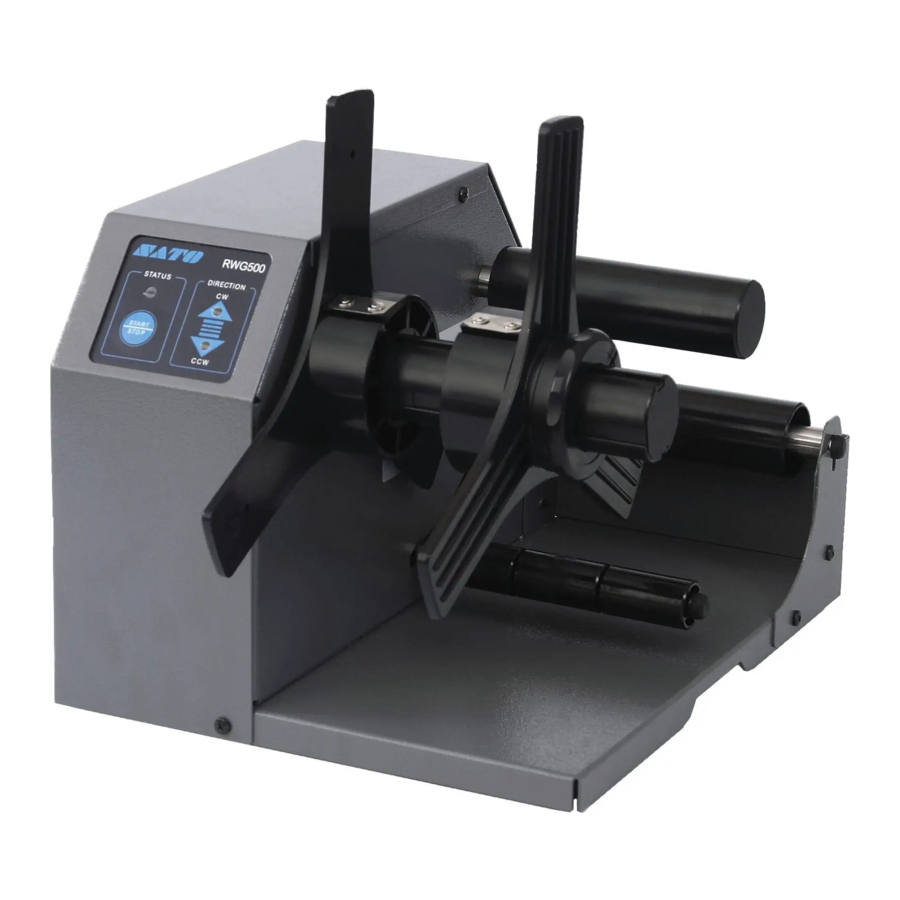
Page 8: Parts Identification
Parts Identification Status Rewind Start/Stop button Stopper Plate Rewind Core Direction Indicator LED: Clockwise winding (face in) Direction Indicator LED: Counter-clock- wise winding (face out) Second roller First roller Tension arm... - Page 9 Parts Identification Power Switch Earth terminal EXT connector (links to printer) Socket for AC adaptor Selector for clockwise or counterclock- wise rewind direction...
-
Page 10: Preparing The Joint Plate
Preparing the Joint Plate The joint plate aligns the base of the RWG500 to the base of a SATO printer. This alignment ensures a smooth label path and prevents problems during long periods of continuous operation. The following procedure adjusts the joint plate to suit the... - Page 11 Preparing the Joint Plate (cont’d) To prepare the joint plate for a GTx4XXe or M-84Pro series printers: When the movable plate reveals “GTx4XXe” and “M-84Pro”, adjust its position so that each pro- truding stub (called a boss) on the underside of the movable plate will fit neatly into two comple- mentary holes on the...
- Page 12 Preparing the Joint Plate (cont’d) To prepare the joint plate for the M-5900RVe printer: When the movable plate reveals “MT4XXe” and “M-5900RVe”, adjust its position so that each protruding stub (called a boss) on the underside of the movable plate will fit neatly into two comple- mentary holes on the main plate.
- Page 13 Preparing the Joint Plate (cont’d) To prepare the joint plate for the CL6XXe series printers: When the movable plate reveals “MR6XXe” and “CL6XXe”, adjust its position so that each protruding stub (called a boss) on the under- side of the movable plate will fit neatly into two complementary holes on the main plate.
-
Page 14: Adjusting The Roller Height
Before the rewinder is guided into place in front of the printer, the height of its first roller has to be adjusted to one of two positions (upper or lower) to fit the printer, based on the table below: Roller Height settings for SATO Printers Model GTx4XXe CL6XXe... -
Page 15: Installing The Joint Plate
Installing the Joint Plate To align the printer to the RWG500 using the joint plate: Place the non-movable holes of the joint plate under the feet of the rewinder as shown. The holes of the movable plate should be facing away from the rewinder. - Page 16 Installing the Joint Plate (cont’d) Now place the printer so that its feet at the label output side will fit into the positioning holes on the joint place. Make sure both the printer and the rewinder are turned OFF. Locate the EXT con- nector of the printer and use the supplied EXT cable to connect the...
-
Page 17: Label Setup
Label Setup The RWG500 offers two rewind directions and two types of rewind shafts, as follows: Rewinding Direction: Face in (CW) / Face Out (CCW) Rewinding Shaft: Direct rewind/3” paper core rewind About Rewinding Direction Counterclockwise winding (CCW) In a CCW winding... - Page 18 Label Setup (cont’d) To change the rewind direction, use the Direction switch found on the side panel of the rewinder. The factory set- ting is CW rewinding by default. Setting Rewind Direction 1. Before changing the rewind direction, make sure the rewinder is turned OFF, or make sure that the Status LED is blinking in green (rewinder in Idling state)
- Page 19 Label Setup (cont’d) Besides setting the rewind direction, you can set up the rewinder for direct rewinding or rewinding using a 3” paper core. About Direct Rewinding Use direct rewinding when a paper core is not to be used, and the label being collected will not need reprinting or reprocessing in future.
- Page 20 Label Setup (cont’d) You can collect output labels onto a 3” paper core for more consistent winding, and if the wound label needs to be unwound later for reprocessing/reprinting. Rewinding on a 3” paper core If label width is below 65 mm, attach one of the provided 3”...
- Page 21 Label Setup (cont’d) After properly inserting the 3” core adaptor(s), follow the steps below to install the label. Insert the 3” paper tube core into the rewind shaft. Affix the leading (front) portion of the output label to the paper core with some adhesive tape.
-
Page 22: Basic Operation
Basic Operation After setting up the rewinder to work with your SATO printer, rewinding can be performed. Turn on the rewinder. Wait for the status LED on the control panel to start blinking in green. The rewinder is now in idling status–ready to collect labels from the printer. - Page 23 Basic Operation (cont’d) Start the automatic rewinding by printing labels on the printer. Each time a label is printed, the rewinder automatically winds it outwards and takes up any slack in the winding process. When the rewinding is completed, press the START/STOP button on the rewinder’s control panel.
-
Page 24: Winding 6" Labels
Winding 6” labels To wind labels wider than 131 mm, the optional 6” Expan- sion Kit is required. The kit consists of the following: 1 Second roller joint 2 Second roller shaft guide 3 Core joint 4 Core shaft guide... -
Page 25: Installing The 6" Expansion Kit
Installing the 6” Expansion Kit Follow the steps below to install the Expansion Kit. Remove the cap covering the second roller of the rewinder. Insert the kit’s second-roller joint and sec- ond-roller shaft guide. Tighten the shaft guide in a counter- clockwise direc- tion using a screwdriver. - Page 26 Installing the 6” Expansion Kit (cont’d) Remove the cap covering the rewinding shaft of the rewinder. Insert the core joint and core shaft guide. Tighten the shaft guide in a coun- terclockwise direction using a screwdriver. Reattach the cap to complete installation of the expansion kit.
-
Page 27: Basic Specifications
Basic Specifications • Ø 38.1 mm direct rewinding Rewinding • 3” paper core rewinding method Supports all genuine SATO labels printed on Paper type SATO printers, except linerless labels Width: 25–131 mm (standard) Paper width Width: 25–180 mm w/optional expansion kit.
Need help?
Do you have a question about the RWG500 and is the answer not in the manual?
Questions and answers