Table of Contents
Advertisement
Warning notices: Before using this product, please read this manual carefully and keep it for future reference.
The design and specifications are subject to change without prior notice for product improvement.
Consult with your dealer or manufacturer for details.
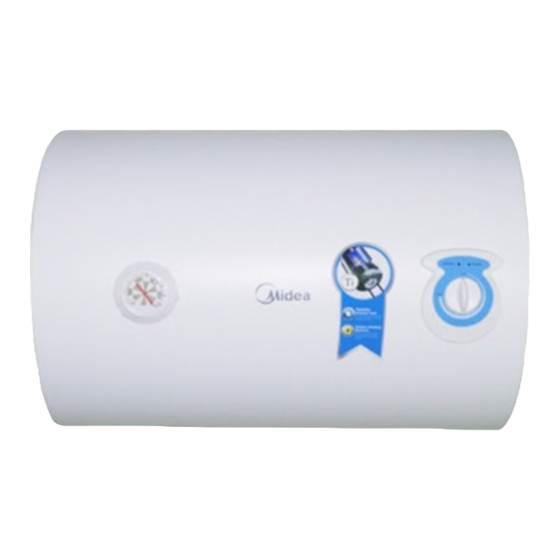
The diagram above is just for reference. Please take the appearance of the actual product as the standard.
Storage Electric Water Heater
HORIZONTAL SERIES
USER MANUAL
D40-20A
D50-20A
D80-20A
D100-20A
Advertisement
Table of Contents

Related Manuals for Midea HORIZONTAL Series


Summary of Contents for Midea HORIZONTAL Series
- Page 1 Storage Electric Water Heater HORIZONTAL SERIES USER MANUAL D40-20A D50-20A D80-20A D100-20A Warning notices: Before using this product, please read this manual carefully and keep it for future reference. The design and specifications are subject to change without prior notice for product improvement.
-
Page 2: Table Of Contents
THANK YOU LETTER Thank you for choosing Midea! Before using your new Midea product, please read this manual thoroughly to ensure that you know how to operate the features and functions that your new appliance o ers in a safe way. -
Page 3: Safety Instructions
SAFETY INSTRUCTIONS Intended Use The following safety guidelines are intended to prevent unforeseen risks or damage from unsafe or incorrect operation of the appliance. Please check the packaging and appliance on arrival to make sure everything is intact to ensure safe operation. If you find any damage, please contact the retailer or dealer. - Page 4 CAUTION: Risk of injury! Before installing this water heater,check and confirm that the earthing on the supply socket is reliably grounded. Otherwise, the electrical water heater can not be installed and used. Do not use extension boards. Incorrect installation and use of this electrical water heater may result in serious injuries and loss of property.
-
Page 5: Specifications
The drainage pipe connected to the pressure release hole must be kept sloping ● downwards. Since the water temperature inside the heater can reach up to 75℃, the hot water ● must not be exposed to human bodies when it is initially used. Adjust the water temperature to a suitable temperature to avoid scalding. -
Page 6: Product Overview
PRODUCT OVERVIEW Product Shell Control-box Temperature adjusting knob Right cover Left cover Power cord Thermometer Heating Element Anode Inner tank Thermal insulation Hot water Cold water inlet outlet Hang-plate Installation-cover D40-20A D50-20A D80-20A D100-20A (Note:All dimensions are in mm) - Page 7 Internal Wire Diagram Thermal Thermostat Cut Out Brown Blue Yellow/Green WIRING DIAGRAM Accessories Safety valve Wall hanging screw Plastic expansion pipe...
-
Page 8: Quick Start Guide
QUICK START GUIDE Before First Use CAUTION Fill the inner tank with water before use. 1. Plug in 2. Rotate the thermostat knob clockwise to adjust the temperature inside the water heater. Ground 3. When the water temperature reaches 4. Open the water outlet valve, you the adjusted temperature, the heating can use hot water. -
Page 9: Product Installation
PRODUCT INSTALLATION Installation Instruction This electrical water heater shall be installed on a solid wall. If the strength of the wall cannot bear the load equal to two times of the total weight of the heater filled fully with water, it is then necessary to install a special support. Incase of hollow bricks wall, ensure to fill it with cement concrete completely. - Page 10 Pipelines Connection The dimension of each pipe part is G1/2” ; The massive pressure of inlet should use Pa as the unit; The minimum pressure of inlet should use Pa as the unit. Connection of pressure relief valve with the heater on the inlet of the water heater. In order to avoid leakage when connecting the pipelines, the rubber seal gaskets provided with the heater must be added at the end of the threads to ensure leak proof joints (see Fig.4).
-
Page 11: Operation Instructions 1
OPERATION INSTRUCTIONS Methods of using First, open any one of the outlet valves at the outlet of the water heater, then, open the inlet valve. The water heater gets filled with water. When water flows out of the outlet pipe it implies that the heater has been filled fully with water, and the outlet valve can be closed. -
Page 12: Cleaning And Maintenance
CLEANING AND MAINTENANCE Warning Do cut o power supply before maintenance, to avoid danger like electric shock. Check the power plug and outlet as often as possible. Secure electrical contact and also proper grounding must be provided. The plug and outlet must not heat exces- sively. -
Page 13: Troubleshooting 1
TROUBLESHOOTING Failures Reasons Treatment The heating Failures of the temperature Contact with the professional ● indicator controller. personnel for repair. light is o . The running water supply Wait for restoration of ● is cut o . running water supply. The hydraulic pressure is Use the heater again when the No water coming... -
Page 14: Trademarks, Copyrights And Legal Statement 1
Midea may constitute trademark infringement or unfair competition in violation of relevant laws. This manual is created by Midea and Midea reserves all copyrights thereof. No entity or individual may use, duplicate, modify, distribute in whole or in part this manual, or bundle or sell with other products without the prior written consent of Midea. -
Page 15: Data Protection Notice
European Economic Area. Further information are provided on request. You can contact our Data Protection O cer via MideaDPO@midea.com. To exercise your rights such as right to object your personal date being processed for direct marketing purposes, please contact us via... - Page 16 2023...
Need help?
Do you have a question about the HORIZONTAL Series and is the answer not in the manual?
Questions and answers