
Subscribe to Our Youtube Channel
Related Manuals for GW Instek GPM-8310


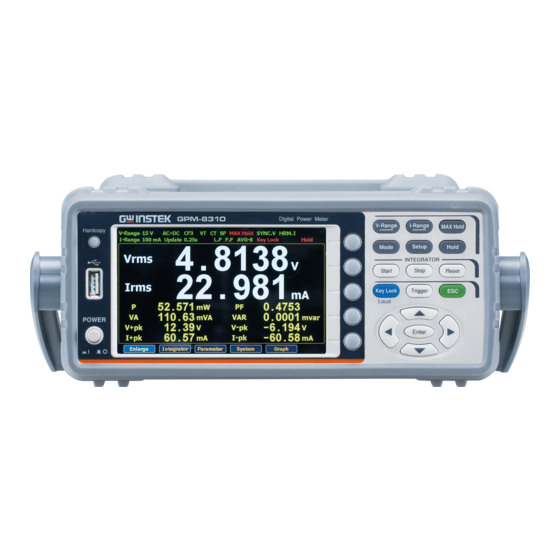
Summary of Contents for GW Instek GPM-8310
- Page 1 Digital Power Meter GPM-8310 DA4 Installation Installation MANUAL GW INSTEK PART NO.: ISO-9001 CERTIFIED MANUFACTURER...
- Page 2 This manual contains proprietary information, which is protected by copyright. All rights are reserved. No part of this manual may be photocopied, reproduced or translated to another language without prior written consent of Good Will company. The information in this manual was correct at the time of printing. However, Good Will continues to improve products and reserves the rights to change specification, equipment, and maintenance procedures at any time without notice.
- Page 3 DA4 Installation DA4 I NSTALLATION This chapter shows how to remove the major units, PCBs, panels, and outer casing, from the digital power meter and the modules. The procedures described in this chapter are intended for parts replacement and board adjustment. Use the corresponding parts list to order replacement parts.
- Page 4 GPM-8310 Service Manual Step 2 Loosen the screws of the rear case by Phillips screwdriver followed by removing the rear case. Loosen the screw on the bottom of the chassis and further pull the chassis away from the unit body gently.
- Page 5 DA4 Installation Step 4 Put the DA4 board into place aligned with inner side of rear pannel followed by fastening the 2 screws indicated in yellow circles in figure below. Also, insert the flat cable, of which the PIN side faces the rear panel, into the DA4 board and slip it through the 01 board as shown in figure below.
- Page 6 GPM-8310 Service Manual Step 5 After the flat cable is slipped throgh 01 board, flip over the body unit followed by inserting the flat calbe, of which the PIN side faces the heat sink, into the socket on board firmly.
- Page 7 DA4 Installation Step 7 Restore the chassis back to the unit body followed by fastening the screw onto the bottom side. Also, restore the rear case back to the unit body with fastening the 2 screws firmly.
- Page 8 GPM-8310 Service Manual Step 8 Power on the unit and enter SETUP page followed by clicking Page1/2. When the D/A OUTPUT CONFIG page is shown as figure below, the DA4 connector is installed successfully. Success Step 8 If it shows the screen as the figure below, the DA4 connector is not installed properly.
- Page 9 DA4 Installation Step 9 Restore both front and rear protective cases back followed by restoring the handle back to the unit body as well. Protective case Handle Protective case...
Need help?
Do you have a question about the GPM-8310 and is the answer not in the manual?
Questions and answers