Advertisement
Quick Links
Quick Start
Quick Start
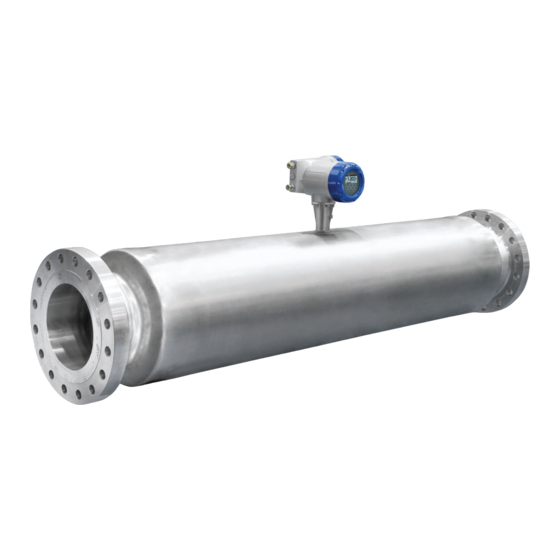
OPTIMASS 2400
Twin, straight tube mass fl owmeter
Installation, assembly, start-up and maintenance may only be performed by appropriately
trained personnel. Check the nameplate for correct operating conditions.
For use in hazardous areas, special codes and regulations are applicable. Instruments must
not be connected to power supply before reading instructions described in the supplementary
manual.
This instrument complies with the requirements of the Pressure Equipment Directive. Please
refer to the nameplate for operating condition limits. Instruments must not be pressurised
before reading instructions described in the manual.
This instrument complies with the requirements of the Low Voltage Directive. Instruments must
not be connected to the power supply before reading the instructions described in the manual.
For devices used in SIL applications, additional safety notes apply. For detailed information
refer to the "Safety Manual".
The responsibility as to the suitability, intended use and corrosion resistance of the used
materials against the measured fl uid of this device rests solely with the operator.
1 Installation
Special conditions of use to be observed
• The OPTIMASS measuring system and MFC converter must be included in the equipoten-
tial bonding system of any hazardous area installation.
• Allow the electronics to de-energise before opening the electronics enclosure inside a
hazardous area. The time needed to de-energise is 35 minutes for temp. class T6 and 10
minutes for Temp. class T5. There is no waiting time for Temp. class T1
• Use certifi ed cable glands on cable entries. Use a certifi ed plug to seal unused cable
entries.
• Install connecting cables as fi xed wiring so that they are protected against damage.
Connecting cables must not exceed the parameters specifi ed in the Supplementary
Instructions for Hazardous Areas.
• For details on the relationship between: maximum permissible ambient temperature, maxi-
mum medium temperature, maximum surface temperature and the relevant temperature
class for each individual meter, please refer to the tables provided in the relevant meter
Handbook and/or the Supplementary Instructions for Hazardous Areas.
08/2021 - 4008121802 - QS-OPTIMASS 2400-R02-en
For initial set up, we strongly recommend that you also refer to the relevant manual!
Handling the meter
Supporting the meter
Flange connections
Mounting positions
Self draining (hygienic)
Hygienic connections
If the hygienic installation requires the meter to
be self draining, mount the meter at an angle.
DO NOT mount the meter horizontally!
1
1
Advertisement

Related Manuals for KROHNE OPTIMASS 2400


Summary of Contents for KROHNE OPTIMASS 2400
- Page 1 • For details on the relationship between: maximum permissible ambient temperature, maxi- mum medium temperature, maximum surface temperature and the relevant temperature class for each individual meter, please refer to the tables provided in the relevant meter Handbook and/or the Supplementary Instructions for Hazardous Areas. 08/2021 - 4008121802 - QS-OPTIMASS 2400-R02-en...
- Page 2 Bend all fi ve drain wires back and twist them together with the braided screen. It is important that ALL fi ve drain wires AND the braided screen form part of the shielding. 08/2021 - 4008121802 - QS-OPTIMASS 2400-R02-en...
- Page 3 Touch the glass directly in front of the optical operating keys to access menus. If the optical keys are not used for a period of 5 minutes, the display will return to the measuring mode. 08/2021 - 4008121802 - QS-OPTIMASS 2400-R02-en...
- Page 4 Download documents and software Contact Scan the code on the nameplate or scan the following code and enter the serial number. To view all KROHNE locations and contact details visit: www.krohne.com Then “Select your country“ from the drop down list at the top left of the page...
Need help?
Do you have a question about the OPTIMASS 2400 and is the answer not in the manual?
Questions and answers