
Related Manuals for fantastic furniture Arcadia Lowboy


Summary of Contents for fantastic furniture Arcadia Lowboy
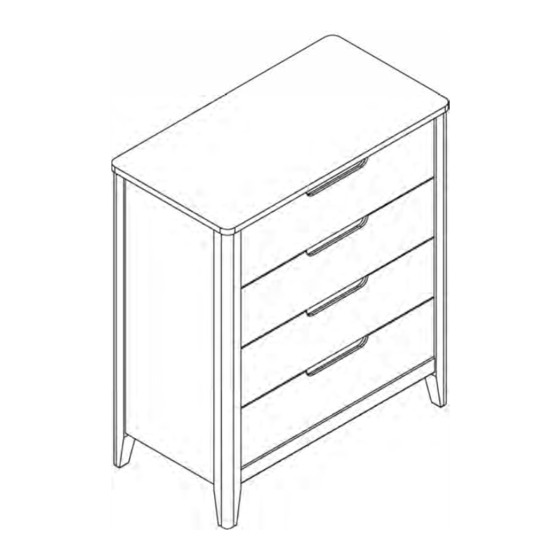
- Page 1 r--: 'i' �' Fantastic Furniture Version 1.0 Two People Arcadia Lowboy 4 Drawer Dark Brown fantasticfurniture.com.au Required...
- Page 2 Secure it! Reduce the risk of furniture tip-over accidents WARNING: ENSURE THE WALL STRAP IS ATTACHED TO AVOID SERIOUS INJURY OR DEATH. To avoid any serious or fatal injury, a wall strap has been provided with this product to prevent toppling. We strongly recommend that this product is permanently fixed to the wall or other suitable surface.
- Page 3 Assembly checklist Useful Information...
-
Page 4: What You Need
What you need Right Side Panel Back Panel A Back Panel B Drawer Front Panels Left Drawer Side Panels Right Drawer Side Panels Drawer Back Panels Drawer Base Panels Right Side Panel Back Panel A Back Panel B Right Drawer Drawer Back Panels Side Panels Drawer Base... - Page 5 Attach 8 x large cam bolts (H1) to top panel (P1) using a phillips head screwdriver. Insert 12 x wooden dowels (H3) into front upper rail (P4), front lower rail (P5), back panel A (P7) and back panel B (P8).
- Page 6 Left Insert 2 x wooden dowels (H3) into left side panel (P2). Attach 4 x left runner tracks (H11) to left side panel (P2) using 12 x small screws (H9), tightening using a phillips head screwdriver. Ensure the screws are inserted into the holes on the left runner tracks (H11) as shown. Insert 2 x wooden dowels (H3) into right side panel (P3).
- Page 7 Attach 5 x large cam bolts (H1) into left side panel (P2) using a phillips head screwdriver. Attach 5 x large cam bolts (H1) into right side panel (P3) using a phillips head screwdriver.
- Page 8 Insert 4 x cam nuts (H2) into back panels (P7 & P8). Rotate the cam nuts so the arrows point towards the incoming bolts. Attach back panels (P7 & P8) to the right side panel (P3), by tightening cam nuts with a phillips head screwdriver.
- Page 9 (P8) (P5) (P7) (P4) Insert 5 x cam nuts (H2) into the rail (P5) and back panels (P7 & P8). Rotate the cam nuts so the arrows point towards the incoming bolts. Attach the left side panel (P2) to rails (P4 & P5) and back panels (P7 & P8), by aligning the hol es and tightening the cam nuts with a phillips head screwdriver.
- Page 10 (P3) Insert 8 x cam nuts (H2) into side panels (P2 & P3). Rotate the cam nuts so the arrows point toward the incoming bolts. Attach the top panel (P1) to side panels (P2 & P3), by tightening the cam nuts with a phillips head screwdriver.
- Page 11 Insert 4 x small cam nuts (H8) into drawer side panels (P10 & P11). Rotate the cam nuts so the arrows point towards the incoming bolts. Attach the drawer front panel (P9) to the drawer side panels (P10 & P11), by tightening the cam nuts with a phillips head screwdriver. Repeat process for the remaining 3 drawers.
- Page 12 Laminated side facing up (P11) (P10) (P9) Slide drawer base panel (P13) into the grooves on the drawer side panels (P10 & P11), and drawer front panel (P9). Repeat this process for the other 3 x drawers. (P11) 24 x Medium Screws (H10) (P10) Attach drawer back panel (P12) to the drawer side panels (P10 &...
- Page 13 (P11) (P10) Attach left runner (H5) to the left drawer side panel (P10) and right runner (H6) to the right drawer side panel (P11), using 6 x small screws (H9), tightening with a phillips head screwdriver. Repeat this process for the other 3 x drawers.
- Page 14 Step 18 ,----------7 L _________ �J Slide the drawers into the Lowboy. � Fantastic Furniture Page14 fa ntasticfu rn itu re.com.au...
- Page 15 Step 19 ------- -..� Wall Screw and Wall Plug are o,� I ,::� � not provided. Please use appropriate ',,� '>, , ';» , , , rfj;_, fixtures for your wall. Seek advice from a qualified trades person on how to attach safety strap the wall.
- Page 16 In the interest of our environment please dispose of all packing thoughtfully. � Fantastic Furniture Page16 fantasticfurniture.com.au...
Need help?
Do you have a question about the Arcadia Lowboy and is the answer not in the manual?
Questions and answers