Advertisement
Quick Links
Advertisement

Summary of Contents for Caddytek CaddyCruiser ONE V4
- Page 1 CaddyCruiser ONE V4 User Manual...
- Page 2 CaddyTek Inc. 20175 S. Atlantic Blvd., # C Monterey Park, CA 91754, USA www.caddytek.net...
- Page 3 WARNING: FOR YOUR OWN SAFETY, PLEASE REVIEW THESE WARNINGS AND KEEP THIS USER GUIDE FOR FUTURE REFERENCE. ●Before using this golf cart, please read and understand the important instructions and warnings in this user guide. ●AVOID INJURY by always following the instructions carefully. ●AVOID INJURY by keeping clear of moving parts while adjusting, folding or unfolding this cart.
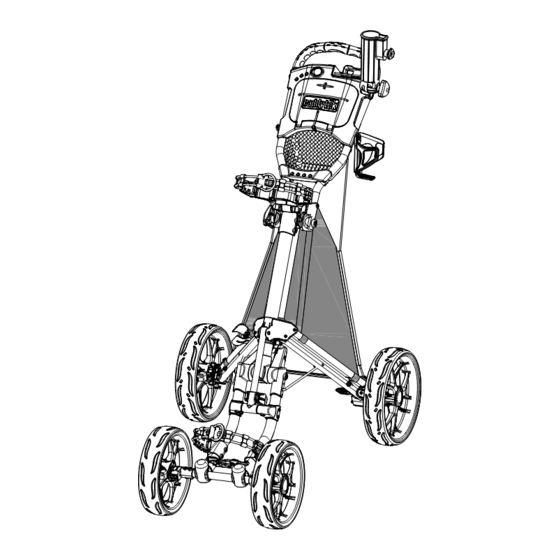
- Page 4 6. This user manual 7. Hangtags on the handle 8. Tools for adjustment In case any of the above items are missing or damaged, please call 800-906-6918 or email service caddytek@gmail.com to report. Parts identification: A: TPE handle grip B: Scorecard holder assembly C.
-
Page 5: Install Wheels
Extending the cart Fig. 2 Fig. 1 Simply pull the handle and upper bag bracket Lift the upper bag bracket as shown in Fig. 2 to extend the cart. (Shake as shown in Fig. 1. the cart slightly to release the main frame from the holding slot if necessary.) Unfolding motion Install wheels... - Page 6 Folding the cart Fig. 5 Knob Knob Fig. 6 Turn the knob as shown in To achieve the optimal folded size, adjust the Fig. 5 to release and tighten handle to the 2 highest location marked by the the handle. small label near knob as shown in Fig.
- Page 7 Install umbrella holder Fig. 11 Fig. 12 Fig. 13 To put in use: To store: Simply attach the umbrella holder Attach the umbrella holder to the storage onto the cart as in Fig. 11 & 12. rack on the right leg frame as in Fig. 13. Install drink holder Fixed block on base Slot on...
-
Page 8: Front Wheel Alignment
Front wheel alignment Left Right Fig. Fig. Alignment adjusting screws A/B Fig. 21 Hex wrench If the cart veers to the left, please use the hex wrench to turn screw A counterclockwise and Screw B clockwise to adjust the alignment. If the cart veers to the right, please use the hex wrench to turn screw A clockwise and screw B counterclockwise to adjust the alignment. -
Page 9: Warranty
Normal wear and fading of products is not considered a manufacturer's defect. This warranty does not apply to claim of damage to items used in connection with CaddyTek Inc. products. In the case of deterioration due to normal use we will repair the item for a normal charge.


Need help?
Do you have a question about the CaddyCruiser ONE V4 and is the answer not in the manual?
Questions and answers