Advertisement
Quick Links
Advertisement

Summary of Contents for Caddytek CaddyLite ONE V3
- Page 1 CaddyLite ONE V3 User’s Manual...
- Page 2 CaddyTek Inc. 20175 S. Atlantic Blvd., # C Monterey Park, CA 91754, USA www.caddytek.net...
- Page 3 WARNING: FOR YOUR OWN SAFETY, PLEASE REVIEW THESE WARNINGS AND KEEP THIS USER GUIDE FOR FUTURE REFERENCE. ●Before using this golf cart, please read and understand the important instructions and warnings in this user guide. ●AVOID injury by always following the folding and unfolding the cart instructions carefully ●AVOID INJURY by keeping clear of moving parts while adjusting, folding or unfolding this cart.
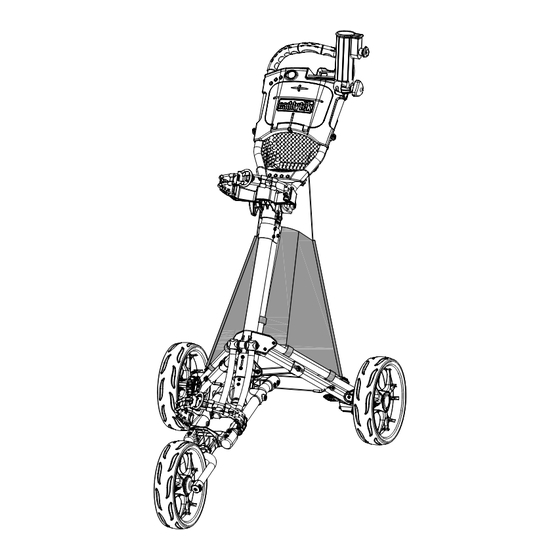
- Page 4 5. This user manual 6. Tools for adjustment In case any of above item is missing or damaged, please call or email 800-906-6918 to report. caddytek@gmail.com Parts identification: TPE handle grip Umbrella holder Umbrella holder base Scorecard holder assembly Basket with cooler...
- Page 5 Assembly the car Unfolding motion Fig. 1 Open the handle up until you hear the cart 'Click' as in Fig.1 Button Button Fig. 2 Fig. 3 Fig. 4 The cart is fully extended Press the button and insert Press the button and insert as shown in Fig.4 the rear wheels as in Fig.2 the front wheel assembly as...
- Page 6 Fig. 8 Fig. 7 connecting rod Fig. 8-1 holding slot The connecting rod will insert into the plastic bracket when folding is completed as Fig. 7/8.Then pull up the front wheel assembly, then rotating 90 degree clockwise as Fig.8-1. Umbrella Holder Fig.
- Page 7 Front Wheel Alignment Left Right Fig. 13 Fig. Fig. 14 CART VEERING TO LEFT If the cart veers to the left, face the front wheel and use the allen wrench provided to make the adjustments. You can either screw the left bolt clockwise, or the right bolt counterclockwise.
-
Page 8: Warranty
This warranty does not apply to claim of damage to items used in connection with CaddyTek Inc. products. In the case of deterioration due to normal use we will repair the item for a normal charge. CaddyTek Inc. is the sole judge of any claim or warranty. -
Page 9: Product Registration
PRODUCT REGISTRATION I have read and understand this product's operation and warranty, and wish to record my purchase: Model: ______________________________ Name (Mr./Mrs./Miss):________________________________ Address: ______________________________________________ City: ______________ State: ____________ ZIP: ______________ Tel:____________ E-Mail____________________ Date of Purchase: ______________Name of Store/Dealer: __________________ Round of Golf per Month: _______________ HCAP_______________________ Signed: ________________________ Date:________________________ Failure to return this card may result in delayed response to you warranty claim... - Page 10 Stamp Caddytek Inc. 20175 S. Atlantic Blvd., # C Monterey Park, CA 91754 You can also register your golf cart on www.caddytek.net...


Need help?
Do you have a question about the CaddyLite ONE V3 and is the answer not in the manual?
Questions and answers
I’ve just assembled my cart but can’t depress the red button to fold it up its well and truly jammed
The manual does not provide specific instructions for fixing a jammed red button on the Caddytek ONE V3 cart. However, to fold the cart, the usual method is:
1. Press the folding button.
2. Fold the cart in the direction of the arrow (as shown in Fig. 5/6).
If the red button is jammed, try checking for debris or obstruction around the button area and ensure all parts are aligned correctly. If the issue persists, contact customer support.
Further repair steps are not provided in the context.
This answer is automatically generated