Advertisement
Quick Links
Advertisement

Subscribe to Our Youtube Channel
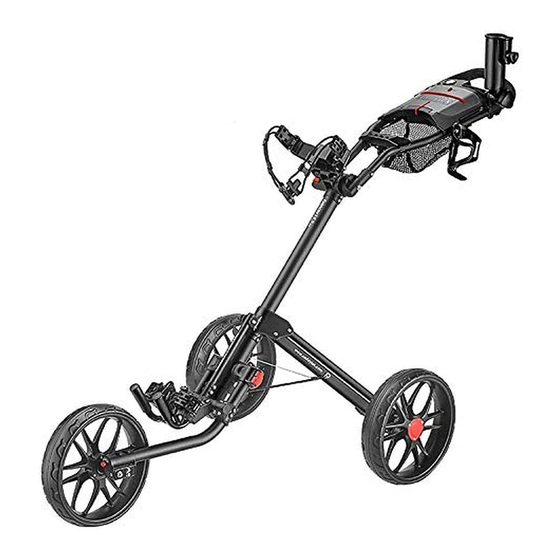
Summary of Contents for Caddytek CaddyLite 15.3 V2
- Page 1 CaddyLite 15.3 V2 User's Manual...
- Page 2 CaddyTek Inc. 20175 S. Atlantic Blvd., # C Monterey Park, CA 91754, USA www.caddytek.net...
- Page 3 WARNING: FOR YOUR OWN SAFETY, PLEASE REVIEW THESE WARNINGS AND KEEP THIS USER GUIDE FOR FUTURE REFERENCE. ●Before using this golf cart, please read and understand the important instructions and warnings in this user guide. ●AVOID injury by always following the folding and unfolding the cart instructions carefully ●AVOID INJURY by keeping clear of moving parts while adjusting, folding or unfolding this cart.
- Page 4 3. Umbrella holder 4. Drink holder 5. This user manual 6. Tools for adjustment In case any of above item is missing or damaged, please call 800-906-6918 or email caddytek@gmail.com to report. Parts identification: TPE handle grip Umbrella holder base...
- Page 5 Assembly the car buckle Fig. 2-1 Fig. 1 Fig. 2 Release the buckle by the upper bag holder, lift the Lift the upper bag bracket till handle to desired position, then tighten the buckle as it click to position as in Fig.1 in Fig.
- Page 6 Folding the cart Fig. 8 Fig. 9 Fig. 10 button buckle Press the button and rotate Release the lower buckle, fold the front wheel folk till it click the front wheel 180 degree to position. Lock the buckle as in Fig. 9 & 10. counterclockwise so the front wheel is on the right of the front wheel fork (when you...
- Page 7 Install the drink holder Fixed block on base notch Slot on Hole 1 Hole 2 Hole 2 Fig. 15 Fig. 14 Fig. 13 When installing the drink holder as Fig.13, align the smallest part of the slot on the holder with the fixed blocks. Then pull horizontally to fit the holder on the base as Fig.14 &...
- Page 8 Front Wheel Alignment Fig. 20 bolt screws screws Fig. If the cart veers to the right: Fig. 21 Step 1: Face the front wheel of the cart and use the provided Allen wrench to loose the two side screws as in fig. 20. Step 2: Then use the Allen wrench to adjust the front bolt clockwise until the front wheel is centered as in Fig.
-
Page 9: Warranty
This warranty does not apply to claim of damage to items used in connection with CaddyTek Inc. products. In the case of deterioration due to normal use we will repair the item for a normal charge. CaddyTek Inc. is the sole judge of any claim or warranty. -
Page 10: Product Registration
PRODUCT REGISTRATION I have read and understand this product's operation and warranty, and wish to record my purchase: Model: ______________________________ Name (Mr./Mrs./Miss):________________________________ Address: ______________________________________________ City: ______________ State: ____________ ZIP: ______________ Tel:____________ E-Mail____________________ Date of Purchase: ______________Name of Store/Dealer: __________________ Round of Golf per Month: _______________ HCAP_______________________ Signed: ________________________ Date:________________________ Failure to return this card may result in delayed response to you warranty claim... - Page 11 Stamp Caddytek Inc. 20175 S. Atlantic Blvd., # C Monterey Park, CA 91754 You can also register your golf cart on www.caddytek.net...


Need help?
Do you have a question about the CaddyLite 15.3 V2 and is the answer not in the manual?
Questions and answers