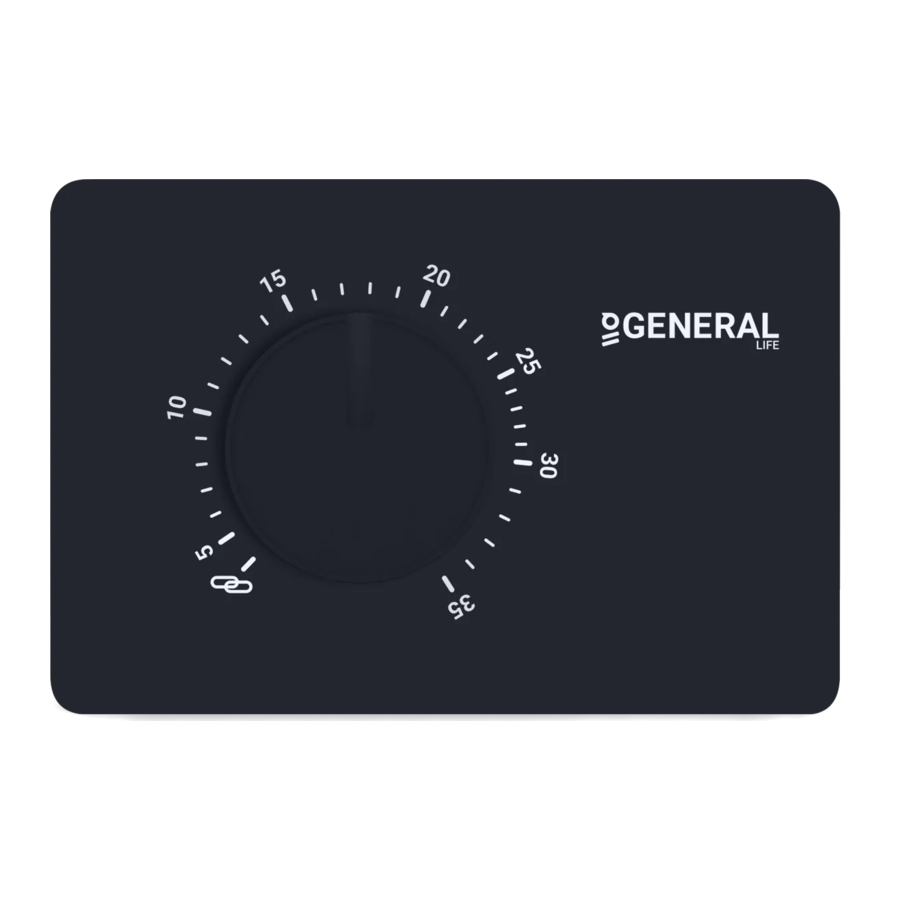
GENERAL LIFE MITRA 110S - Digital Room Thermostat Manual
- User manual (2 pages)
Advertisement
GENERAL SPECIFICATIONS
MITRA 110S is a wired room thermostat. The user can adjust the room temperature with the required temperature and get more comfortable and economic heating.
- Precise Temperature Measurement
- Wired Connection
- TPI Algorithm
- ON/OFF Control
DEVICE AND EQUIPMENTS

TECHNICAL DATA
| Dimensions ( H / L / W ) | 85mm / 125mm / 24mm |
| Operating Current | 3V DC (2 x AAA alkaline battery) |
| Relay NO Switching Current | 2A/30VDC (Resistive load) 0.5A/125VAC (Resistive load) |
| Temperature Measurement Accuracy | 0.1oC |
| Operating Temperature Range | (5oC) – (35 Co ) |
| Battery Life | 1 Year (2 x AAA) |
| Operating Temperature | (-10 C)o – (+50 Co ) |
| Storage Temperature | (-20 C)o – (+60 Co ) |
OVERVIEW

Device Indicator LED Descriptions
| If it blinks once | The relay contact opens and the heating unit stops working. |
| If it blinks twice | The relay contact closes and the heating unit starts. |
UNIT PLACEMENT
Room Thermostat needs to be placed in the room which is used most frequently. For instance; living room or lounge. Placing the Room Thermostat in a spot that have air circulation like entrance of a room or side of window should be avoided. Also anywhere close to heating units such as radiator, stove and spots which get direct sun lights would not be suitable. Room Thermostat needs to be located above the floor 150 cm height. Few trials may be made to find the most convenient spot.

BATTERY PLACEMENT
Before starting, power off the device connected to the Room Thermostat and make sure that the energy is cut off.

As shown in the picture above, press the screwdriver forward from the space shown, bend the tabs and separate the front cover. Insert 2 new AAA alkaline batteries in the battery housing with the correct battery direction. Replace both batteries at the same time. Then align the front part of your Room Thermostat to the back and squeeze it towards the back.

When the product is not used for a long period (more than 15 days), remove the batteries. Otherwise, malfunctions that may occur would be out of warranty.
Please throw your dead batteries into the waste bin for batteries.
UNIT WIRING DIAGRAM

Operations inside the boiler or related to the electrical installation must be carried out by persons with professional competence.
TPI ROOM THERMOSTAT WORKING LOGIC
Your Room Thermostat works with the TPI algorithm in the heating option. Room Thermostats using TPI technology predict when the temperature of your home will rise above or below the set temperature and turn the heating unit on and off accordingly. This ensures that your home stays at the temperature you set without maximum deviations up and down.
- What is TPI?
TPI technology is designed to ensure that you get the best possible energy efficiency from your heating system. It measures and applies the best possible timings to deliver and maintain your home at the set temperature level. - How does TPI work?
Thanks to the advanced artificial intelligence technology found in the software, it adapts to the temperature change of the environment in which it is located. By creating a general temperature map of your home, it learns how long it takes to reach the desired room temperature and how to maintain this temperature. In this way, it provides minimum energy consumption by calculating how long your heating unit should work for. - What is the difference?
In non-TPI room thermostats, the heating unit works and stops continuously until it exceeds the set temperature value. If the set temperature drops below a certain amount, the heating unit will work again. This creates greater temperature fluctuations and less energy control. TPI Room Thermostats, on the other hand, provide higher savings and comfort compared to On/Off room thermostats with the advantages it has.

TPI ROOM THERMOSTAT WORKING GRAPH
WHAT TO KNOW ABOUT TPI ROOM THERMOSTAT
- If the placement of the TPI Room Thermostats is changed, the learning process will restart. The learning process should be considered as 7 days.
- If the TPI Room Thermostats are de-energized (battery replacement), the learning process will restart. The learning process should be considered as 7 days.
FREQUENTLY ASKED QUESTIONS
-
Is my Device compatible with my heating unit
If your heating unit has on-off connections, your Room Thermostat is compatible. You can find information about your heating unit from your heating unit operating manual or from your heating unit service.
- How will I connect my Room Thermostat to the heating unit?
We recommend that the connection between your Room Thermostat and the Heating unit should be made by professionally qualified persons.
2x0.75 mm cable is sufficient for the Room Thermostat – heating unit connection.
Connect one end of the cable pair to the room thermostat connection terminals stated in the user manual of the heating unit.
Connect the other end of the cable pair to COM and NO inputs of the terminal inside the Wall Hanger of Room Thermostat as shown in the "ROOM THERMOSTAT WIRING DIAGRAM" section.
The direction of the cable ends does not matter.

Documents / ResourcesDownload manual
Here you can download full pdf version of manual, it may contain additional safety instructions, warranty information, FCC rules, etc.
Download GENERAL LIFE MITRA 110S - Digital Room Thermostat Manual
Advertisement


Need help?
Do you have a question about the MITRA 110S and is the answer not in the manual?
Questions and answers