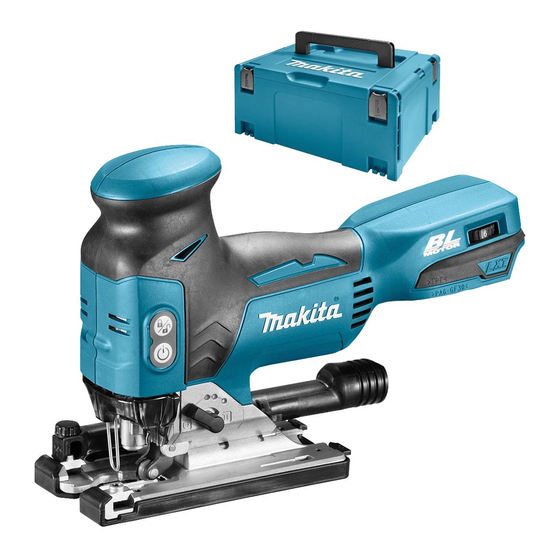
Makita DJV181 Instruction Manual
Hide thumbs
Also See for DJV181:
- Instruction manual (64 pages) ,
- Instruction manual (64 pages) ,
- Instruction manual (17 pages)
Table of Contents
Advertisement
Quick Links
Advertisement
Table of Contents

Summary of Contents for Makita DJV181
- Page 1 INSTRUCTION MANUAL Cordless Jig Saw DJV141 DJV181 Read before use.
-
Page 2: Specifications
SPECIFICATIONS Model DJV141 DJV181 Length of stroke 26 mm 26 mm Max. cutting capacities Wood 135 mm 135 mm Mild steel 10 mm 10 mm Aluminum 20 mm 20 mm Strokes per minute (min 800 - 3,500 800 - 3,500... -
Page 3: Ec Declaration Of Conformity
Avoid body contact with earthed or grounded Vibration surfaces, such as pipes, radiators, ranges and refrigerators. There is an increased risk of elec- The vibration total value (tri-axial vector sum) deter- tric shock if your body is earthed or grounded. mined according to EN62841-2-11: Do not expose power tools to rain or wet con- Work mode: cutting boards... - Page 4 Always wear protective goggles to protect When using the tool, do not wear cloth work your eyes from injury when using power tools. gloves which may be entangled. The entangle- The goggles must comply with ANSI Z87.1 in ment of cloth work gloves in the moving parts may the USA, EN 166 in Europe, or AS/NZS 1336 result in personal injury.
- Page 5 It will Important safety instructions for also void the Makita warranty for the Makita tool and charger. battery cartridge Tips for maintaining maximum...
-
Page 6: Functional Description
Battery protection system (Lithium- FUNCTIONAL ion battery with star marking) DESCRIPTION CAUTION: • Always be sure that the tool is switched off and the battery cartridge is removed before adjust- ing or checking function on the tool. Installing or removing battery cartridge ►... - Page 7 Switch action Indicator lamps Remaining capacity Lighted Blinking 75% to 100% 50% to 75% 25% to 50% 0% to 25% Charge the battery. The battery may have ► 1. Lock switch 2. ON/standby switch malfunctioned. Lock-off NOTE: Depending on the conditions of use and the ambient temperature, the indication may differ slightly from the actual capacity.
-
Page 8: Electronic Function
Disabling the soft no-load rotation NOTE: function • Use a dry cloth to wipe the dirt off the lens of lamp. Be careful not to scratch the lens of lamp, Country specific or it may lower the illumination. To disable the soft no-load rotation function, follow the •... -
Page 9: Cover Plate
To install the blade, insert the blade (teeth facing for- Cover plate ward) into the blade holder until it latches. The blade holder moves to the fixed position by itself and the blade is locked. Pull the blade lightly to make sure that the blade does not fall off during operation. -
Page 10: Dust Extraction
► 1. Dust nozzle 2. Hose for vacuum cleaner With the base tilted, you can make bevel cuts at any angle between 0° and 45° (left or right). Then connect a Makita vacuum cleaner to the dust nozzle. 10 ENGLISH... -
Page 11: Plunge Cutting
Cutouts Cutouts can be made with either of two methods A or B. A) Boring a starting hole: ► 1. Base 2. Hex wrench 3. Bolt To tilt the base, loosen the bolt on the back of the base with the hex wrench. Move the base so that the bolt is positioned in the center of the bevel slot in the base. -
Page 12: Metal Cutting
Finishing edges ► 1. Hex wrench 2. Bolt 3. Fence guide To install, insert the rip fence into the rectangular hole on the side of the tool base with the fence guide facing down. Slide the rip fence to To trim edges or make dimensional adjustments, run the blade lightly along the cut edges. -
Page 13: Maintenance
CAUTION: • These accessories or attachments are recom- mended for use with your Makita tool specified in this manual. The use of any other accessories or attachments might present a risk of injury to persons. Only use accessory or attachment for its stated purpose. - Page 16 Makita Europe N.V. Jan-Baptist Vinkstraat 2, 3070 Kortenberg, Belgium Makita Corporation 3-11-8, Sumiyoshi-cho, Anjo, Aichi 446-8502 Japan 885219E226 www.makita.com 20190424...


Need help?
Do you have a question about the DJV181 and is the answer not in the manual?
Questions and answers