Advertisement
Quick Links
Advertisement

Related Manuals for Kogan KAMN24FG6QA


Summary of Contents for Kogan KAMN24FG6QA
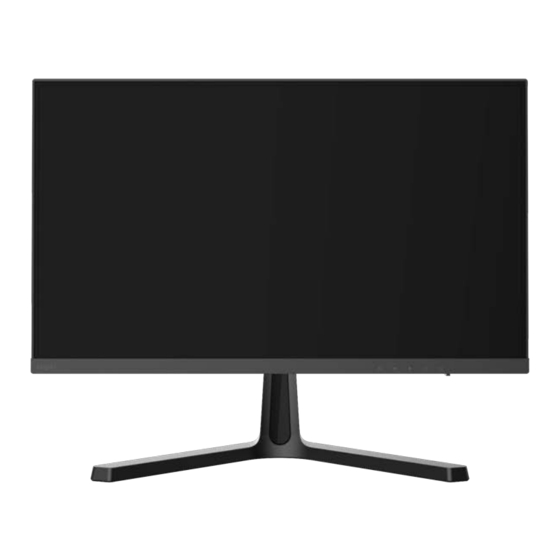
- Page 1 24" FULL HD 165HZ FREESYNC MONITOR (1920 X 1080) KAMN24FG6QA...
-
Page 2: Table Of Contents
Safety & warnings Components Overview Assembly VESA mount Connectivity Operation Specifications... -
Page 3: Safety & Warnings
SAFETY & WARNINGS • Read all instructions before using the appliance and retain for reference. • Only use the power adapter provided with this product. • Do not use the power adapter with any other products • Unplug the monitor before cleaning it. •... -
Page 4: Components
COMPONENTS Monitor Stand arm Arm cover Stand base Power adapter M4x14mm Screw (x2) M6x14mm Screw HDMI cable User guide... -
Page 5: Overview
OVERVIEW Description Button • Opens the menu. • Returns to the previous menus. Menu • Exits main menu. • When the menu is open, decreases the value of the progress bar • Used as the specified shortcut mode hot key. Left •... - Page 6 Monitor Ports HDMI1 port HDMI2 port DisplayPort port 3.5mm headphone jack Power input port...
-
Page 7: Assembly
ASSEMBLY Step 1: • Attach the neck to the rear of the monitor using the 2 (M4x14mm) screws. • Slide the neck cover into the groove on the neck. Screws Neck Neck cover Base Neck mount Step 2: Attach the stand base to the neck and secure it in place using the M6x14mm screw. Neck Stand base Screw... - Page 8 Adjusting the Monitor The angle of the screen can be adjusted forward 5° or backward 15° for a comfortable viewing experience. Note: Be careful not to touch or press the screen when adjusting the angle of the monitor.
-
Page 9: Vesa Mount
VESA MOUNT Before installing the monitor on the wall, detach the stand from the monitor. • To ensure sufficient ventilation, install the monitor at least 10 cm away from the wall and leave about 10 cm of space at each side of the monitor. Drawing is for illustrative purpose only. -
Page 10: Connectivity
CONNECTIVITY Before connecting the monitor to your PC, please shut down the PC and ensure the monitor is switched off. Power Cable Connect the included power adapter to the monitor power port, then connect the other end to a power outlet. HDMI HDMI AUDIO... - Page 11 DisplayPort Connect a DisplayPort cable (not included) from the computer’s DisplayPort to the monitor’s DisplayPort. HDMI AUDIO HDMI DP Cable (Not included) Earphones Plug in earphones (not supplied) into the 3.5mm headphone jack on the monitor. Note: If audio devices are plugged into the monitor and computer, there will be no sound. HDMI HDMI AUDIO...
-
Page 12: Operation
OPERATION Connect the monitor to the input device via HDMI/ DisplayPort. Connect the power adapter to the monitor and then connect the other end directly to a power socket. Use the power button to turn the monitor on. FreeSync • Ensure your computer has FreeSync capability and the graphics drivers are fully up to date. - Page 13 On Screen Menu( OSD) level level icon icon icon menu menu level Description menu Brightness NONE NONE Adjust display brightness Contrast NONE NONE Adjust display contrast Activate dynamic contrast Display Inactivate dynamic contrast Return Return to the previous menu Exit Exit from the whole menu Return NONE...
- Page 14 Switch the game front sight NONE (this needs the support of the monitor) Switch the game front sight NONE (this needs the support of the monitor) Switch the game front sight NONE (this needs the support of the monitor) Switch the game front sight NONE (this needs the support of the monitor)
- Page 15 Open game timing (this NONE needs the support of the monitor) Open game timing (this NONE needs the support of the monitor) Close game timing this needs the Close support of the monitor) Return Return to the previous menu Open HDR (this needs the support of the monitor) Close HDR (this needs the support of the monitor)
- Page 16 Set to standard colour Standard NONE NONE temperature (this needs the support of the monitor) Set to warm colour Warm NONE NONE temperature (this needs the support of the monitor) Fine tuning of red colour temperature Fine tuning of green colour User Green temperature...
- Page 17 DVI (digital) Signal input NONE NONE (this needs the support of the monitor) HDMI (digital) Signal input HDMI NONE NONE (this needs the support of the monitor) Display port (digital) Signal NONE NONE input (this needs the support of the monitor) TYPE-C (digital) Signal TYPE-C NONE...
- Page 18 Switch the atmosphere light Blue to static blue (this needs the support of the monitor) Switch the atmosphere light to dynamic mode (this Colour needs the support of the monitor) Switch the atmosphere light to dynamic mode (this Breath needs the support of the monitor) Switch the atmosphere light to dynamic mode (this...
- Page 19 Exit from the whole menu Exit Switch the source of picture- in-picture (this needs the support of the monitor) Switch the source of dual split screen (this needs the support of the monitor) Reset to single window Reset display (this needs the support of the monitor) Return to the previous menu Return...
-
Page 20: Specifications
SPECIFICATIONS Screen Size 23.8” Aspect Ratio 16:9 Backlight Brightness 250cd/m Panel Resolution 1920 x 1080 Refresh rate 165Hz Response time MPRT 1ms ³ 178° (H) / ³ 178° (V) Viewing Angle Contrast Ratio 3000:1 VESA Mounting 75 x 75 Colours 16.78M Free Sync Signal Input... - Page 21 NOTES...
- Page 24 Need more information? We hope that this user guide has given you the assistance needed for a simple set-up. For the most up-to-date guide for your product, as well as any additional assistance you may require, head online to help.kogan.com...
Need help?
Do you have a question about the KAMN24FG6QA and is the answer not in the manual?
Questions and answers