Sign In
Upload
Download
Table of Contents
Contents
Add to my manuals
Delete from my manuals
Share
URL of this page:
HTML Link:
Bookmark this page
Add
Manual will be automatically added to "My Manuals"
Print this page
×
Bookmark added
×
Added to my manuals
Manuals
Brands
Jasic Manuals
Welding System
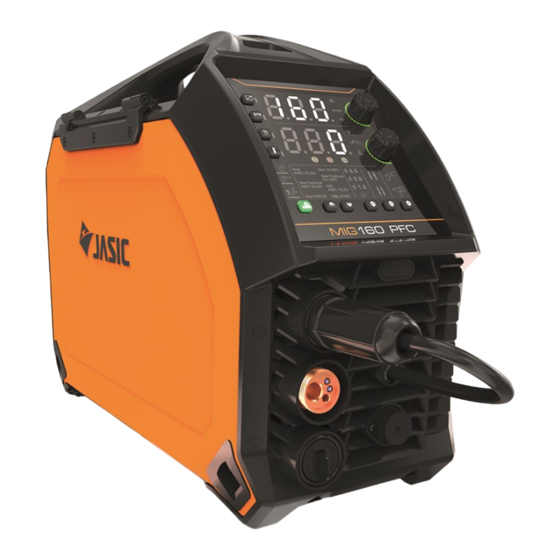
EVO 2.0 EM-160C
Operator's manual
Jasic EVO 2.0 EM-160C Operator's Manual
Hide thumbs
1
2
Table Of Contents
3
4
5
6
7
8
9
10
11
12
13
14
15
16
17
18
19
20
21
22
23
24
25
26
27
28
29
30
31
32
33
34
35
36
37
38
39
40
41
42
43
44
45
46
47
48
49
50
51
52
53
54
55
56
57
58
59
60
61
62
63
64
65
66
67
68
69
70
71
72
73
74
75
76
77
78
79
80
81
82
page
of
82
Go
/
82
Contents
Table of Contents
Troubleshooting
Bookmarks
Table of Contents
Your New Product
Table of Contents
Index
Safety Instruction
General Electrical Safety
General Operating Safety
Ppe
Welding Processes Lens Shade Selector Guide
Fume and Welding Gases
Fire Risks
The Working Environment
Protection from Moving Parts
Magnetic Fields
Compressed Gas Cylinders and Regulators
RF Declaration
LF Declaration
Materials and Their Disposal
Package and Contents
Description of Symbols
Product Overview
Technical Specifications
Description of Controls
Installation
Control Panel Description
Remote Control (Wired and Wireless)
Remote Control Socket
Operating MIG
Guide to MIG/MAG Welding
Spool Gun Operation
MIG Welding Chart
MIG Welding Problems
MIG Torch Description and Spare Parts List
MMA Setup
Operating MMA
Guide to MMA Welding
MMA Welding Troubleshooting
Lift TIG Setup
Operating Lift TIG
Guide to Lift TIG
TIG Torch Description and Spare Parts List
TIG Welding Troubleshooting
Maintenance
Troubleshooting
Troubleshooting Error Codes
WEEE Disposal
Rohs Compliance Declaration
UKCA Declaration of Conformity
EC Declaration of Conformity
Statement of Warranty
Schematic
Options and Accessories
Notes
Jasic Contact Details
Advertisement
Quick Links
Download this manual
1
Table of
Contents
Previous
Page
Next
Page
1
2
3
4
5
Advertisement
Table of Contents
Troubleshooting
MMA Welding Troubleshooting
59
TIG Welding Troubleshooting
69
Maintenance
72
Troubleshooting Error Codes
73
Need help?
Do you have a question about the EVO 2.0 EM-160C and is the answer not in the manual?
Ask a question
Questions and answers
Related Manuals for Jasic EVO 2.0 EM-160C
Welding System Jasic EVOLVE 200 User Manual
(56 pages)
Welding System Jasic EVOLVE 200 Operator's Manual
(122 pages)
Welding System Jasic EVO 2.0 LC-30 Operator's Manual
(16 pages)
Welding System Jasic EVO 2.0 ET-200PACDC Owner's Manual
(80 pages)
Welding System Jasic EVO 2.0 EM-200CT Operator's Manual
(80 pages)
Welding System Jasic EVO 2.0 EM-250CT Operator's Manual
(80 pages)
Welding System Jasic EVO 2.0 EM-200C Operator's Manual
(82 pages)
Welding System Jasic EVO 2.0 EP-45 Operator's Manual
(50 pages)
Welding System Jasic 200P AC/DC Digital Operator's Manual
(37 pages)
Welding System Jasic EVO 2.0 TR-01 Assembly Instructions Manual
(9 pages)
Welding System Jasic MIG500P Manual
(42 pages)
Welding System Jasic MIG500 Operator's Manual
Inverter welder (32 pages)
Welding System Jasic MIG Series Operator's Manual
(48 pages)
Welding System Jasic TIG 200 AC/DC Digital Series Operator's Manual
Ac/dc mma / tig welding machine (37 pages)
Welding System Jasic TIG200 Manual
Igbt inverter welder (59 pages)
Welding System Jasic TIG 200P Operator's Manual
Dc pulse tig / mma welding - dual voltage (20 pages)
This manual is also suitable for:
Evo 2.0 em-200c
Table of Contents
Print
Rename the bookmark
Delete bookmark?
Delete from my manuals?
Login
Sign In
OR
Sign in with Facebook
Sign in with Google
Upload manual
Upload from disk
Upload from URL


Need help?
Do you have a question about the EVO 2.0 EM-160C and is the answer not in the manual?
Questions and answers