Advertisement
Quick Links
Advertisement

Subscribe to Our Youtube Channel
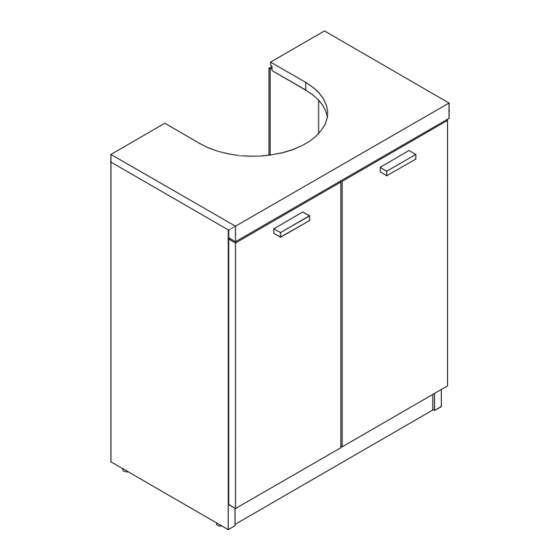
Summary of Contents for hygena 314/5041
- Page 1 Issue 1 - 10/10/14...
-
Page 4: Tools Required
Wall Shelf Support Catch Plate x 1 14mm Screw x 2 Tools required... - Page 6 2. Glue and insert 16 x wooden dowels R into bottom 4 & Front bar 5...
- Page 7 & Use a screwdriver to turn the female camlock clockwise to lock. Please refer to the “Using Camlocks” section at the front of this instruction for further assistance.
- Page 8 & Use a screwdriver to turn the female camlock clockwise to lock. Please refer to the “Using Camlocks” section at the front of this instruction for further assistance. Catch plate as shown...
- Page 9 Use a screwdriver to turn the female camlock clockwise to lock. Please refer to the “Using Camlocks” section at the front of this instruction for further assistance. 10 to the reverse of the unit with 16 x screw in position shown.Use a Phillips Screwdriver to tighten...
- Page 10 2. Cover visible camlocks with 4 x stickers N as shown...
- Page 11 1. Using 2 x screw & washer secure 2 x wall straps to the back of left back & right back...
- Page 12 It is recommended that the unit is fixed to a wall. 1.Move the unit into desired position. 2. Mark the wall with a suitable scribe the position of the fixing holes. Warning: Before driling,check wall for hidden pipes and cables. 3.
-
Page 13: A Guide To Wall Mounting & Fixings
A Guide to Wall Mounting & Fixings lmportant note: lmportant: when drilling into walls always check that there are no hidden wires or pipes etc. Make sure that the screws and wall plugs being used are suitable for lf plastic wall plugs(rawl plugs) supporting your unit.Consult a qualified tradesperson if you are supplied with your product, e.g.:...


Need help?
Do you have a question about the 314/5041 and is the answer not in the manual?
Questions and answers