EZVIZ LC3 - Smart Home Camera Manual
Also See for LC3:
- Quick start manual (70 pages) ,
- Manual (6 pages) ,
- User manual (6 pages)
Advertisement
Table of Contents
Contents
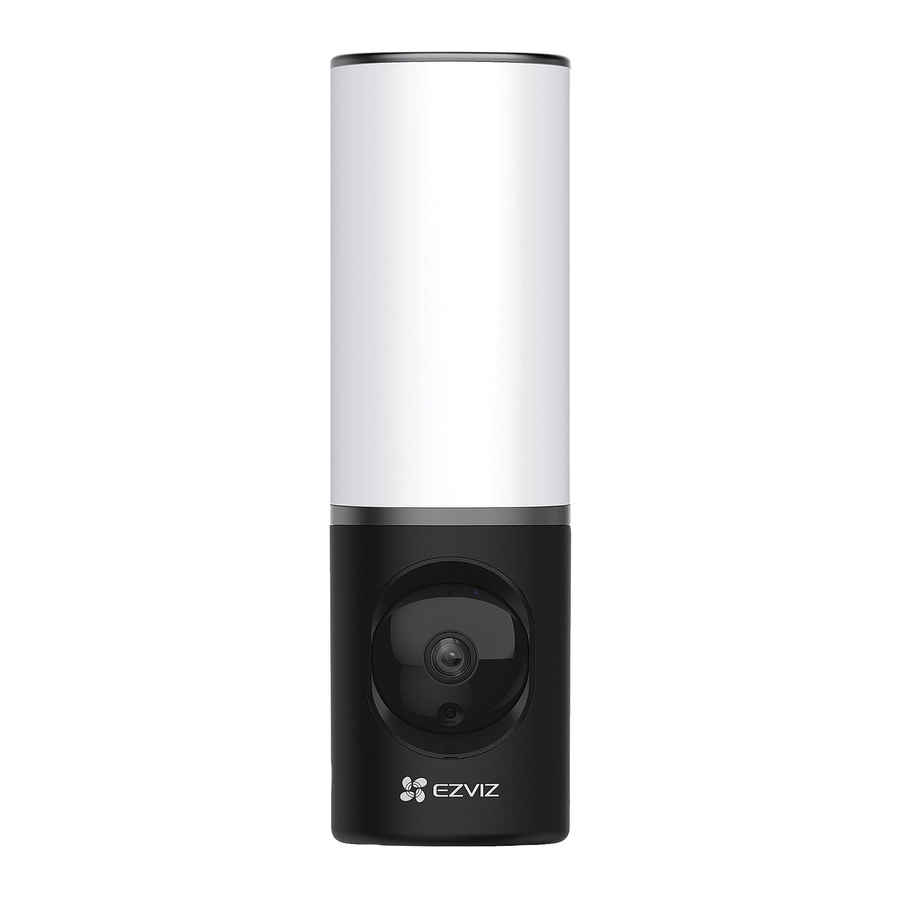
EZVIZ LC3 - Smart Home Camera Manual
Package Contents

Basics

| Name | Description |
| LED Indicator |
|
| Lens | The lens can be adjusted 15 degrees downwards. |
| Camera Module | The camera module can be rotated 10 degrees left and right. |
| Reset Button | Hold for 4 seconds to restart and reset all parameters to default. |
Installation

- Recommended installation height: 6-7 ft (1.8-2.2 m) above the ground.
- The camera has a built-in memory card for video storage. There is no need to install an additional SD card.
- Shut off the electricity at the breaker.

![caution]()

- If you don't know where your breaker is or how to turn off power, please consult with a licensed electrician.
- Keep the breaker off at any time during the installation process.
- Separate the mounting base from camera.
Unscrew the base screw using screwdriver (not included in the package) and pull the mounting base off the camera.

- Install the mounting base.

- Place drill template onto the surface you have chosen to mount the base.
- (For cement wall only) Drill screw holes according to the template and insert anchors.
- Take the wires from the wall through the drill template and the rubber of the mounting base.
- Use screws to fix the mounting base.


- Connect the wires.
- Connect the Neutral wire (N) and Live wire (L) one by one.
- Secure them using screwdriver.


- Insert the camera to the mounting base.
- Buckle the bottom of the mounting base into the camera.
- Press the mounting base and camera together.
- Tighten the base screw located on the top of the camera.


- Adjust camera module's angle.
You can adjust the horizontal and vertical angle of the camera module as needed.

- Restore power at the breaker.

- Confirm the camera has power.
After restoring power, the camera will be ready for setup when the light is on and the LED Indicator on the front of the camera fast flashes blue.


Setup
- Get the EZVIZ app
![]()
- Connect your mobile phone to Wi-Fi.
- Download and install the EZVIZ app by searching "EZVIZ" in the App Store or Google Play StoreTM.
- Launch the app and register an EZVIZ user account.
- Add camera to EZVIZ
- Log in to your account using the EZVIZ app.
On the Home screen, tap "+" on the upper-right corner to go to the Scan QR Code interface.

- Scan the QR code on the Quick Start Guide cover or on the body of the camera.

- Follow the EZVIZ app wizard to finish Wi-Fi configuration.
![caution]()
If you want to change your camera's Wi-Fi, press and hold the reset button for 4s and repeat the steps above.


EXPOSURE TO RADIOFREQUENCY RF
The frequency bands and the nominal limits of transmitted power (radiated and/or conducted) applicable to this radio device are the following:
| Band | Wi-Fi 2.4 GHz |
| Frequency | From 2.4 GHz to 2.4835 GHz |
| Power transmission (EIRP) | 100 mW |
For detailed information, please refer to www.ezviz.com.
Documents / Resources
References
Download manual
Here you can download full pdf version of manual, it may contain additional safety instructions, warranty information, FCC rules, etc.
Advertisement


Need help?
Do you have a question about the LC3 and is the answer not in the manual?
Questions and answers