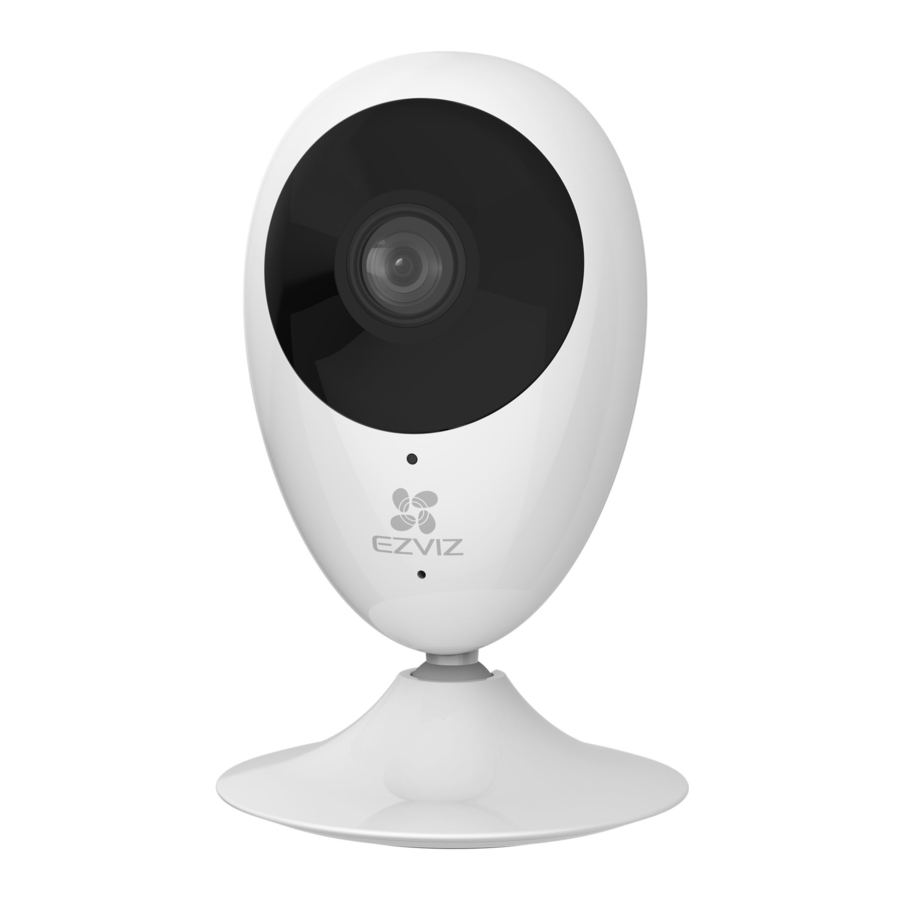
Ezviz C2C, Mini O, Mini O Plus Manual
- Quick start manual (64 pages) ,
- Quick start manuals (47 pages) ,
- Manual (9 pages)
Advertisement
Setup
- Power-on
Plug the power cable into the camera and to the power adapter and then into a power outlet, as shown in the figure below.

- Camera Setup
- Create a user account
- Connect your mobile phone to Wi-Fi using your 2.4GHz network.
- Download and install the EZVIZ app by searching "EZVIZ" in App Store and Google Play.
- Create a user account


- Launch the app and register for an EZVIZ user account following the start-up wizard.
- Add a camera to EZVIZ
- Log in the EZVIZ app.
- From the EZVIZ app Home screen, tap "+" on the upper-right hand corner to go to the scan QR code interface.
![]()
- Scan the QR Code on the bottom of the camera.

- Follow the EZVIZ app wizard to finish Wi-Fi configuration.


 Please make sure your phone is connected to the 2.4GHz Wi-Fi from the router for Wi-Fi configuration.
- Change the default password (Optional)
After adding the camera, you are required to change the device password to ensure your video security. The password is used for the Image Encryption. If you turn on the Image Encryption, you are required to input your password when you live view or play back the camera.- Go to the camera settings screen to change the default password.
- Tap on "Change Password".

- Tap on "Edit".
- Enter the original verification code located on the bottom of the camera.
- Enter the new password. Please use letters and numbers between 6 to 12 characters.

Installation
- Install the Metal Plate (Optional)
Pick a clean and flat surface and secure the metal plate to the desired position with the foam stickers or screws (not included)
![information]() There's a magnet piece inside the camera. You can skip this step if the surface is made of metal.
There's a magnet piece inside the camera. You can skip this step if the surface is made of metal. - Install the Camera
Secure the camera magnetically to the metal plate or metal surface (see figure below).

- Complete Installation
Adjust the camera angle as required.

Basics

| Name | Description |
| Speaker | Two-way talk. |
| Power Input |  5V±10% 5V±10% |
| micro SD Card | For micro SD card (not included with this product). You can purchase separately. Recommended compatibility: Class 10, maximum space 256GB. After inserting the card, you can record the event inside the camera. |
| RESET | Hold down the RESET button for 5 seconds while the camera is running, the camera restarts and all parameters are reset to default. |
| LED Indicator |
|
| IR Light | Auto light source for dark environment. The camera video has two modes: color (for daylight recording) and black and white with IR illuminator (for night condition). |
Box Contents

Install Memory Card

Insert a micro SD card into the slot until a click.
Initialize Memory Card
- In the EZVIZ app, check the memory card status by tapping on the Storage Status in the Device Settings interface.

- If the memory card status displays as Uninitialized, tap to initialize it. The status will then change to Normal. You can then start recording any event triggered video in the camera such as motion detection.

Troubleshooting
"The device is offline." or "The device is not registered." prompts appear when adding the camera using the EZVIZ App.
- Make sure the network, which the camera is connected to, is working properly and the router's DHCP is enabled.
- Hold down the RESET button for 5s to reset the settings if you change the network parameters.
The mobile phone cannot receive alarm prompts when the camera is online.
- Make sure the EZVIZ app is running on your mobile phone.
- For Android OS mobile phone, make sure the app is running in the background; and for iOS mobile phones, enable the message push function in "Settings > Notification".
Does the camera support power via USB devices or a portable battery?
It's advised to use the EZVIZ standard power adapter to provide a stable voltage supply.
For detailed information, please visit www.ezvizlife.com.
Customer Service
For more information, please visit www.ezvizlife.com.
Need help? Contact us:
Telephone: +31 20 204 0128
Technical Inquires Email: support.eu@ezvizlife.com
SAVE THIS MANUAL FOR FUTURE REFERENCE
Documents / Resources
References
Download manual
Here you can download full pdf version of manual, it may contain additional safety instructions, warranty information, FCC rules, etc.
Advertisement


Need help?
Do you have a question about the C2C and is the answer not in the manual?
Questions and answers