GameSir T4 Pro / T4 Pro SE - Wired Controller Manual
- User manual (32 pages) ,
- User manual (16 pages) ,
- User manual (26 pages)
- Also fits for
- T4 pro se
Advertisement
- 1 SYSTEM REQUIREMENTS
- 2 DEVICE LAYOUT
- 3 HOW TO USE THE PHONE HOLDER
- 4 HOW TO CHARGE THE DEVICE
- 5 BATTERY STATUS
- 6 HOW TO CONNECT TO A COMPUTER OR ANDROID TV BOX VIA USB RECEIVER
- 7 HOW TO CONNECT TO PC VIA USB CABLE
- 8 HOW TO CONNECT TO SWITCH VIA BLUETOOTH
- 9 HOW TO CONNECT TO MOBILE PHONE VIA BLUETOOTH
- 10 BACKLIGHT AND MOTOR VIBRATION INTENSITY ADJUSTMENT
- 11 TURBO FUNCTION
- 12 BACK BUTTONS FUNCTION
- 13 BACK BUTTONS PROGRAMMING
- 14 Documents / Resources
SYSTEM REQUIREMENTS
Android 8.0 or above
iOS 13 or above
Windows 7/10/11
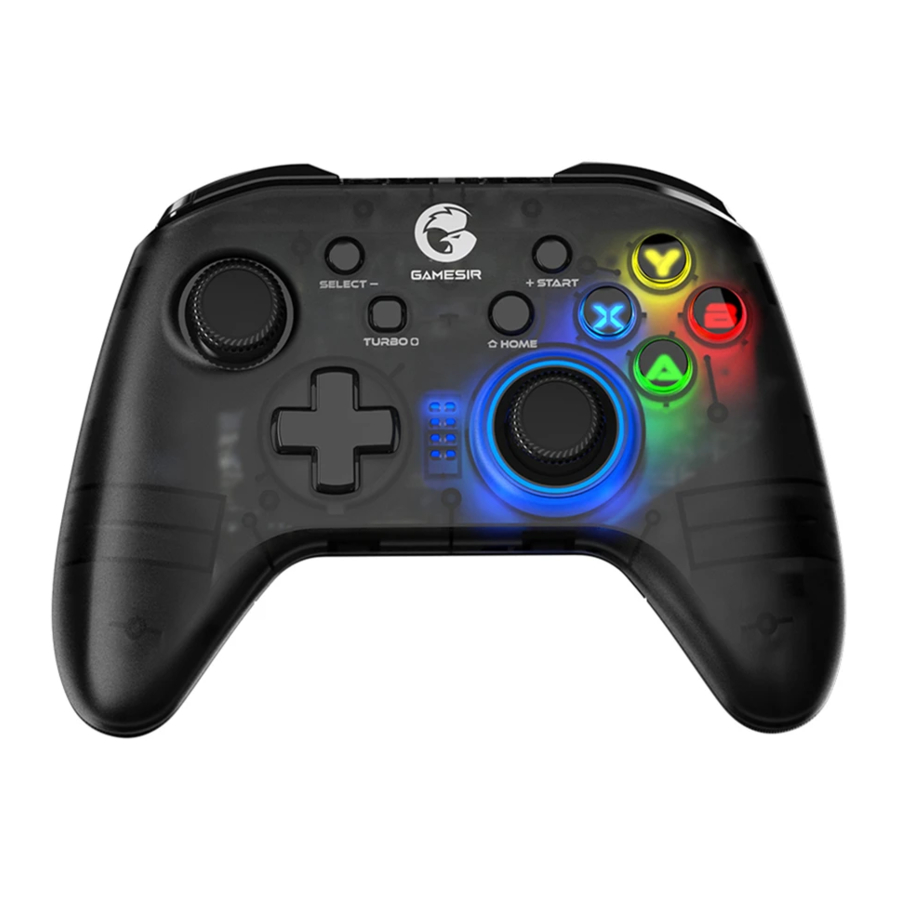
DEVICE LAYOUT

- Left Joystick
- D-Pad
- SELECT Button
- HOME Button
- START Button
- Right Joystick
- ABXY Button
- TURBO Button
- Indicator

- USB Receiver
- LB Button
- RB Button
- LT Button
- RT Button
- Type-C Connector
- Phone Holder Base
- Charging Indicator
- M1 M3 Button
- M2 M4 Button
Power On: Press and hold the HOME button for 1 second to power on.
Power Off: Press and hold the HOME button for 5 seconds to power off.
Pairing Mode: According to the gamepad mode you want to apply, select a key combination to power on to enter the corresponding pairing mode.
Reconnect: The game controller can remember the last pairing record.
The next time you turn it on, by simply pressing and holding the HOME button, it will automatically reconnect to the last paired device, without using the key combination.
HOW TO USE THE PHONE HOLDER

Please insert the phone holder from the top of the gamepad.
HOW TO CHARGE THE DEVICE
Use a charging cable to connect the Type-C interface on the top of the gamepad to the USB charging port.
BATTERY STATUS

When the battery is below 15%, the current Charging Indicator  will flash in RED quickly.
| CHARGING INDICATOR | DESCRIPTION |
| Red light stays on | Charging |
| Red light goes out | Fully charged |
HOW TO CONNECT TO A COMPUTER OR ANDROID TV BOX VIA USB RECEIVER
- Plug the USB receiver into the USB port of your computer or Android TV box.

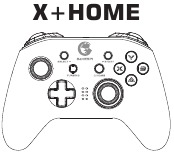
- Press the X + HOME buttons until the gamepad is turned on. The gamepad's indicator is solid blue and the receiver's is solid red to indicate a successful connection.
![]()
- The next time you connect, just press the gamepad's HOME button to power on, it will automatically be connected.

NOTE: If the gamepad has been switched to another mode, you need to use the key combination to restart.
| INDICATOR | DESCRIPTION |
 | Mode indicator |
| Slow Blinking Blue | Connecting |
| Fast Blinking Blue | Pairing |
| Solid Blue | Connected |
HOW TO CONNECT TO PC VIA USB CABLE

When the gamepad is off, plug the USB cable to the USB port of your PC.
| INDICATOR | DESCRIPTION |
 | Mode indicator |
HOW TO CONNECT TO SWITCH VIA BLUETOOTH
- Go to the main interface of the Switch, and click Controllers - Change Grip/Order to enter the pairing interface.
- Press the Y + HOME buttons until the gamepad is turned on.

- The gamepad will be automatically paired with the Switch.
- The next time you connect, just press the gamepad's HOME button to power on, it will automatically connect and wake up the Switch.

NOTE: If the gamepad has been switched to another mode, you need to use the key combination to restart.
| INDICATOR | DESCRIPTION |
 | Mode indicator |
| Slow Blinking Blue | Connecting |
| Fast Blinking Blue | Pairing |
| Solid Blue | Connected |

In Switch mode, the values of the A button & B button, and X button & Y button of the gamepad will be swapped.
HOW TO CONNECT TO MOBILE PHONE VIA BLUETOOTH
PLAY ANDROID CONTROLLER-SUPPORTED GAMES
REFERS TO MOBILE GAMES THAT SUPPORT USING A GAMEPAD
- Press the A + HOME buttons until the gamepad is turned on.

- Turn on the phone's Bluetooth, search for [Gamesir-T4pro], click and pair.
- The next time you connect, just press the gamepad's HOME button to power on, it will automatically be connected.

NOTE: If the gamepad has been switched to another mode, you need to use the key combination to restart.
| INDICATOR | DESCRIPTION |
 | Mode indicator |
| Slow Blinking Blue | Connecting |
| Fast Blinking Blue | Pairing |
| Solid Blue | Connected |
PLAY APPLE ARCADE AND MFI GAMES
REFERS TO IOS MOBILE GAMES THAT SUPPORT USING A GAMEPAD
- Press the B + HOME buttons until the gamepad is turned on.

- Turn on the phone's Bluetooth, search for [Xbox Wireless Controller], click and pair.
- The next time you connect, just press the gamepad's HOME button to power on, it will automatically be connected.

NOTE: If the gamepad has been switched to another mode, you need to use the key combination to restart.
| INDICATOR | DESCRIPTION |
 | Mode indicator |
| Slow Blinking Blue | Connecting |
| Fast Blinking Blue | Pairing |
| Solid Blue | Connected |
BACKLIGHT AND MOTOR VIBRATION INTENSITY ADJUSTMENT
| KEYBINDS | DESCRIPTION |
| Hold LT, RT, R3 + D-Pad's Up & Down | Adjust the brightness of the gamepad's backlight (5 levels, default: the brightest) |
| Hold LB + RB for 5 Seconds | Open/Close ABXY backlight |
| Turbo + D-Pad's Up & Down | Adjust the intensity of motor vibration (5 levels) |
TURBO FUNCTION
| TURBO FUNCTION | SET/CANCEL TURBO | INDICATOR LIGHT | PROGRAMMABLE BUTTONS |
| Achieve fast attacks in the game. | Press and hold the button that needs a Turbo set, then press the TURBO button. | The backlight of the right joystick flashes red, meaning the set is done. After canceling the Turbo, the backlight of the right joystick becomes blue again. | A, B, X, Y, LB, RB, LT, RT |
NOTE: In Switch mode, the TURBO button is defaulted to the Screenshot function. To use the Turbo function, it's required to change the Screenshot function to the Turbo function by pressing the R3+TURBO buttons first. Then set the Motor Vibration Intensity / Turbo Function as above. To use the Screenshot function, press the R3+TURBO buttons again.
BACK BUTTONS FUNCTION

DEFAULT BUTTON VALUE
BACK BUTTONS PROGRAMMING
SINGLE BUTTON OR MULTIPLE BUTTONS CAN BE SET
| TRIGGER MODE | HOW TO ENTER | DESCRIPTION | INDICATOR LIGHT |
| TRIGGERED AT THE SAME TIME | Any M button + SELECT button | E.g:
| The backlight of the Right joystick stays blue and red, meaning the programming mode is entered. The backlight of the right joystick stays blue, meaning the programming is completed. |
| TRIGGERED IN SEQUENCE | Any M button + START button | E.g:
| The backlight of the right joystick stays blue and red, meaning the programming mode is entered. The backlight of the right joystick stays blue, meaning the programming is completed. |
 NOTICE
PLEASE READ THIS PRECAUTIONS CAREFULLY.
- CONTAINS SMALL PARTS. Keep out of reach of children under the age of 3. Seek immediate medical attention if swallowed or inhaled.
- DO NOT use the product near fire.
- DO NOT expose to direct sunlight or high temperatures.
- DO NOT leave the product in a humid or dusty environment.
- DO NOT hit or drop the product.
- DO NOT touch USB port directly or it might cause malfunctions.
- DO NOT strongly bend or pull cable parts.
- Use a soft, dry cloth while cleaning.
- DO NOT use chemicals such as gasoline or thinner.
- DO NOT disassemble, repair or modify.
- DO NOT use for purposes other than its original purpose. We are NOT responsible for accidents or damage when used for non-original purposes.
- DO NOT look directly at the optical light. It might damage your eyes.
- If you have any quality concerns or suggestions, please contact GameSir or your local distributor.
Nintendo Switch™ is a registered trademark of Nintendo. All rights reserved. All other trademarks are property of their respective owners. Photos and illustrations not binding. Contents, designs and specifications are subject to change without notice and may vary from one country to another. This product is not distributed under official license form or approved, sponsored or endorsed by Nintendo. This product is not manufactured for Nintendo.

Documents / ResourcesDownload manual
Here you can download full pdf version of manual, it may contain additional safety instructions, warranty information, FCC rules, etc.
Download GameSir T4 Pro / T4 Pro SE - Wired Controller Manual
Advertisement


Need help?
Do you have a question about the T4 Pro and is the answer not in the manual?
Questions and answers